We all know that the arrangement of leaves in a stem is called phyllotaxy, but most people have no idea what this means. Most basic flowering plants have three basic types of arrangements which include alternate, opposite and whorled when it comes to leaf arrangements, but there are also other leaf arrangement types you should know about, but these are the basic ones.
Leaf arrangement is a key characteristic on which plant taxa are classified. Monocots, dicots and gymnosperms have different types of arrangements. This guide is an easy-to-understand explanation of the different types of leaf arrangements and how those affect plant taxonomy.
Structure of a Typical Leaf
Each leaf has a leaf blade called the lamina, which is also the widest part of the leaf. Some leaves are attached to the stem by petiole, while others do not have petiole and are directly attached to the plant are called the sessile leaves. Leaves also have stipules, which are small green appendages found at the base of the petiole.

Image credit: https://cnx.org/
Most leaves also have a midrib that travels the leaf’s length and branches to each to produce veins of vascular tissue. The vascular tissue forms veins within each leaf. And the edge of the leaf is called the margin. The arrangement of veins in a leaf is called a venation pattern. Monocots and dicots differ in their venation pattern.
Monocots have parallel venation in which veins run in straight lines across the length of the leaf without converging. While the veins in dicots have a net-like appearance, forming a pattern called reticulate venation. One example of a plant with dichotomous venation is the ginkgo biloba tree.
lternate Leaf Arrangement
Alternately arranged leaves produce one leaf per node. The leaves alternate from side to side. For example, your houseplant may have two or three leaves in one spot on the stem, and then in another spot, there are two or three leaves, but they’re opposite each other.
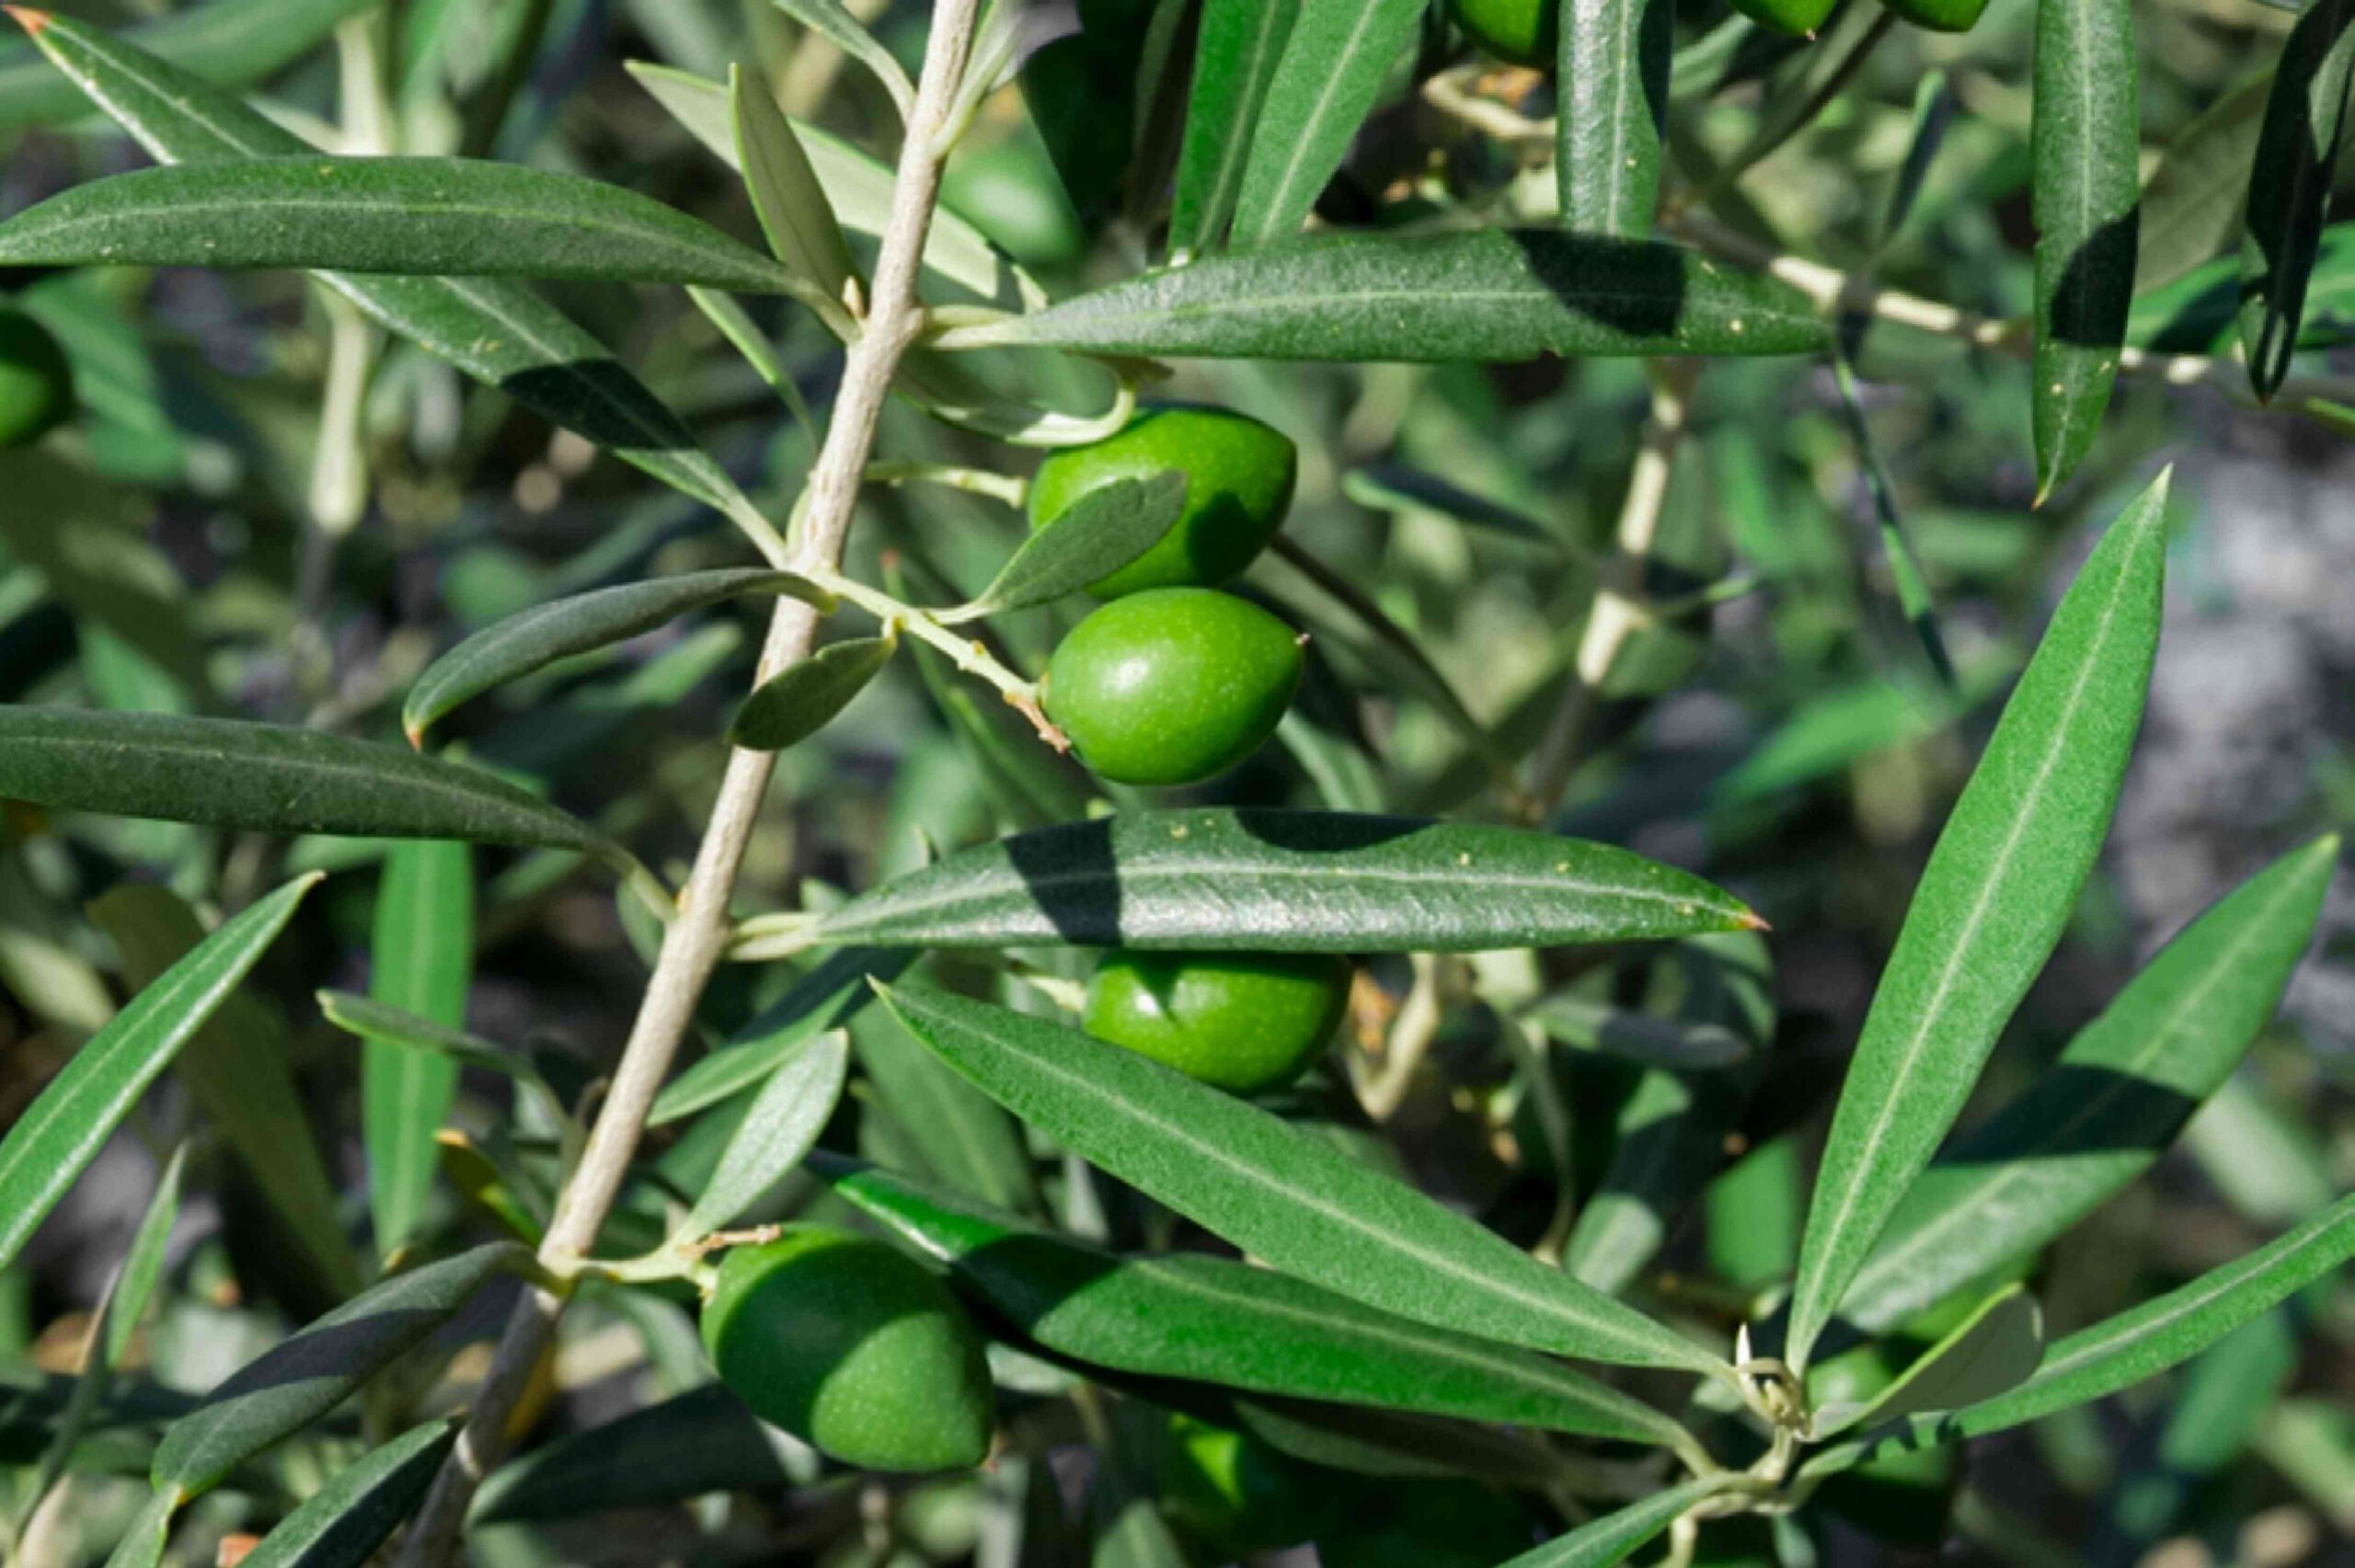
Image credit: https://www.thespruce.com/
In alternate leaf arrangement, there is one leaf per plant node. Examples of trees and plants with this leaf arrangement include blackberry, black walnut, sweetgum, smoke bush, ninebark, and Japanese zelkova. Note that plants with alternate and spiral leaf arrangements have only one leaf per node.
Opposite Leaf Arrangement
The opposite leaf arrangement is when a plant has two leaves growing out of the same node. The two leaves are on either side of each other, and there is no space in between the leaves. For example, your houseplant may have three or four leaves growing out of one spot on the stem and then another group of three or four leaves a little further down the stem.
The leaves in this example would be opposite each other. Examples of plants with opposite leaf arrangements include maple leaves, Olive trees, fringe trees, ash trees, and viburnums.
Whorled Leaf Arrangement
A whorled or verticillate arrangement is a plant with three or more leaves growing out of each node. In this pattern, there are several leaves coming from one spot on the plant stem. In some cases, it may look like a circle of leaves growing from a single spot on the stem.
Image credit: https://qph.fs.quoracdn.net/
Examples of plants with whorled leaves include mountain laurel, Japanese clethra, blackboard trees, redvein enkianthus, panicle hydrangea, and lemonwood. Some can have both opposite and whorled leaves throughout the plant.
Rosette Leaf Arrangement
Rosettes are often referred to as basal rosettes because they are found at the base of the plant, around the stem. The basal leaf arrangement occurs when one central leaf emerges from the ground to form a circular shape. Examples of rosettes occur in acaulescent plants, such as common dandelions in the sunflower or aster family.
These acaulescent plants have a stem, but the internodes are greatly contracted with spiral alternate arrangement leaves. Biennial plants such as carrots and poison hemlock in the carrot family produce a basal rosette in the first year of growth. It’s then followed by the production of the flowering stem with alternate leaves in the second year.
Other examples of rosette leaf arrangements include liverwort and hens and chicks. Rosette leaf arrangement is the most common type of leaf arrangement in monocots, with grasses being a prime example. This type of arrangement occurs when leaves are produced around the stem at the same point, thus creating what appears to be a single circular leaf structure below ground level.
Perfoliate Leaf Arrangement
In this arrangement, the stem is completely wrapped or buried around its support. Leaves of this type are arranged in a circle with their bases adhering to the petiole and the blade expanding away from the plant center. A good example of perfoliate leaf arrangement is found in Trillium grandiflorum, commonly known as white wake-robin.
Silphium perfoliatum is also a good example of the basal connate fusion of leaves to achieve perfoliate condition. The upper cauline leaves of henbit in the mint family are called sessile leaves.
Distichous Leaf Arrangement
In this type, the leaves are arranged in two opposite rows on either side of a stem. In other words, they grow along two opposite sides of the shoot axis at right angles to each other. Distichous leaf arrangement is common in monocotyledons, especially grasses and sedges groups.
The lower side is called adaxial, and the upper side is called abaxial. The adaxial surface of a leaf is the surface closest to the axis, and the abaxial surface of a leaf is furthest from it. This arrangement can also be seen in species such as Agave sisalana, where all leaves grow around the stem in vertical rows.
Basal Leaf Arrangement
All the leaves arise from the base of the plant. Perennial plants are trimmed back to new basal foliage once in a while, which leads them to grow new leaves that can be located at the base. Perennials with basal leaf arrangement include harebell, whorled stonecrop, yarrow, and oxeye daisy.
Coniferous Leaf Arrangement
Coniferous leaves thrive in cold environments. Their leaves are reduced in size and needle-like in appearance. The needle-like leaves have sunken stomata and a smaller surface area to conserve water.
There are only two major types of coniferous leaf arrangements: Monocephalus (single head) leaves are arranged in spirals around the plant stem, while Flabella (leaf structure) leaves grow in spiral patterns with more than one head. Conifers that follow the monocephalous pattern include white pine, European larch, and Canadian hemlock.
Conifers that follow the flabella pattern include blue spruce, Norway pine, and Japanese red pine. Aquatic plants also have coniferous leaves with wide lamina that can float on the water surface, plus a thick waxy cuticle on the leaf surface to repel water.
FAQs on Types of Leaf Arrangements
What is the leaf arrangement?
This is the arrangement of leaves on an axis.
What are palmate leaves?
A palmately leaf compound has its leaflets radiating outwards from the end of the petiole like fingers off the palm of a hand. Examples of plants with palmately compound leaves include poison ivy, familiar house plant, and umbrella plant.
Final Thought on Types of Leaf Arrangements
As you can see, there are so many types of leaf species, and each species has a characteristic leaf arrangement. The leaf arrangements also vary from one plant to another of the same species. It is important for you to know the common types of leaf arrangements to easily identify and differentiate them without hassles.
The post Types of Leaf Arrangements appeared first on Kitchen Infinity.
Did you miss our previous article…
https://chefbuano.com/?p=657