Are you looking for a new way to decorate your home? Venetian plaster is an ancient decorative technique that has been around for centuries. The process involves applying multiple layers of plaster onto walls and ceilings, which gives them a unique look.
You can use this type of decoration on any surface in your home or office, including furniture and floors. It goes well with many types of home decor, so there are no limitations in using Venetian plaster in your space. You can also blend lime plaster and marble dust to create this durable compound.
But for you to do all the above, you need to know how to apply Venetian plaster. Wondering how that goes? This article takes you through a comprehensive guide on how to apply Venetian plaster.
The Required Materials
Eye protectionPaintbrushRollerPaint trayWork glovesSteel trowel400 to 600 grit sandpaperDrop clothVenetian plasterRoller coverPainting primerTopcoat or paste waxUniversal colorantsDust mask
Instructions
Sharpen Your Skills
Before you start rolling on the Venetian plaster, it’s good to get an idea of what your skills are. Get a few practice pieces together for this project. Some sheets of drywall, plywood or fiberboard will work well. Spread some newspaper on the floor and cover up any objects you don’t want paint on.
Then, practice your plastering techniques on these pieces of wood. Use a paintbrush to get your Venetian plaster onto the piece, then smooth it out with a trowel or spatula.
Choose a Plaster to Apply
Venetian plaster comes in two varieties, which include synthetic paint and lime-based plasters. The one you choose depends on your budget and your level of expertise. Lime-based plasters are considered true Venetians because, with time, they’ll turn to stones.
Lime-based plasters are more durable and retain their beauty longer, unlike the homemade finish of synthetic plasters. They’re also natural and are considered environmentally friendly rather than synthetics. Lime plaster is naturally resistant to molds and mildews.
On the other hand, synthetic Venetian plaster is inorganic, and its color is limited to the few offered by the manufacturer. It’s not easy to tint it either because it requires a special machine. Make sure you choose authentic Venetian plaster for your project.
Gather Your Tools and Lay Down Tarps
Make sure you protect the floor in your work area by laying down plastic sheets, so the dust from your work doesn’t get all over. You should also have buckets, a trowel, a grout sponge and a paint roller with a long handle at the ready. Do not use painter’s tape to protect molding or other walls that you’re not plastering.
Remember that plaster is not paint, so it can bond to the tape and crack or flake when you remove it, especially if you’re using lime-based plaster.
Prepare Your Room
Clear your room as much as possible and wipe down the entire surface with a clean rag saturated in soap solution. Take a few minutes to learn how to mop your floor before you proceed. Next, drape the tarp over the molding and lower part of the wall.
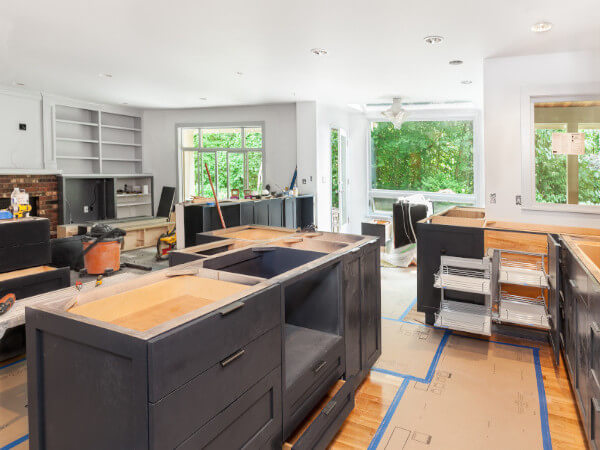
Image credit: https://socialmaximizers.com/
Of course, you apply Venetian plaster to most walls and ceilings, but the surface must be flat and smooth. If there are any holes and cracks, the plaster will seep through them when you apply Venetian plaster, so fill them in with spackling before applying the coating.
If you’re applying Venetian plaster to an existing wall that has paint on it, remove all of the old paint first, and then repair any holes or cracks with spackling and lightly sand the spackled area with 100-grit sandpaper. Wash off any dirt and grease, then prime the surfaces before applying the Venetian plaster. Avoid using steel trowel and drywall knives as they can leave lines and scratches in your plaster.
If you plan to plaster a bumpy surface, sand the entire surface or scrape it with a putty knife. If you’re using synthetic Venetian plaster, make sure you fill the holes and cracks with plaster as you go.
pply Primer to Discolorations
If your wall has been painted with flat paint, apply a primer that you can tint to the color of Venetian plaster. Spread the primer across the wall evenly and lightly using a paint roller. Depending on the walls you’re plastering, you may leave it dry before applying a second coat to get a smooth, even coat.
If you’re using lime-based plasters, you can apply the plaster directly to the stucco or masonry. You can also use a special primer called Fondo. Note that natural Venetian won’t adhere well to standard primers. Let it dry for 24 hours before applying the plaster.
pply the First Coat
Wear gloves while mixing Venetian plaster to achieve an even color. Load your trowel with the hot-dog compound of the hawk, then apply an eighth of an inch thick coat of joint compound over the surface. Use short, gently curved, x-shaped strokes at different angles.
Starting at the top left corner of your room, use a flexible steel trowel to apply a thin layer of plaster while holding your trowel at a 15 to 30-degree angle of the wall. Gradually work your way out toward the other end, covering approximately 8 feet at a time until you’ve covered all four walls. Try not to apply too much pressure on the trowel, or it may cause ridges in your wall.
Clean off your steel trowel from time to time to remove any hardened plaster that may be clinging to its surface. Leaving these on can cause damage to your wall, later on, so always take the time to remove them before applying more plaster onto the wall.
pply the Second Coat
If you’re using synthetic plaster, wait for at least four hours for the base coat to rest before applying a second coat. But for lime-based plaster, you can wait for as long as ten days between the coats. Start in the same way you applied the first coat. Hold your trowel or drywall knife at a 60 to 90-degree angle, then apply your plaster in long and short overlapping strokes to get an irregular look to the final finish.
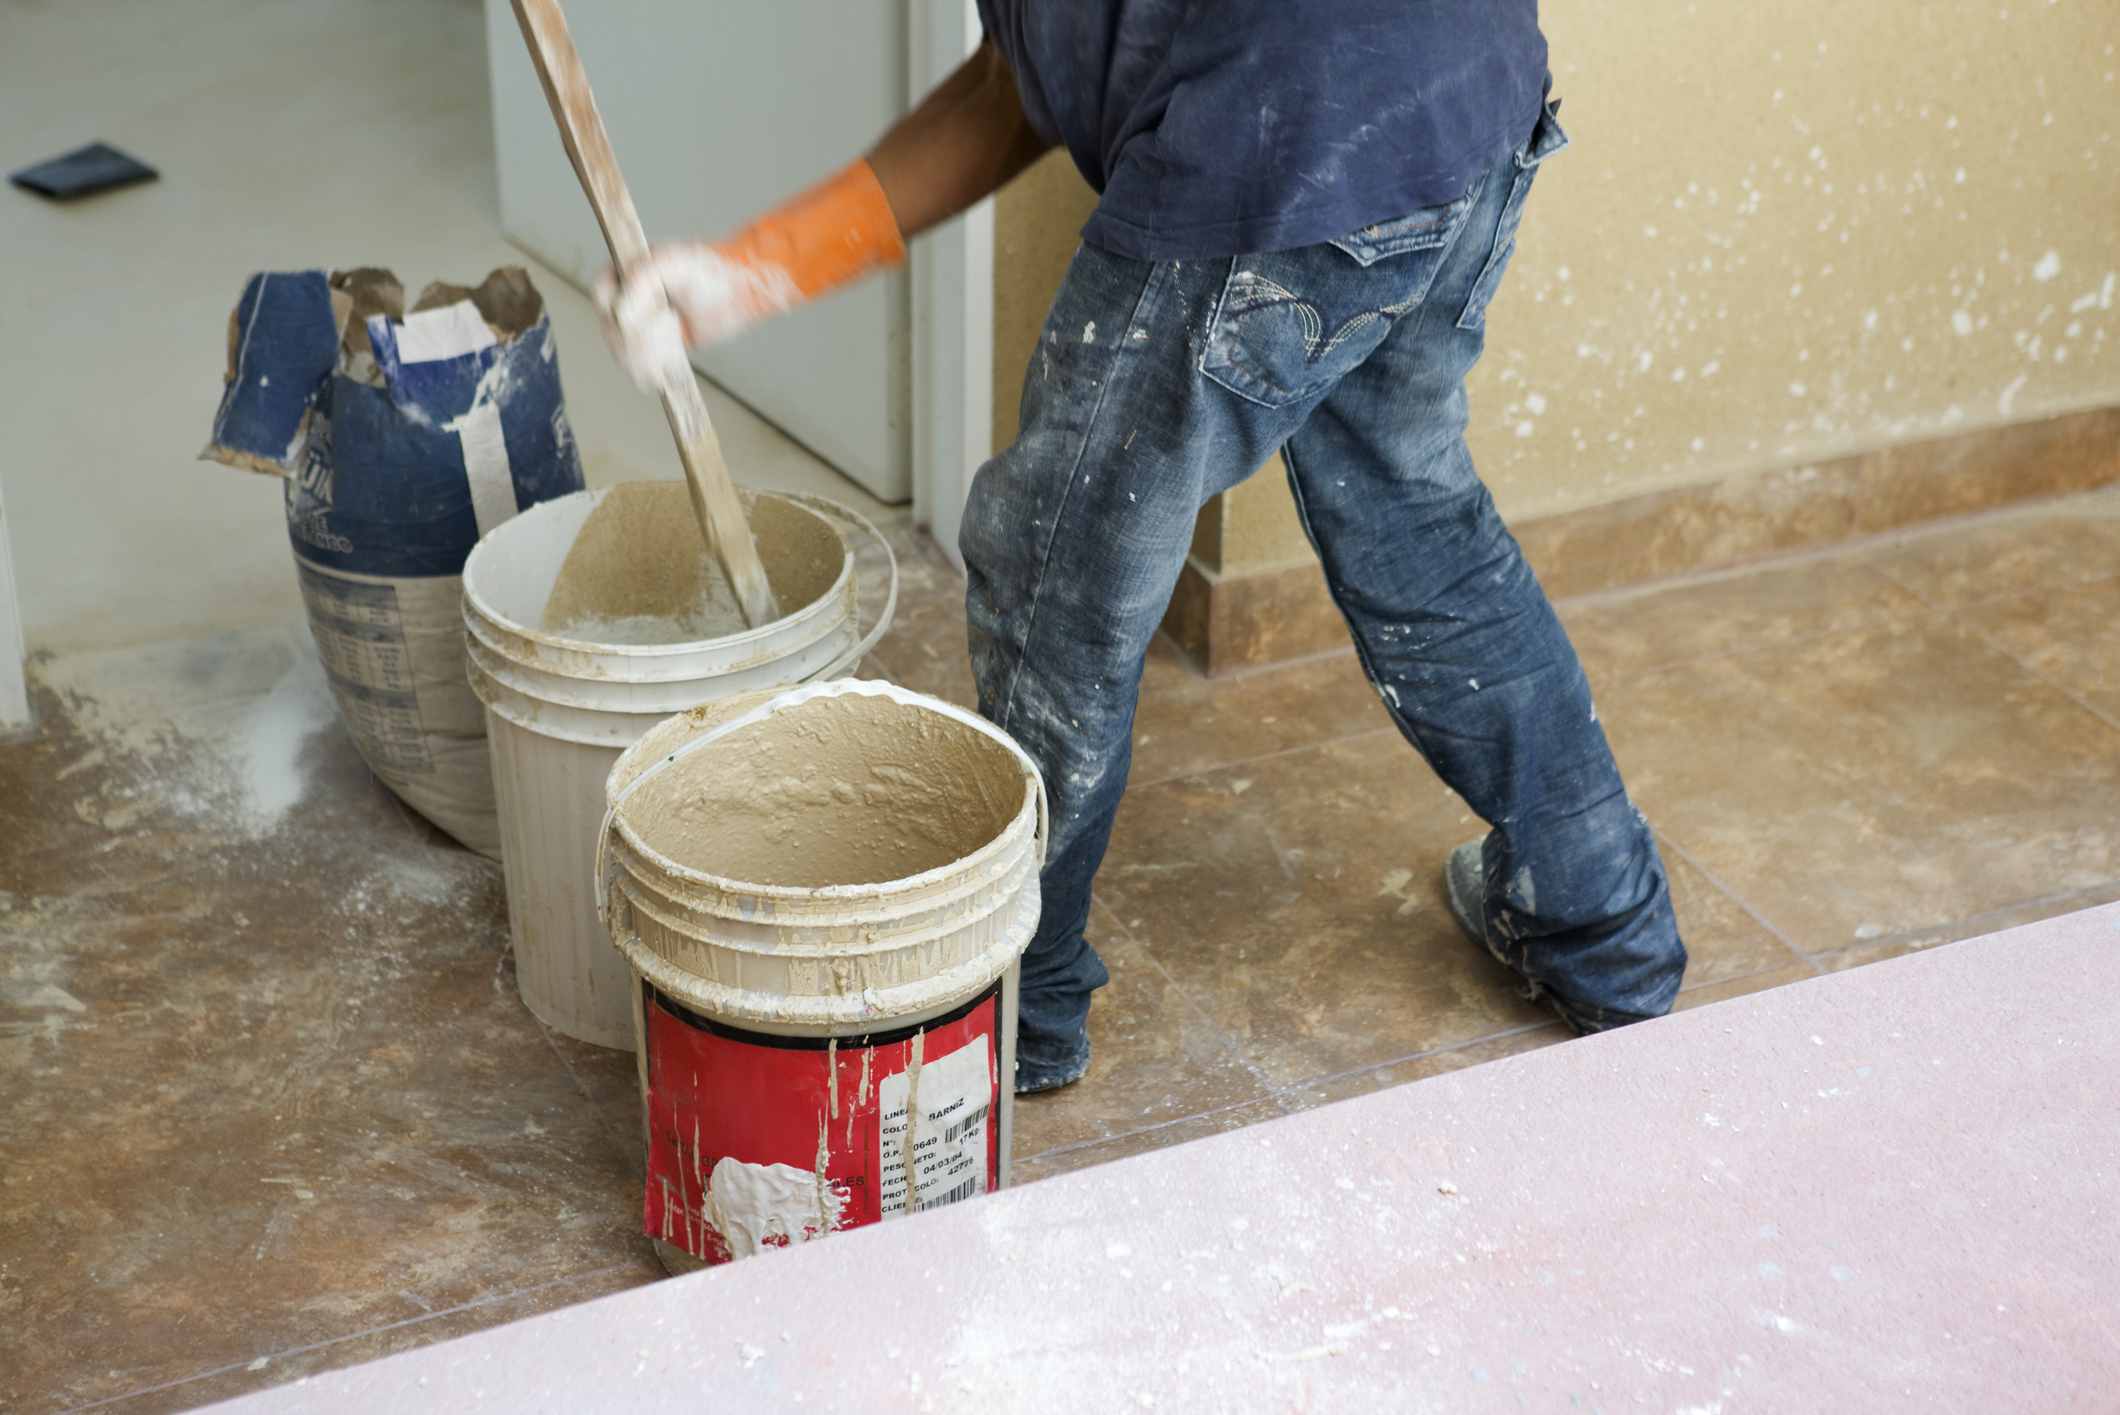
Image credit: https://www.thespruce.com/
As you work your way across, check your progress to ensure that all the ridges and depressions have been filled. If you see some small areas with deep pits or ridges, use a thin trowel to smooth it out before the mixture becomes too dry.
If you’re not satisfied with the final result after applying a second coat, you can apply the third coat if you wish. If you’re using lime-based plaster, add a tinted topcoat of lime dust, linseed oil, soap, and coloring agent. Let your plaster dry for 24 hours before proceeding to the finish treatment.
Burnish the Surface
After the second coat has dried, you can burnish it with a dry sponge. This gives your surface a nice, polished sheen that’s slightly matte. To burnish synthetic plaster, use 400 to 600 grit paper if you wish. After that, clean the surface with a damp cloth.
You can also make the surface look more polished by rubbing the surface with your fingers. You can also rub the surface with a clean cloth or putty knife for an even more glossy sheen. When you’re finished, wipe down your wall using soap and water to get rid of dust particles.
Proceed to Waxing
Dip your clean trowel in tinted paste wax and spread it in light coats over your plaster. Let each coat dry before applying another one. It’s best to put on several thin coats instead of one thick layer. A good rule of thumb is to let the wax dry for ten minutes after each coat, then buff it with a clean rag or soft cloth until you get a nice shine that resembles a freshly waxed car.
You can also deepen the color variations by brushing pre-tinted glaze over the lighter areas of your surface using a paintbrush. Remember that real marble has a high contrast between light and dark tones. So, choose the darker tone if you’re looking to recreate the look of the marble. Check the pros and cons of marble flooring to learn more.
pply a Topcoat
This final step is optional. You can apply a topcoat to add durability, color and help seal the surface. For this step, it’s best to use 100% acrylic latex paint instead of wax if you want your finished product to last longer. Applying a topcoat is most recommended in rooms with high humidity, like bathrooms and kitchens. Otherwise, it’s optional though recommended for a nice finishing touch.
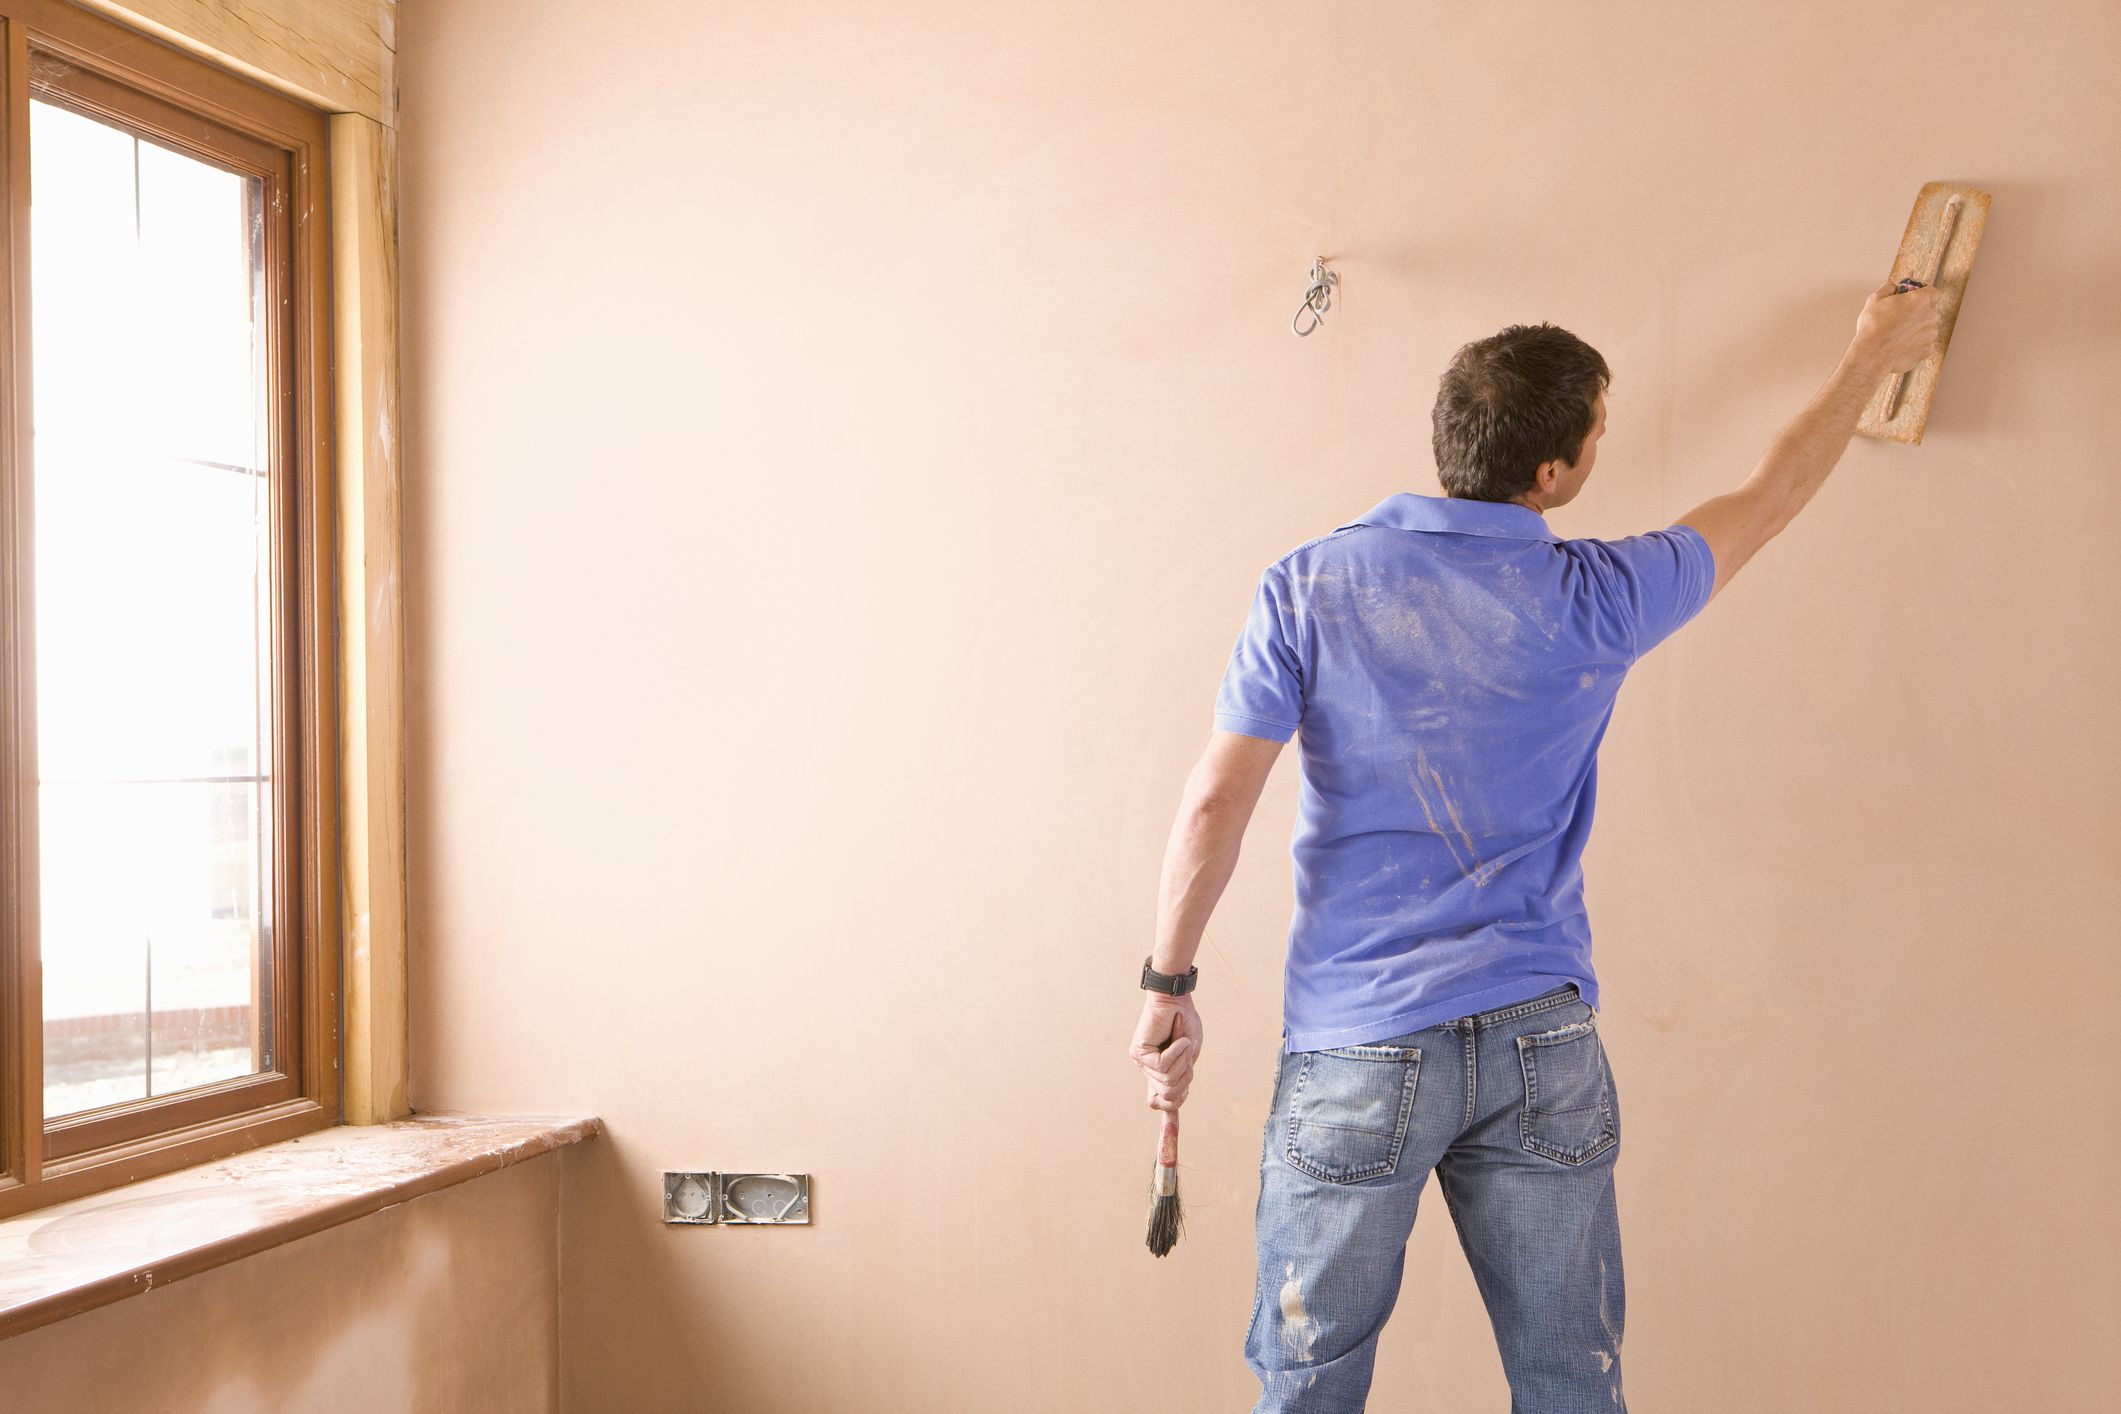
Image credit: https://www.thespruce.com/
You can also preserve the texture of your Venetian plaster finish by covering it with one coat of clear water-based sealant. And if you’re looking for polished marble, go for a sealant with a semi-gloss or satin finish. You can also choose a matte sealant if you want a limestone finish.
FAQs on How to Apply Venetian Plaster
Can you Venetian plaster over drywall?
Yes, you can, but keep in mind that you’ll have to skim coat the whole thing. This means after applying a scratch coat, you’ll have to apply a ‘skim’ coat over it with drywall compound and sand smooth.
Can Venetian plaster be applied over paint?
Yes, as long as the paint is well cured. If it hasn’t been, the moisture in the air will create bubbles, and it won’t look good.
Final Thought on How to Apply Venetian Plaster
As you can see, applying Venetian plaster finish takes a little bit of skill and some extra work, but it’s well worth it in terms of quality. Make sure you keep your sealed Venetian plaster clean by dusting the surface weekly with an electrostatic duster.
The post How to Apply Venetian Plaster appeared first on Kitchen Infinity.
Did you miss our previous article…
https://chefbuano.com/?p=416