If you have a darkroom in your home, it can make the whole place look smaller and more cramped. There are many ways to brighten a dark room, but they all require money or time that most of us don’t have. Here’s a list of ways you can brighten up your dark room without investing much time and money:
Place Your Mirrors Near Light Sources
Although it’s old advice, mirrors can expand your visual space and brighten your dark room. To use mirrors to their fullest potential, ensure that you place them near a light source, such as a window or floor lamp. Large mirrors reflect light and can do wonders for small rooms without windows. To get the best results, make sure your lamp emits ambient lighting.
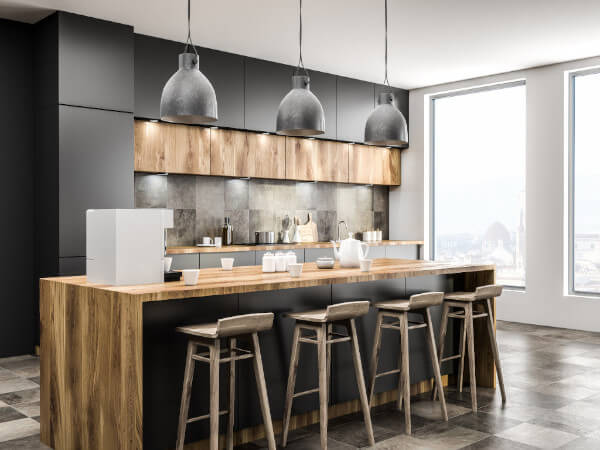
Install Multiple Light Sources
Placing a lamp near a window isn’t the only way to bring light into your dark rooms. The web is filled with examples of how lights can be used to brighten up a room-so much so that it’s nearly impossible for a single light source to do all the work. If you have many dark corners in your room, install additional light sources. You can add a floor lamp or table lamp to start.

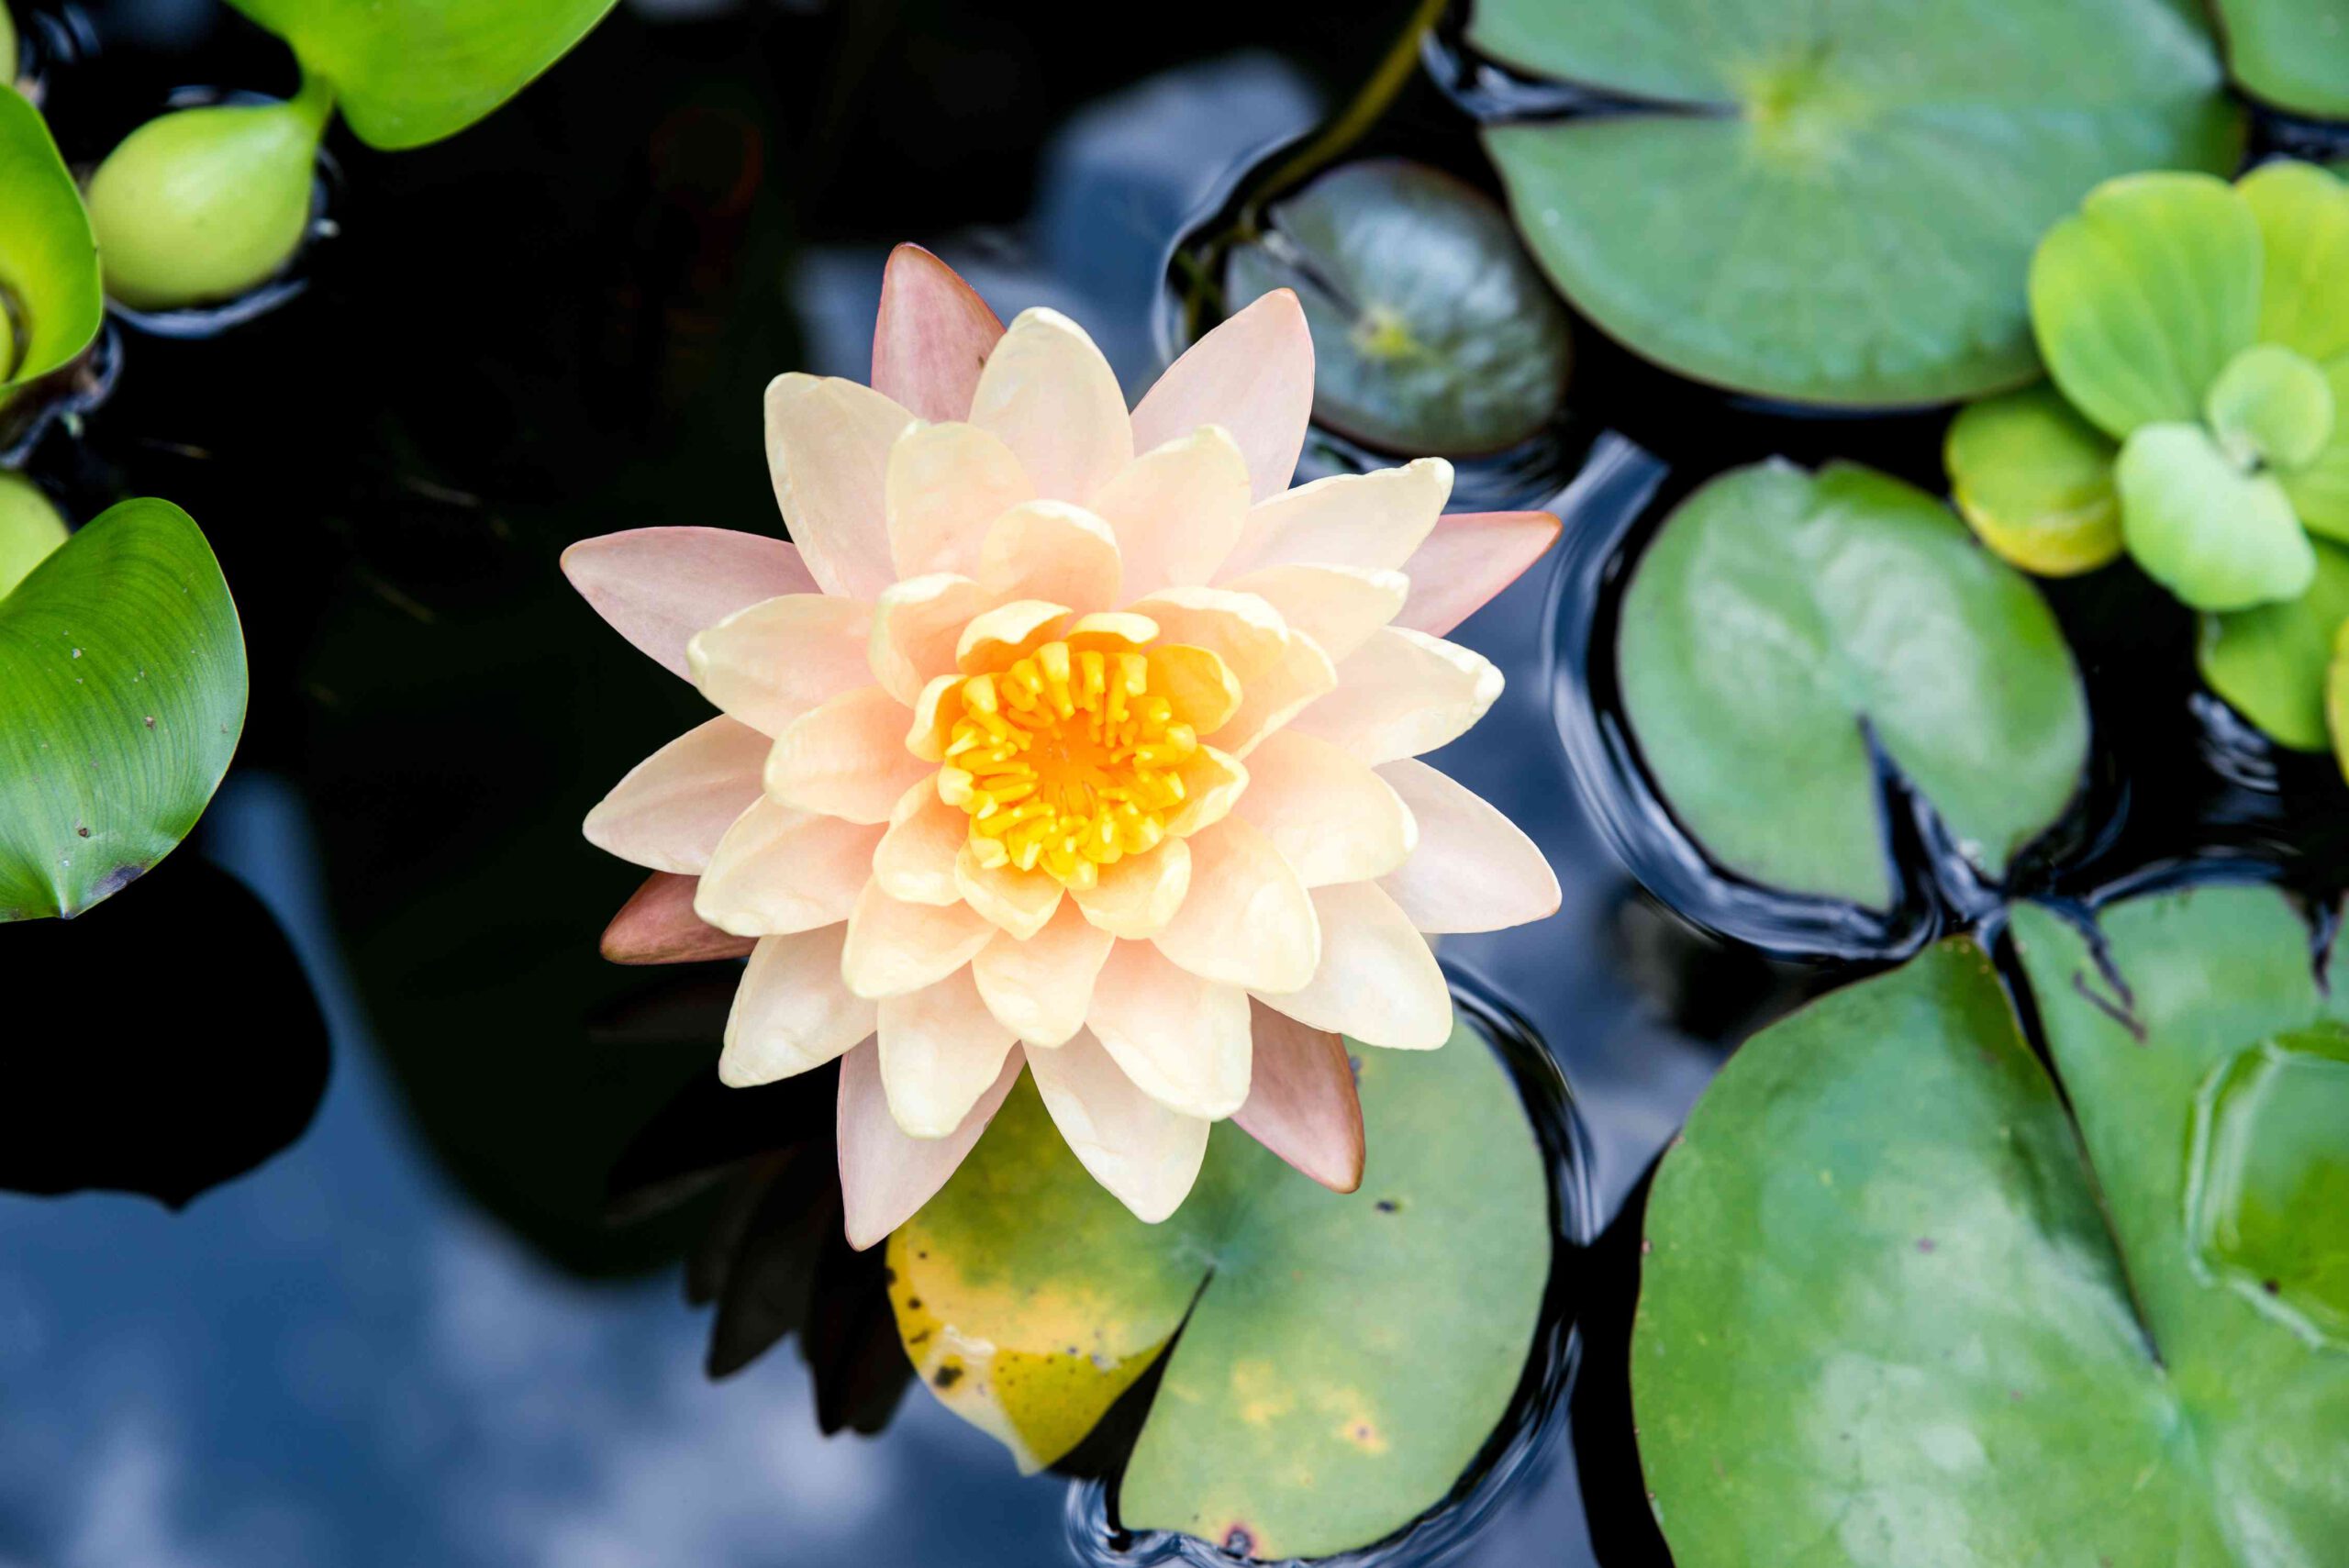
Image caption: https://hips.hearstapps.com/
dd Light Colors and Transparent Furniture to Dark Rooms
Light colors not only decorate your room but can also make dark rooms feel bigger, brighter, and more cheerful. While pastel hues are generally considered light, if you want your room to be brighter, it’s best to choose a lighter tone of the dominant color in the room-for example, if you have an orange room, add light yellow to brighten things up.
Transparent furniture is a great way to increase a dark room’s brightness, especially a small, dim room. Glass tables and shelves allow light from outside to flood in so you can have your cake and eat it too-a a well-lit room with an open layout. Also, a stylish, compact sofa in a lighter color like white, beige, and ivory can make your living room look and feel bigger and more spacious. If you find neutrals and metallic accents too moody, you can bring in a playful throw pillow. This will make your living room or bedroom feel casual without dressing it too much.
Cover Your Floor with Large, Bright Area Rug
An area rug is a quick and easy way to brighten up an otherwise drab room. A big, brightly colored shag rug instantly adds warmth and character to any space, making it the ideal choice for rooms that don’t see much natural light.
This will not only add some softness and texture to your floors but will make your floor glow. This is very important, especially if your dim space features dark floor cardboards. When choosing a color for your rug, think about choosing a rug that contrasts with your floor color. For example, if your floor is dark, choose a light-colored or white rug to brighten up the room.
Keep Your Windows Clean and Clear
A couple of hours washing your windows will brighten up any room, as dirty windows can darken a space by blocking out natural light. And don’t just clean your windows from the outside. Also, wipe those inside panes to ensure that there’s no film obstructing the light from reaching your room.
Make sure you deep clean your windows once a year to make them shine during the winter months. Remember that the less dirt, dust, and debris on your window, the more sunlight will shine through your room.
Introduce Light Fixtures
Overhead lighting in bathrooms isn’t always the most pleasant of spaces, so the addition of light fixtures can brighten up your space. Use single hang lamps above head height for functional lighting that adds interest to an otherwise dull room.
In that case, don’t rely so much on overhead lightings such as those from chandeliers or pendant lights. Instead, add some floor and table lamps to your dark bathroom to allow you enough lighting for grooming and even reading. Keep the light color cool so as not to create a warm atmosphere in an already hot space.
Go for Lighter Lampshades
Opt for lampshades that are made with a light material such as linen or cotton. While darker shades may make a small space seem even smaller, lighter shades will scatter the light and make your space look brighter. A lighter lampshade will help diffuse light without blocking its glow-like opaque shades.
Go for Light Wood Flooring
A dark floor is a great option for a small bathroom, but if you’re stuck with dark-colored tiles, think about replacing them with lighter ones. If your shower stalls and floors are already tiled in dark colors, freshen up the space by installing new light-colored finishing and caulk.
If possible, choose light wood flooring or a light stain that can hide chips and scratches. It will keep the look fresh and bright. If you don’t want to replace your flooring, you can always paint it.
Incorporate Metallic Touches
Make your drab and dreary space lively by adding shiny finishes to your home decor. Metallic touches work well in small bathrooms, especially if they’re used as an accent. Try using metallic tiles, showerheads and faucets, towel racks, light fixtures, and other decorative elements.
Metallic touches help in reflecting light irrespective of where they’re placed. Whether you express them through a light fixture, artwork, or decorative objects, using metallic elements is a great way to liven up dark and dull spaces.
Keep Minimalist on both Furniture and Light Fixtures
Minimalist furniture and light fixtures help in making a dark room brighter. When it comes to furniture, simple designs with clean lines work best in small spaces. Keep your bathroom minimalist by letting go of bulky items such as vanities, large cabinets, and massive furniture pieces.
To light up your room, you’ll need a low-key light fixture. This should give you good light, but you don’t want the light itself to be on your room’s focal point because of the dark color of your walls. For example, if you live in a small apartment with drab walls and want to brighten up your bathroom, install an overhead light that is sleek and simple; it should blend easily into your room’s design.
Avoid oversized furniture; instead, go for light furniture that lies low to the ground. Set a maximum height for your furniture and ensure that each set falls below the set height. Leave ample space between each piece of furniture and give it a careful look to ensure that the scale is right. You can take your time to learn how to arrange furniture and make your room look brighter and lovelier.
void Bringing in Too Much Wall Art
Before bringing in an interior designer, try to limit your decorative accessories because these designers can overdo the decoration. Even if you live in a large mansion and your room is struggling with lighting, try to limit your artwork, furniture, and other decorative accessories.
Even though you love contemporary art, consider that too many modern art pieces might look crowded or give an impression that the room is small. Instead of hanging up everything on the walls, use a wall gallery to create an artistic statement.
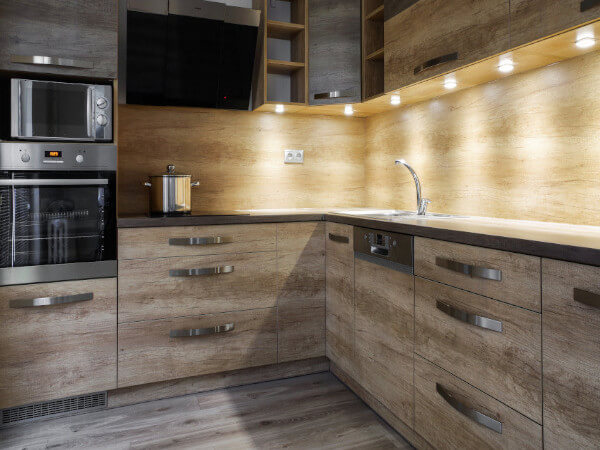
Paint the Ceiling Bright White
If you don’t have tall windows or the ceiling is too low, paint it white to make the room appear brighter. White ceilings are also easier to clean since they can reflect light, unlike darker colors that are more difficult to spot dirt on. Painting your ceiling with an eggshell or satin finish will boost your ceiling’s reflective properties.
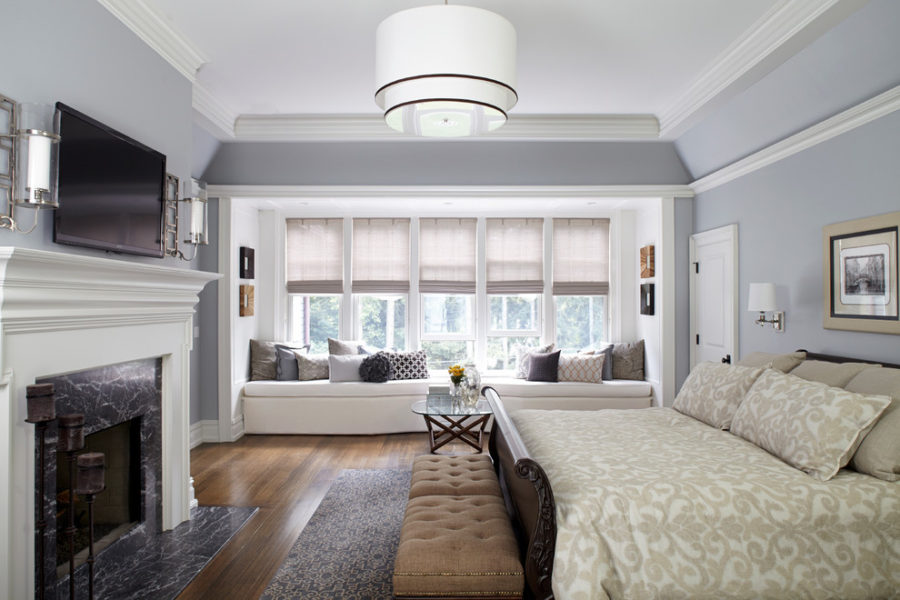
Image caption: https://cdn.trendir.com/
Consider a Whiteout
If you want to bring in more light into your old room, grab your paint roller and a gallon of white paint, then start painting your walls. But don’t stop; paint everything white from floor to ceiling and even your home decor and furniture. Give your baskets and bed frames some shade, and you’ll love the outcome.
If you feel overwhelmed, you can assign someone to help you out. A too-white room can feel sterile and even a little cold, so make sure to add some character with a warm accent somewhere on your walls. This will not only make your dark room brighter but will also give it a subtle beauty.
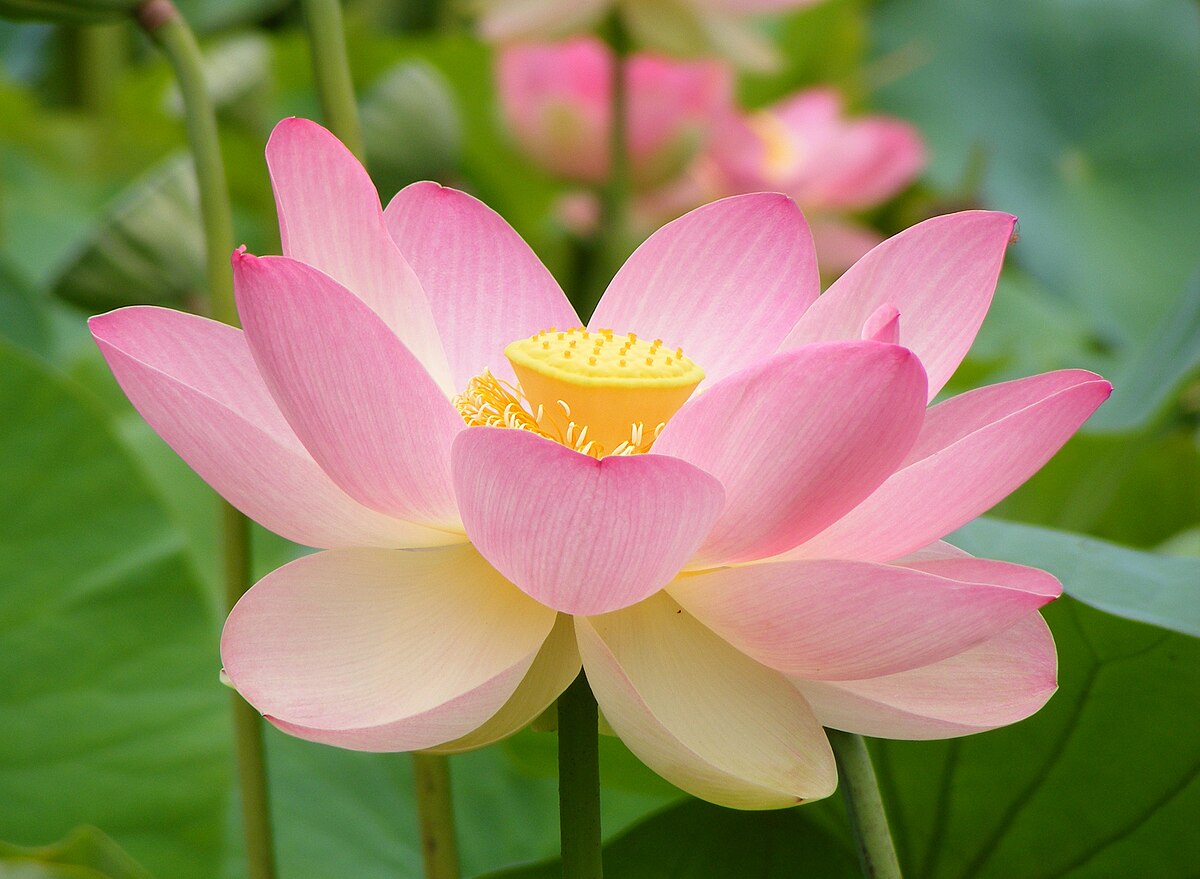
Bring in Greenery
Make your room feel more spacious and lighter by bringing in greenery. The crisp white walls and splashes of color will brighten up your dark flooring and narrow space. When bringing natural plants, consider the size since the larger size is better as long as you use a white vessel.
This white vessel can visually bleed into your room and make it feel brighter. Since the plants take up space, they will help diffuse the light and make your dark space look bigger. Choose greenery that thrives in minimal light.
Limit Your Window Treatments
Make the most of natural light in your home. Avoid heavy draperies and window treatments that can block natural light. If you want to put something on the window, consider sheer drapes, blinds, and roman shades that will not take up your wall space. You can also consider opaque treatment to give you privacy while letting light into your room.
Consider a Glass Door
Swap your solid door out with a glass door. This is one of the permanent changes that can make a difference in your dark space. It will let in much more natural light and give the illusion of a bigger room. An exterior door will also allow more natural light into the room from outside, making a big difference. And if it’s an internal door, it will make your room feel more open and bright.
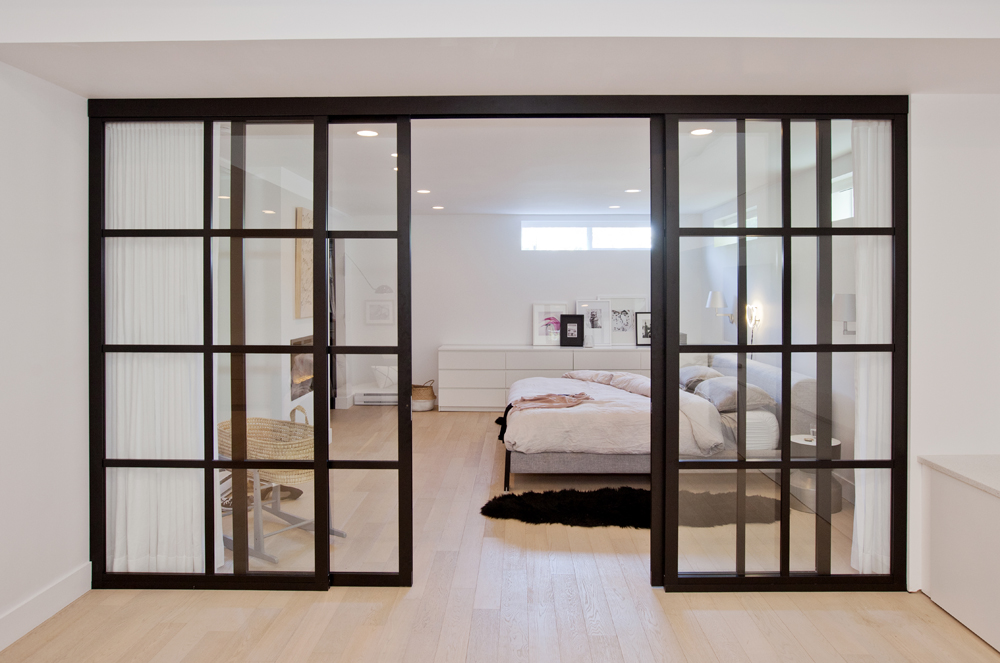
Image caption: https://assets.blog.hgtv.ca/
FAQs on How to Brighten a Dark Room
What colors make a room look brighter?
Colors that make a room look brighter include bright white, off-white, light grays, warm neutrals, and bright and bold colors.
How do you brighten a dark room without natural light?
You can brighten a dark room without natural light by using brighter textures, paints, and furniture.
What do you do when your room is too bright?
If your room is too bright, use darker woods as flooring or wall coverings to absorb some light.
Final Thought on How to Brighten a Dark Room
As you can see, brightening a dark can be a challenge and, at the same time, a good opportunity to add some drama and texture. It’s not easy to get more light into your dark room. It’s doable with some strategic design and planning.
The post How To Brighten A Dark Room appeared first on Kitchen Infinity.
Did you miss our previous article…
https://chefbuano.com/?p=704