Gasoline is one of the most difficult stains to remove from clothing or carpeting. The stain will not only be hard to remove, but it can also cause an unpleasant odor. Since gasoline evaporates quickly, you have a short time frame to clean up and treat the stain before it becomes permanent.
Luckily, there are several ways that you can go about removing gasoline stains and odors from your clothes and carpets. Below, we’ll cover some of the more popular removal methods.
Before You Begin
Before you start, make sure you test any detergents or cleaning solutions in an inconspicuous area to avoid damaging the fabric. Cleaning chemicals and the dryer’s high heat can interact with the gasoline, so it’s not safe to use a home dry cleaning kit for these stains.
If it’s dry clean only, immediately take the garment to a professional dry cleaner. Do not dry the clothes in a clothes dryer until the stain is entirely gone. This is because if gasoline is still present in the garment, it can ignite your dryer and cause a fire.
Tools and Materials
Paper towelsSoaking basinWashing machineScrub brushBaking sodaWaterStain remover stick, spray, or gelAmmoniaVinegarOrange cleanerDish soap
Instructions
Remove Excess Gasoline
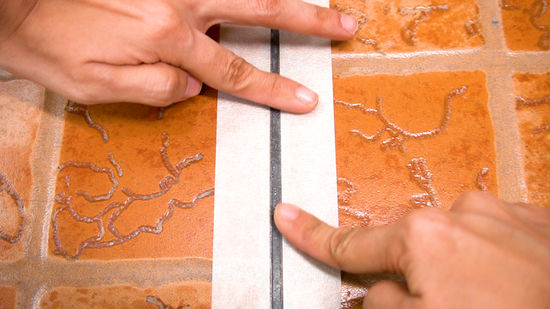
If the gasoline splashes on your clothing and has begun to soak into the fibers, you need to remove it as much as possible immediately. Place a couple of paper towels over the stained area’s top, press down, and then pat dry with another clean paper towel until no more gasoline transfers from the garment.

Image credit: https://www.thespruce.com/
You can also use baking soda to absorb gasoline from a wet spot on your clothing. Make sure you prevent the flammable towels or cloths used for blotting from starting a fire by setting out the cloth or towel to air dry. Flammable gas fumes will dissipate in the open air.
Once your item is dry, find a sealable metal tin, put the towel or cloth in it, and wet the material until it’s damp. Seal the container and discard it with your trash.
Pre Treat with Stain Remover
Before you treat the stain with a stain remover, test the product on an inconspicuous area of the garment to ensure that it does not cause any discoloration or damage to the fabric. Apply a liberal amount of the stain remover to the clothing.
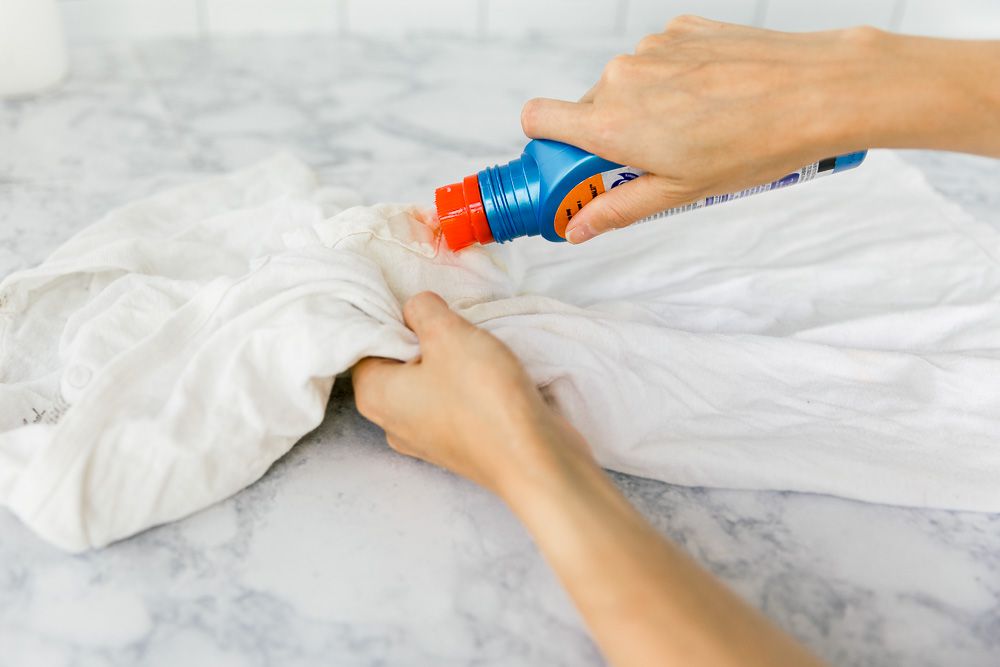
Image credit: https://www.thespruce.com/
Stain removers can be found at most local grocery stores in either an aerosol can or a liquid form. Wash the clothing at the hottest setting appropriate for the fabric. Hot water is necessary to remove the gas fully from the clothing.
Use Liquid Dish Soap or Heavy-Duty Laundry Detergent
Dish soap has powerful enzymes that can help it break down oil and grease left behind by food, and it can work very well for other stains such as gasoline. You can also use enzyme-based heavy-duty liquid detergent.
Apply two tablespoons of dish soap or liquid detergent with a soft-bristled brush. Allow your clothing to sit for up to five minutes before soaking it in hot water for 30 minutes. Make sure you use the hottest water safe for the fabric type. Remember not to use DIY laundry detergent as it won’t be effective enough.
Treat with Baking Soda Paste
Another great way to remove gasoline stains and odors is to make a baking soda paste. Mix two parts baking soda to one part water in a bowl. Apply it to the stain, then use a scrub brush to rub it into the fabric. Leave your clothing out to air dry to absorb the paste, then brush off the excess baking soda.
If the stain and odor remain, repeat the step or soak the stained clothes overnight submerged in water with one cup of baking soda added. Wash, rinse, and check for odor. Repeat the baking soda paste application or baking soda soak until the odor is gone.
Soak Lingering Odors White Vinegar
If you still have a gasoline smell after trying baking soda, you can try using white vinegar. Pour white vinegar into a spray bottle and spritz the area where the gasoline odor is present. Let the vinegar sit for about 30 minutes, then blot it up with a cloth.
The vinegar smell will dissipate over time. If you want to get rid of the gas smell in your car, soak the gas with old towels or clean rags as quickly as possible. Then use a mixture of equal parts baking soda, white vinegar, and hot water to neutralize the odor.
Rub and wipe it away with a clean rug. If the smell lingers, use a few sprays of Febreze to get rid of the smell.
Soak Heavily Soiled Items in Ammonia Solution
Another way to remove gas stains and odors is by using ammonia. Soak the clothing in the washer full of warm water and one cup of non-sudsing household ammonia. This will smell, so make sure you shut the lid. Let them soak for several hours overnight, then drain and wash as usual.
The ammonia will neutralize the gasoline odor. Never use chlorine bleach or detergent containing chlorine with ammonia. This mixture can make a dangerous chlorine gas that produces toxic fumes.
Remove Gasoline Stain with Coca Cola
Another household remedy for gasoline odor and stains is Coke. Soak the stained clothing in a bucket of Coca-Cola and let sit overnight before washing as usual. This will also remove any grease, oil, or tar stains from items such as motor oil and grease stains on clothes, driveway spills, and grass trimmings stuck to your clothes after cutting the lawn.
You can also add two cans of Coke and one box of baking soda to a sink filled with cold water. The Coke will break down the stain while baking soda absorbs the odor.
Fast Orange Laundry Detergent
If you have a severe gasoline odor, Fast Orange is a laundry detergent that can help. This detergent is formulated to remove stains and odors on clothes caused by gasoline, oil, and other mechanical fluids. Add one cup to your washing machine and let it run through the entire cycle.
You can also use this detergent for hand washing by pouring a little of it into the water, stirring it up, and letting the fabric soak for about 30 minutes. Then rinse the clothing, and the gasoline stain and odor will be removed.
FAQs on How to Remove Gasoline Stains and Odors
Can you put gasoline-stained clothes in the dryer?
It’s not good to put gasoline stained clothes in the dryer because the heat will set the stain and make it harder to remove. The best way to dry clothing that has been stained with gasoline is to line dry or air dry the clothing outside. This will help to dissolve the fumes and reduce the risk of fire.
Can you use bleach on gasoline stains?
You should never use bleach on gasoline stains because it will make them worse. Gasoline stains are oil-based, and bleach will only set the stain, making it more difficult to remove.
Final Thought on How to Remove Gasoline Stains and Odors
Gasoline can be a tough stain to remove. But if you follow the above tips carefully, removing gasoline stains and odors won’t be a problem. Also, consider pre-heating the clothing with the right products to break down the stain and odor before washing to effectively remove these types of stains.
The post How to Remove Gasoline Stains and Odors appeared first on Kitchen Infinity.
Did you miss our previous article…
https://chefbuano.com/?p=1261