How To Care For Orchids Indoors

Orchids require a lot of care but if you’re willing to put the time into it then it could be an opportunity for you to grow something that will last many years.

In this article, we will discuss how orchids need to be cared for indoors. Let’s dive deep into this topic.


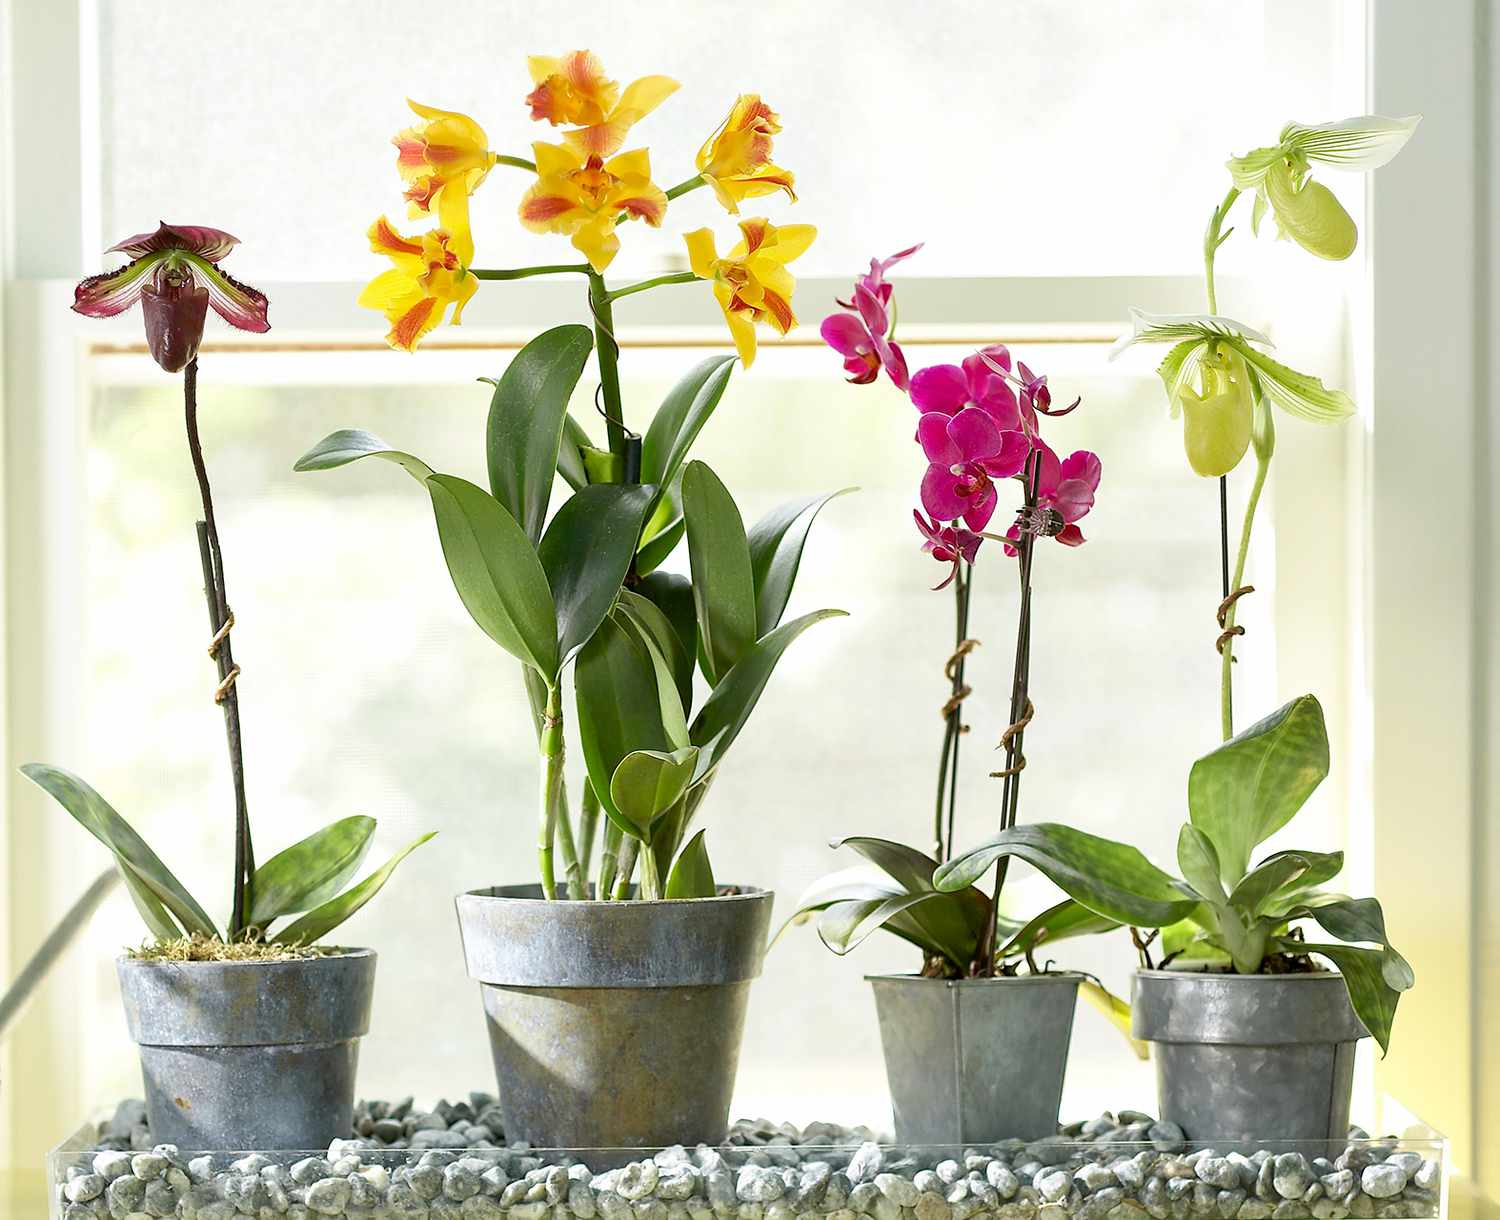
Image Credit: http://bhg.com

Caring for your orchids

Orchids are beautiful and exotic plants that require a lot of care. They need to be kept in warm areas, away from drafts or cold air. Be sure to keep them out of direct sunlight as they are sensitive to light.

As with other plants, orchids require a good amount of water and should be watered once every 1-2 weeks depending on the humidity. The pot should have a drainage hole to ensure that excess water will not sit in the soil for too long.

You can fertilize your orchid every month using a mixed fertilizer. Do not allow the fertilizer solution to remain on the leaves as it can burn them. Instead, make sure the fertilizer is poured into the soil around the roots where it will be absorbed by the plant more easily. You can tell if your orchid needs watering because its leaves will droop slightly – don’t wait until its leaves are completely soggy.

Repotting your orchid plant

Orchids can live for a long time, however, they require repotting every 2 – 3 years to provide fresh nutrients and soil.

You also need to decide what size pot you want your orchid in. They tend to either be smaller pots for younger plants, or they can grow into bigger-sized pots as they age depending on how their flowers mature. You should consider using clay or plastic pots as both have been known to work well with orchids.

You must use the right type of soil as this will ensure that water doesn’t sit at the bottom of the pot and over saturate the roots. That being said, it is equally important that excess water can drain from the pot.

When you are ready to repot your orchid plant, choose a new pot that is only 1 size larger than the previous one. It is important to slowly transition your plant from a small pot to a bigger pot as this helps prevent water-logging and shock which could kill the roots. Only make amendments to your orchid’s soil when it is completely dry – never do so when it is wet since this will activate fungus growth.

Here are some steps on how to properly repot an orchid plant:

Remove your orchid from its old pot

Carefully remove the orchid plant from its old pot by gently squeezing it on the sides of the pot until you feel the root ball loosen.

dd some new, fresh potting soil 

Using a clean pot, add your pre-moistened commercial orchid bark mix to allow for proper drainage so that excess water can flow out.

Remove any dead leaves and roots

Using a clean pair of cuticle scissors remove all dead roots and leaves. If there are any black spots on it then this is most likely an indication that the plant has been infected with fungus.

Repot your orchid into its new pot 

Gently place the orchid into its new pot and push down on the root ball so that it is secure in its pot. Add more soil around the outside of the root ball until it is completely covered.

Water your orchid plant 

You can now carefully water your orchid to ensure that it is well hydrated, but again do not allow any liquid to sit at the bottom of the pot. You should never have to repot your orchids at any time other than every 2-3 years, which you will know due to their roots growing out through the drainage holes. If this happens then simply remove some of them before repotting.

Cutting off any dead roots

It is important to periodically cut off any dead roots as they can cause your orchid plant to rot and die. You should only do this when the soil is completely dry, and not when it is wet since this will activate fungus growth.

1) Find the dead roots that you wish to remove by gently running your hand through the root ball. You can tell which ones are dead rather than alive because they will be totally dry and somewhat brittle, whereas live roots are moist and pliable.

2) Remove them using a pair of clean cuticle scissors or sharp knives, making sure you leave at least 1/2 inch behind. You should also try to angle yourself so that you avoid cutting any living roots as well.

3) If there is still some of the brown root left after removing it with your cuticle scissors then simply break it off using your fingers. This ensures that nothing is left for fungus to feed on which could ultimately kill the plant.

Preventing fungus from spreading

You must remember to remove any dead leaves and roots as these can lead to the spread of fungus within your orchid plant. If there is a black spot on it then this is an indication that the plant has been infected with fungus and should be removed immediately so as not to encourage further growth.

1) You should start by removing all dead parts of your orchid using fresh cuticle scissors.

2) Next, use a cotton swab to lightly rub alcohol around the area where you will be making your cuts – this will help kill off any remaining fungus that could otherwise cause further infection.

3) Lastly, use a fresh cuticle to very carefully remove the fungus, making sure that you do not remove any living tissue.

Giving your orchid the proper amount of light

You should make sure that you place your orchid in an area that receives at least 6 hours of sunlight per day. If the leaves are pale green then this is a good indication that it isn’t receiving enough light. However, if the leaf tips are turning brown then this means that it gets too much sun which can scorch its leaves, so try to move it elsewhere. You can also use artificial lighting instead since these will never burn your plant. Please note, however, that only certain types of orchids should be kept indoors.

The type of orchid you have should determine where you’re going to keep it. Some orchids prefer indirect light, while others need a lot of direct sunlight. 

Pruning your orchids

After your orchid plant has flowered, it is important to prune the stem.

Follow these steps to correctly prune your orchids plant:

Cut off any dead or dying leaves by cutting the stem just beneath the leaf.Always cut at an upward angle to maximize water intake.If you want, also prune flowers so it encourages further flowering.Remove all diseased and sickly parts of the plant.You mustn’t touch the “bud” of your flower while pruning as this can affect its development. Do not use chemicals on your orchid plant while pruning either.

Also, pruning should be done naturally without using any harmful products.

Orchid Care: How to Grow and Care for Orchids
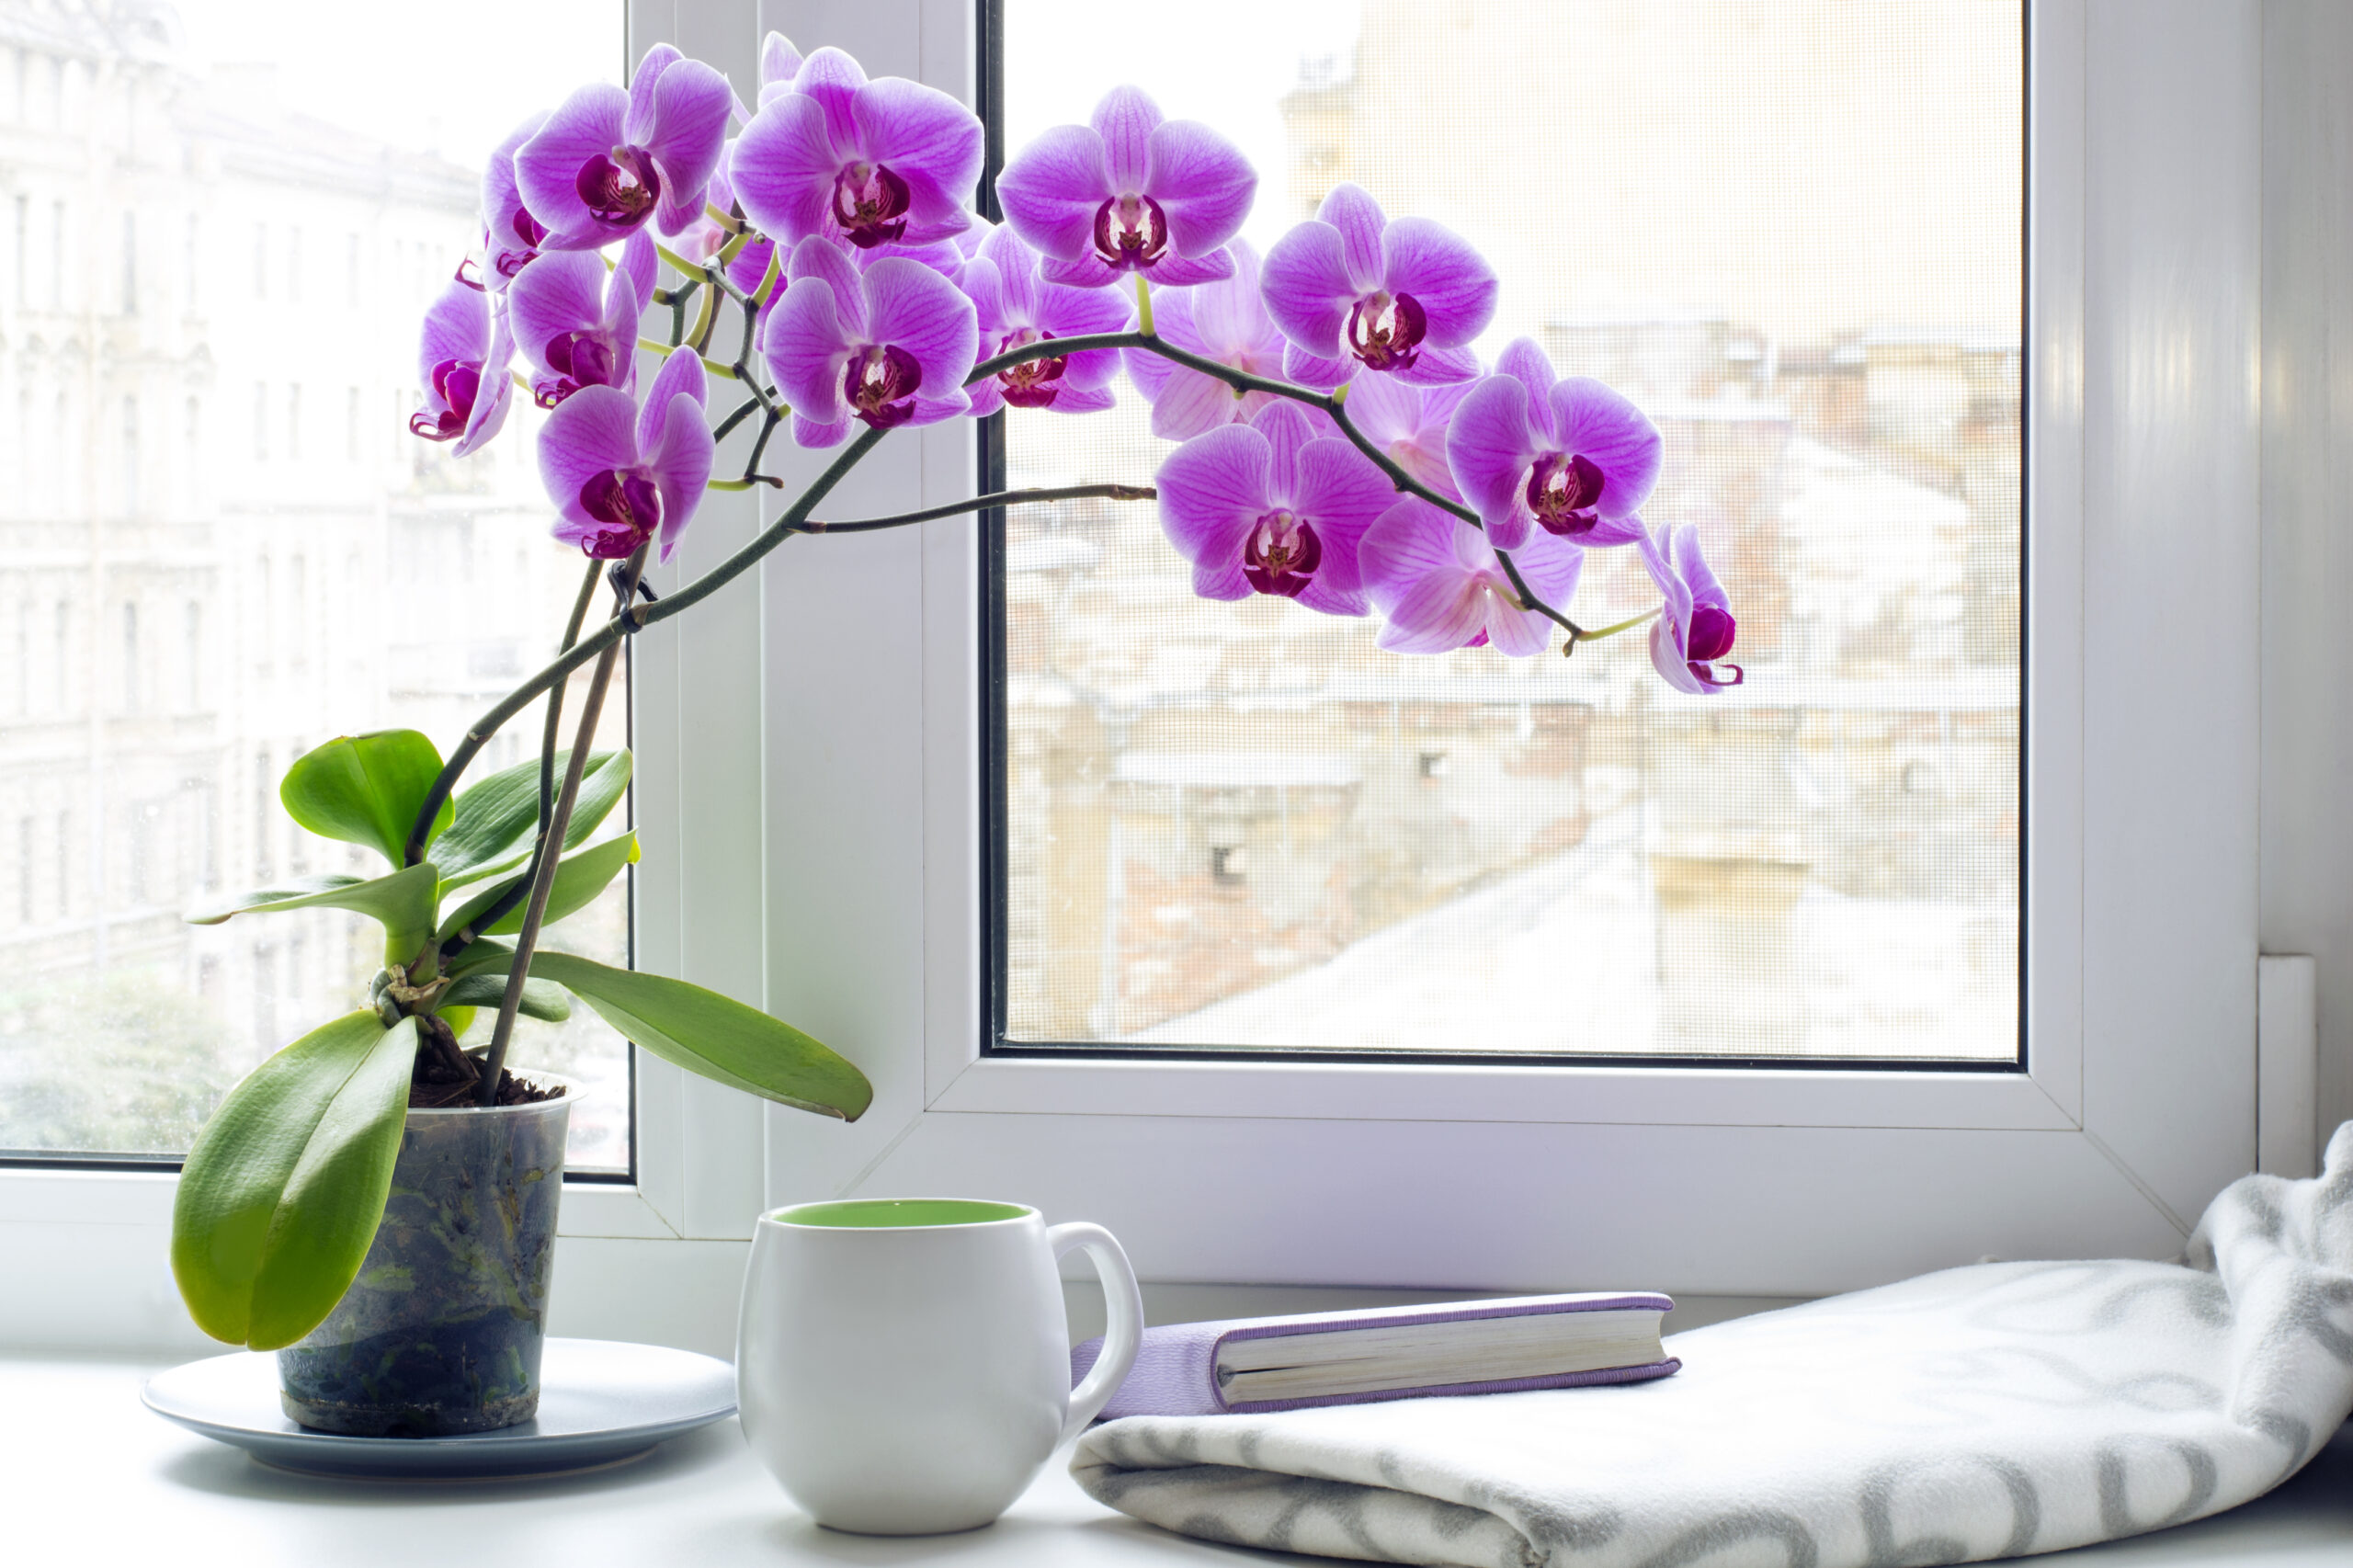
Image Credit: http://almanac.com

How to care for orchids indoors- FAQs

My orchid is flowering, do I repot it now?

No. Paphs are the exception to this rule as they will flower just before they are due for repotting, after which you should not water them for three weeks.

How much water should I give my orchid?

Allow your orchid to dry out completely between watering, use rainwater if possible, and never use softened water. Use a liquid fertilizer every other week during Spring and Summer.

How do I plant roses in my garden?

If you want to plant roses, dig a hole twice the size of the pot and put some fertilizer in it. Carefully remove your rose from its pot and gently tease the roots apart so there’s plenty of room for them to grow. Place it in the hole and fill it with soil, pressing down firmly as you do so. Water thoroughly after planting.

When is the best time to plant my brush box?

Brush boxes are typically grown from seed which will germinate at any time of year given enough warmth, light, and moisture – however, they can also be planted when adults if conditions are suitable or purchased as container-grown plants. Soil should be moist yet well-drained, acidic (pH 5-6) neutral (pH 7), or alkaline (pH 7), and exposed to full sun or partial shade.

How do I grow cilantro at home?

Cilantro loves warm weather. You can grow cilantro in your garden almost any time of the year, but spring and summer are the high seasons. Soil should be kept slightly moist until seedlings emerge – after which point you would want it slightly dryer. Cilantro thrives best in full sun, or partial shade with six hours of sunlight or more per day. 

Final thoughts on how to care for orchids indoors

In conclusion, orchids require a lot of care but if you’re willing to put the time into it then this is an opportunity for you to grow something that will last many years.

Keep the above tips in mind and you’ll have beautiful-looking orchids that you can be proud of.

The post How To Care For Orchids Indoors appeared first on Kitchen Infinity.

Did you miss our previous article…
https://chefbuano.com/?p=817

Reasons Why Orchids Won’t Bloom and How to Fix Them

Reasons Why Orchids Won’t Bloom and How to Fix Them

Orchids are beautiful and exotic, but they can also be frustrating if you’re trying to grow them.  One of the most common problems people have with orchid growing is that their plants won’t bloom. It’s very disappointing when your plant doesn’t produce flowers because it’s such a rare event.

If you love orchids, this guide will help you get the most out of your investment in these stunning plants.  Even if it hasn’t flowered for years, there are still things that can be done to encourage blooming. Orchids are one of those flowers that require very specific care, so they don’t wilt and die on you before they even get a chance to bloom. Below are reasons orchids won’t bloom.

Insufficient Light

If you want your orchid to rebloom, try moving it near a brighter location. Orchids need at least 12 hours of bright light so they can survive and grow. You should learn how to care for your orchids indoors so they can grow well and bloom.


Image credit: https://i1.wp.com/

To ensure they get enough sun, there are different places to put them in the house, but the ideal place is by a window to get good sunlight exposure. It will also help if you rotate them once in a while so that all sides get enough light. Move your orchid to a place where it gets a few hours of direct morning and afternoon sun.

This will ensure the plant gets enough energy to make a spike with lots of flower buds. Dendrobium orchids and cymbidium orchids are also orchid varieties that require bright light and not direct sun. Lack of sufficient light is one of the reasons why orchids fail to bloom, so if you plant indoor orchids, you may try to grow light to achieve flowers.

Getting Too Much Light

If you’re trying to grow your orchid in direct sunlight, it may die. However, too much shade can also be a cause of failure orchid bloom. Indirect light or morning sun is best for most orchids, and if the light is bright where you live, go ahead and put your plant in direct sunlight. Avoid excess sunlight for the best-blooming orchids.

If you also place your orchid in full sun, you’ll see severe symptoms such as sunburned leaves, and an overabundance of artificial light can also suppress blooming. In addition to cooler nighttime temperatures, the shortening days of autumn can signal an orchid to form buds.

If you’re keeping an orchid indoors, in a room where the light stays 24 hours a day, then your orchid is missing an important natural cue. If you’re using artificial light, then use a timer to simulate the cycle of natural daylight and darkness.

Overwatering

Overwatering is most often the cause of orchids’ failure to bloom. Just like humans, orchids need oxygen to survive. Excess water displaces oxygen in the potting media, starving roots and suppressing blooms. Most orchids need to dry out between watering, and you should allow them to have wet feet by allowing water to saturate in the root zone.

Overwatering
Image credit: https://imagesvc.meredithcorp.io/

Orchids growing in the right kind of potting mix will rarely suffer from overwatering. Signs of overwatering include roots turning brown, while wrinkled leaves can be a sign of too little water or too much water. Don’t wait to see a pot of muddy mix and a dying orchid; instead, give your orchid adequate care while it’s in bloom and out of orchid bloom.

Varying Temperature

Orchids like to be warm and relatively dry during the day, but they require a drop in temperature at night. Orchid flowers need bud building overnight temperatures (under 10 degrees Celsius). For example, Paphiopedilum orchids need temperatures of 70 to 80 degrees during the day and 50 to 60 degrees at night. Warm temperatures between 20 and 25 degrees Celsius will encourage buds to form on your orchid flower spikes.

Cooler conditions can prevent your plant from forming buds. It is possible to have too much of a good thing if the temperature stays above 25 degrees Celsius during the day and night, as your plant will stop flowering. Try to expose your orchids to nighttime temperatures 10 degrees cooler than daytime temperatures for two weeks at the start of the orchid’s growing season.

Orchids Need Proper Nutrition

If you fertilize your plant too much, the excess nutrients can build up in the potting media and cause your orchid to bloom. You also need to feed your orchid well during its flowering season. Give it a regular fertilizer that has trace elements, which will help promote bud formation. But also be careful because too much fertilizer can stop your plant from blooming.

Of course, orchids are not heavy feeders, but an orchid living in the sterile inorganic potting mix may need a nutrient boost for its best performance. The best fertilizer to use is a urea-free fertilizer that provides nitrogen even in the absence of microorganism activity common in rich garden soils.

Moth orchids, in particular, initiate blooming spikes in response to a month and cool nighttime temperatures. At home, you have two options to encourage blooming. These options include keeping your orchid near a bright window at night in the early fall, keeping air-conditioning low during the day, and turning it up at night.

Roots Need Attention

Most orchid growers find it tricky when it comes to repotting orchids. When your orchid media begins to break down, the orchid roots can suffocate from lack of oxygen. In addition, some orchids will resent having their root zone disturbed, and they’ll refuse to bloom for six months to a year after repotting.

Roots Need Attention
Image credit: https://i2.wp.com/

In order to determine whether your orchid needs to be repotted, evaluate the root system and not foliage. If you see the orchid roots turning brown and the planting material resembling garden soil in its density.

Also, if you see more than two roots creeping over the edge of the pot, it may be time to repot. You can also divide your orchid plant to maintain blooming vigor.

Know Each Season of Your Orchid Variety

Each orchid type has a time of the year when it will naturally bloom. It may not be the same season that the orchid was blooming when purchased since nurseries can force orchids to bloom off-cycle. Many orchids bloom in the fall, winter, and spring.

Knowing the season that your orchid bloom will save you the frustrations of waiting for it to bloom. For example, Phalaenopsis orchid grows new leaves in the summer and early fall and sets a bloom spike in the late fall. Most Phalaenopsis orchids are known for blooming off-season for many reasons, but many will follow this pattern.

After you’ve identified your orchid, make sure you learn about its blooming cycle. Vanda orchids, for example, bloom two to three times a year, with each bloom cycle lasting up to six weeks. On the other hand, popular cattleya and cymbidium orchids only bloom once a year, but they’re very easy to maintain, making them popular choices for novice growers.

Underwatering

Underwatering is one of the most common reasons orchid plants won’t bloom. The best way to avoid this problem is to water your orchid regularly, but don’t over-water it. Water generously during spring and summer season but taper off as fall starts to set in. Stop watering altogether when winter begins because this will help your orchid properly rest.

You can test the moisture of your orchid’s medium by pushing your finger into it. If you feel any moisture, hold off on watering until the surface is dry. Remember not to water again until the top layer is dry because this will cause overwatering and root rot.

To prevent underwatering, mix water with some water-soluble fertilizer at the same strength you’d normally use when feeding your orchid. Water generously, but ensure that excess water drains away from the plant’s roots before drying up.

Cut Spent Flower Spikes for a Stronger lant

After your moth orchid has finished blooming, snip off the flower spike. An orchid needs to rest after flowering to build up its energy, so don’t fertilize your orchid for at least a month after it blooms.

Cut Spent Flower Spikes for a Stronger plant
Image credit: https://images.saymedia-content.com/

After this waiting period, you can feed your orchid with a balanced 20-20-20 fertilizer once every three weeks to keep it happy and healthy. Note that some orchid species and hybrids rebloom on old spikes. You can also contact the American orchid society or contact your seller to get a replacement or refund.

FAQS on Reasons Why Orchids Won’t Bloom and How to Fix Them

How long does it take an orchid to rebloom?

Phalaenopsis orchids take a month or several months to rebloom, while most varieties bloom annually.

Why is the orchid not flowering?

If your orchid is not flowering, improper light exposure, incorrect potting media, and overwatering are the most common reasons.

Why did my Phalaenopsis stop blooming?

Phalaenopsis stopped blooming because of root rot which can be caused by too much water or cold conditions.

Final Thought on Reasons on Why Orchids Won’t Bloom and How to Fix Them

If you perform all these steps religiously, your orchid might begin blooming again in no time and you’ll love your gardening skills. Orchids are blooming plants, and as such, they require a lot of attention. However, by following the basic care tips above, you should have no trouble keeping your orchid blooming.


The post Reasons Why Orchids Won’t Bloom and How to Fix Them appeared first on Kitchen Infinity.

Did you miss our previous article…
https://chefbuano.com/?p=811

What Are Safflower Seeds?

What Are Safflower Seeds?

Birds are essential to the natural ecosystem, but they need food and water. They’re also a great addition to any garden, as they help in pollination and seed dispersal. However, it can be hard to attract specific birds to your farm if you don’t know their dietary needs. 

There’s no need for you to worry anymore. Safflower seeds have everything that birds need. Often confused with sunflower seed, safflower is more unique and is a rarer type of bird food offered at bird feeders.

Thanks to their great nutrition, they’re a useful and uncommon type of bird seed that birds eat, making them popular among backyard birders. If you want to ensure that your garden is filled with beautiful songbirds every season of the year, why not try using safflower seeds?

What is Safflower Seed?

Safflower seed is the seed of the annual safflower plant known as Carthamus tinctorius. This herbaceous annual is in the same family as sunflowers and thistles—safflower seed blooms in red, orange, and yellow with some scruffy foliage.


Image credit: https://www.thespruce.com/

Safflower seeds prefer arid climates with seasonal rainfall, and the safflower crops are mostly grown for the oil of the seeds and the dyes of the plant. With its growing cultivation, backyard birders are discovering the value and usefulness of this seed.

These seeds are slightly smaller than sunflower seeds as birdseed, but they’re similar in their tapered shape. It has white seeds and is high in protein, fat, and fiber. These nutritional properties make safflower seed a great addition to any bird feeding station.

Birds that Eat Safflower Seeds

Many of the smaller-eating birds feed on safflower. Also, birds with stronger bills familiar with black oil sunflower seed will happily eat safflower seed. They include:

Blue jaysDowny woodpeckersIndigo buntingsNorthern cardinalsCarolina chickadeesMourning dovesBlack-headed grosbeaksHouse finchesEvening grosbeaksPurple finchesBlack-capped chickadees

Some birds may break open the hulls immediately to enjoy the seed meat, while others may cache safflower seeds. Safflower seeds have a bitter taste and different shape than any other birdseed. Birds such as grackles, European starlings, and blackbirds will not eat safflower seed.

This bitter flavor makes them an ideal addition to feeding stations where the bully birds might dominate. It discourages these birds from emptying the tray feeders. Many squirrels will also leave these bird feeders alone. Baffles and other squirrel-proof bird feeders are still wise precautions as fast-footed squirrels may leap onto the tray feeder and scarf down the safflower seed.

How to Feed Safflower Seeds

It can be challenging to offer safflower seeds to backyard birds. At first, the bird may be hesitant to take the seeds, especially if sunflowers are available. Alternatively, you can offer safflower seeds in the larger hopper, tube, and platform feeders. Tossing seed on the ground near shrubby, sheltered areas is also a good way to provide it to the ground feeding birds such as doves and quail.

How to Feed Safflower Seeds
Image credit: https://www.thespruce.com/

Mixing two seeds is also a good way to offer safflower, such as mixing it with black oil sunflower and gradually increasing the ratio of safflower to sunflower seeds. This way, some birds will not notice that they are receiving a new type of seed.

How to Introduce a New Feeder to Backyard Birds

As with most other bird seed types, there are many ways you can offer safflower to birds. These include a finch feeder, squirrel-proof bird feeders, or other hanging tube feeders. Since safflower comes in a clear shell, birds can see the seed from above, which will entice them to take it from the feeder. 

When purchasing safflower seeds, purchase a larger amount of seed than what you usually give to the birds, as they will take some time to get used to it. Introducing safflower gradually is the key to success.

Where to Purchase Seeds

Safflower is available in most garden centers, but it is also available online. These seeds are not often available in the bird feeding sections in grocery stores and large retailers, but you can also get them in pet and wild bird stores.

How to Plant the Perfect Birdseed Garden

It’s possible to grow safflowers as part of a birdseed garden and allow these seed-bearing flowers to go to seed before harvesting them. Plant safflower seeds in sunny, well-drained areas and use minimal water since they perform best in arid climates and dry conditions. These are great alternatives to backyard feeders, especially if bully birds often overrun your feeders.

How to Plant the Perfect Birdseed Garden
Image credit: https://www.asiafarming.com/

How to Store Safflower Seeds

Safflower seeds can be stored for up to five years if kept in a cool, dry place. The best storage container is one that’s airtight and able to keep moisture out. Airtight bags or jars work well for this, as does an old coffee can with a sealed lid. Safflower seeds also freeze well, so you can double bag the seeds and keep them in your freezer for later.

dvantages of Offering Safflower Seeds at Your Bird Feeder

They offer a good level of fat and protein These seed types are relatively cheap and are sold cheaply in bulkYou can easily grow them in your gardenThey’re ideal to use when you want to eliminate those bully birds from your gardenIt can be bought in several ways, including the entire safflower seed bags, in a bird’s seed mix bag, and a safflower seed cylinder

Disadvantages of Safflower Seeds

They can leave behind some when the white shells are crackedNot all birds will appreciate these seeds, so you may need to offer other seed types besides safflower seeds

FAQs on Safflower Seeds

What is the importance of safflower seed?

Safflower seed oil can be used to prevent heart diseases, including hardening of arteries and stroke. It can treat various conditions such as fever, tumor, cough, breathing problems, chest pain, and traumatic injuries.

Final Thought on Safflower Seeds

As nutritional as these seeds are, it is important that you shop for the best safflower seeds. And the more you understand this seed, the more easily you’ll help your birds adapt to new food while minimizing the seed lost to over-aggressive species and feeder pests. While you feed the precious birds with safflower seeds, also remember to learn how to care for the baby birds so they can grow healthy and happy.


The post What Are Safflower Seeds? appeared first on Kitchen Infinity.

Did you miss our previous article…
https://chefbuano.com/?p=805