How to Refurbish Particle Board Furniture

How to Refurbish Particle Board Furniture

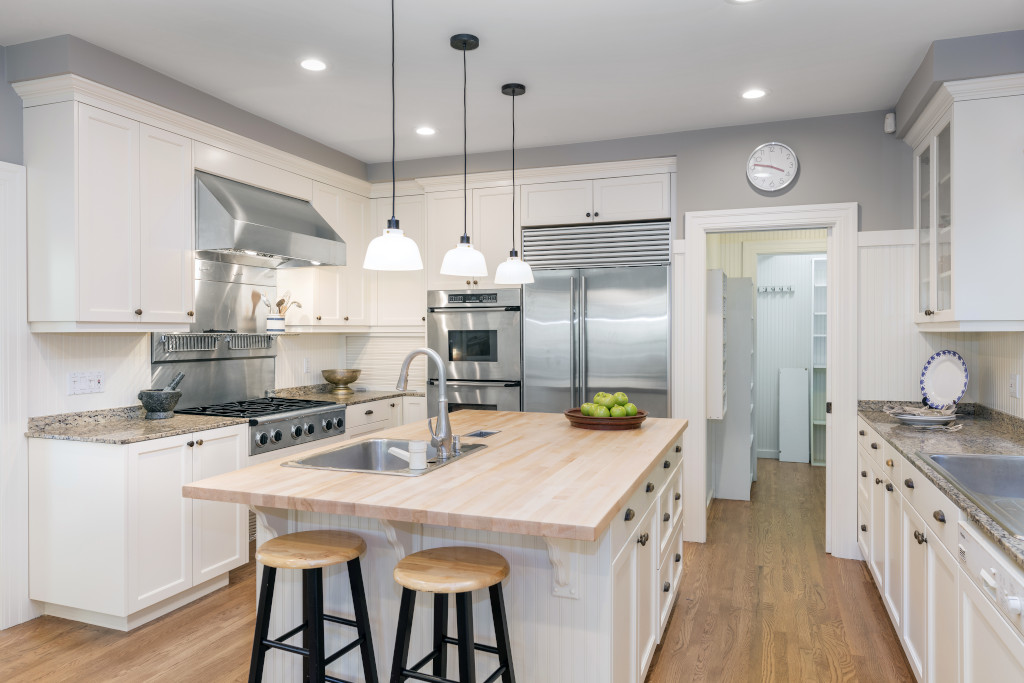
A lot of us don’t think about our furniture until it starts to look shabby or gets stained, but with a little care and elbow grease, you can get your old furniture looking like new again. This article will show you how to refurbish particle board furniture in four easy steps. Keep reading to find out more.

Clean the furniture with a damp cloth and soap

Make sure you are not wearing any clothes that could get stained by the soap, then fill up a bucket with warm water and some mild liquid dish soap. Dip your cloth in the soapy water, wring it out so it’s not dripping wet, and start scrubbing. You can also use other cleaning solutions if you prefer using them instead of soap, but be careful because they may require different accessories to apply them safely (for example wet sandpaper instead of a dry one).


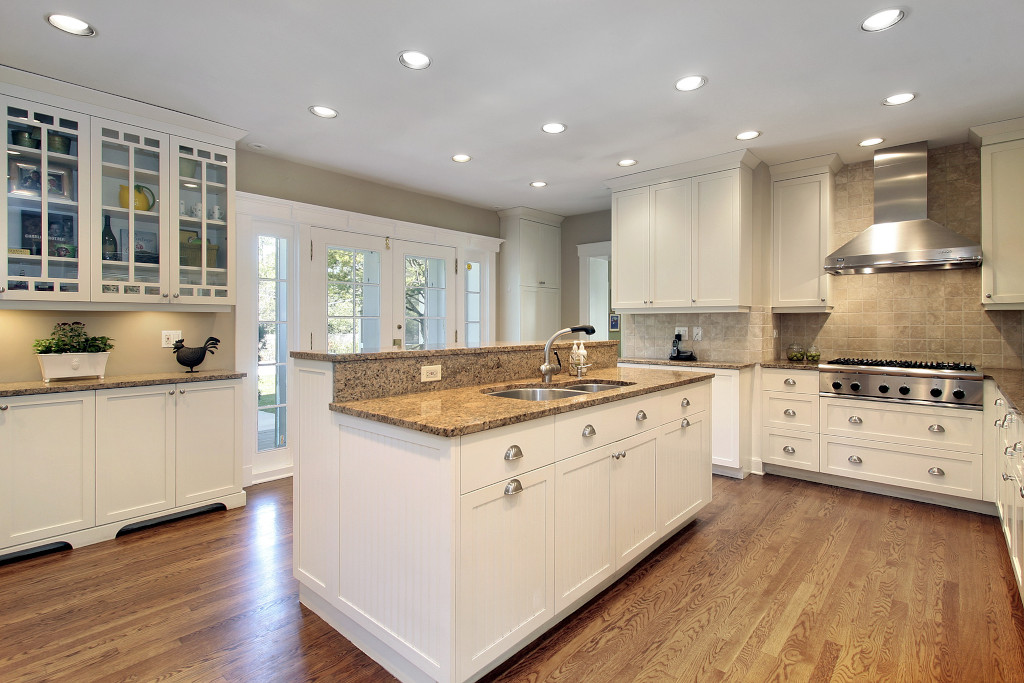
Image Credit: http://rivergateapartment.com

Sand down any rough areas

You will want something like 220-grit sandpaper for this step; wet sanding is recommended to keep dust from flying around while you work. Don’t forget to wear protective gear such as eye goggles and gloves, and make sure to sand in the same direction as the wood grain. Make plenty of strokes until you are satisfied with how smooth it is; don’t worry about making it perfectly smooth because you will be painting over it soon.

pply wood filler to cracks or scratches, then sand smooth again

Wood filler can usually be found at your local hardware store, but if there’s not any left then an alternative would be spackling paste which should have the same effect. Anything that fills in cracks or deep scratches should work fine, just remember that you still want to leave some visible signs of imperfection for a more natural look later on. When you’re done filling them up let this dry completely before sanding again so the wood won’t be too rough after applying paint.

Use a paint primer to seal the surface of the furniture before painting it (optional)

Paint and stain work by soaking into the wood, so if your particleboard isn’t fully sealed then it’s possible that your new layer won’t get a stronghold; this is especially important for surfaces such as particleboard which can get saturated easily and start warping if not properly prepared. Some people like to skip this step because they don’t like the shiny appearance of paint primers, but in most cases, you will have a better-looking final result with a primer applied over whatever color you’re using. If you do decide to go ahead without using a primer, just make sure that whatever color you’re using is completely dry before you seal it up with polyurethane or varnish.

Paint your desired color on top of the primer, two coats should be enough for most pieces of furniture

Be sure to use oil-based paint (acrylic paints are not generally advised because they sometimes contain chemicals that can eat away at the surface of particleboard) and make sure to clean up any spills right away so the wood won’t absorb them permanently. If you want to use more than one color, wait until after finishing the first coat before applying your second layer; this will ensure that your final result looks nice and even. Don’t forget to seal it with polyurethane or varnish afterward for protection and a glossy finish.

Now that your furniture looks great again, you will be able to enjoy it for much longer than if you hadn’t taken the time to fix it up. With these four easy steps, you can make even particle boards look new again.

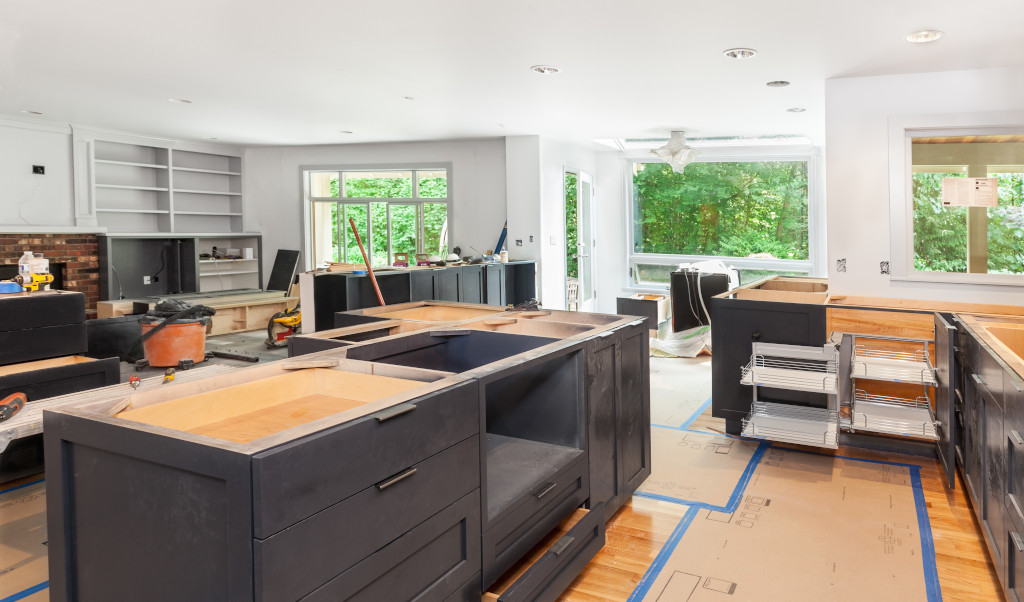
Taking care of your furniture and important areas

Taking care of your furniture ensures that they last for a very long time. Many pieces of furniture can last for decades if they are properly maintained throughout their lifetime. However, this is not the case with every piece of furniture; some pieces like particle board furniture will start to deteriorate relatively quickly. This is because the particle board consists of wood chips and sawdust that are glued together using formaldehyde, a chemical compound that helps bind everything together so it can keep its shape.

Unfortunately, formaldehyde breaks down over time which makes the glue less effective at holding everything together so your particle board furniture starts to lose its structural integrity which leads to chipping paint and other cosmetic issues. Since you have likely already spent money on buying or refinishing your particle board furniture, consider taking care of it as much as possible so you don’t have to buy new furniture again.

Wipe down your furniture with a damp cloth to remove dirt

You should wipe down your particle board furniture regularly so it doesn’t get too dirty or dusty after you’ve cleaned it. This is especially true if you have pets because fur tends to clump up in cracks and keep particles of dust from being removed by normal cleaning methods.

You can use whatever solution you prefer, the important thing is that you don’t need anything too strong which might strip off the paint or varnish protecting your surface. If you do want to use something more powerful, make sure that water-based solutions are used instead of oil-based ones which can cause damage over time due to repeated exposure.

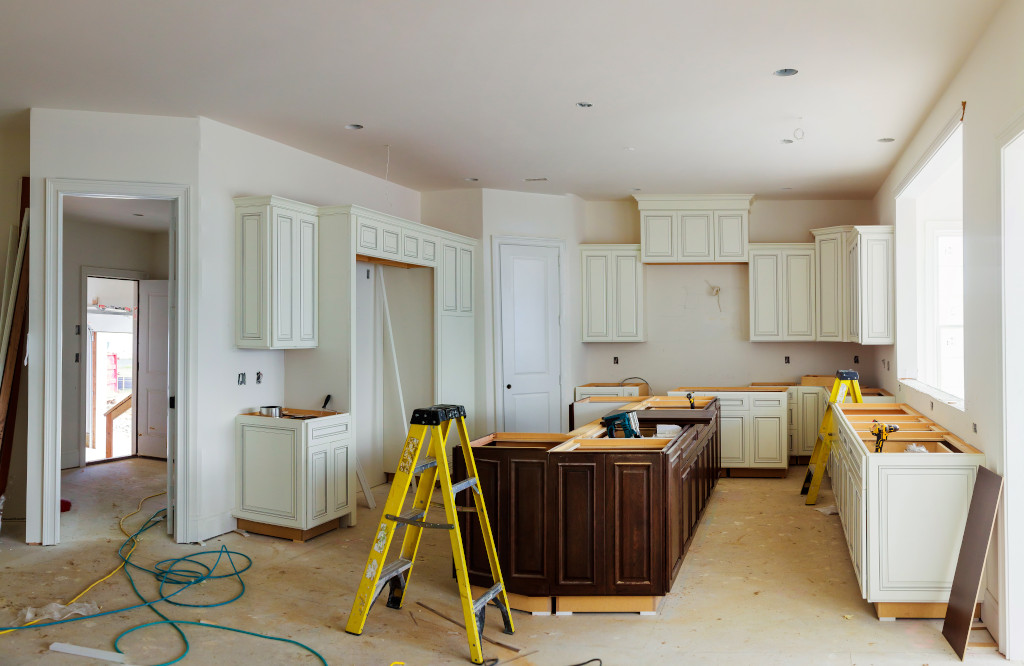
Repairing water damaged furniture

Sometimes the damage is inevitable, even if you’re taking every precaution. This is why it’s so important to learn how to repair particle board furniture which will inevitably incur damage over time due to normal wear and tear or accidents that might happen within your household.

If you have a particle board chest of drawers, for example, this type of damage can be repaired by repairing the affected drawer first. After opening up the damaged area with a screwdriver, take some wood glue and spread it into the crack where two or more pieces meet before clamping them together using plain masking tape which should match the texture of your furniture.

If needed, use a sharp knife to carve out small notches on either side of the crack so that they fit perfectly when clamped together; make sure not to go too deep if the area isn’t severely damaged. Let the glue dry for about twelve hours before you can put all of your drawers back in place and use them again.

How to Paint Particle Board Furniture
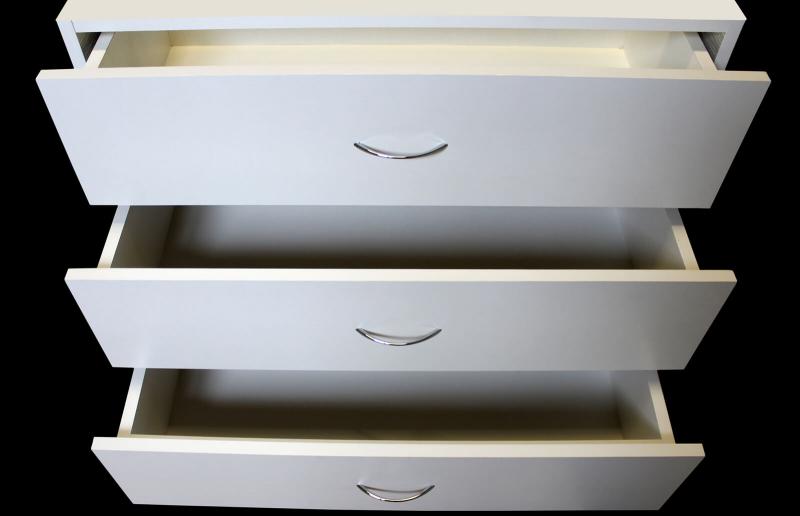
Image Credit: http://furniture.lovetoknow.com

If you like to learn more about how to repair water damage, check out this article on repairing damage to cabinet doors.

Final thoughts on how to refurbish particle board furniture

In conclusion, it’s important to know how to refurbish particle board furniture if you want it to last for a long time. The easy steps above will help you do just that by empowering you with the knowledge of how to keep particle board furniture in good condition so you don’t have to buy new pieces anytime soon. 

Finally, have a look at this article to learn more about the duration items in your house should last. This article focuses specifically on how long kitchen cabinets are expected to last

The post How to Refurbish Particle Board Furniture appeared first on Kitchen Infinity.

Did you miss our previous article…
https://chefbuano.com/?p=228

Recommended Tile Paints

Recommended Tile Paints

Painting your tiles successfully involves the preparation of the tiles, surface, and paints.

In this article, we’ll go over some general tips for preparing the tiles to be painted as well as some information on the paints to use. Let’s get right into it.

Tile painting is a great way to update the look of your bathroom or kitchen 

Tile painting is an easy solution that you can do yourself, and it doesn’t require many tools or much time for installation. The right type of modern paint also has the advantage of lasting longer than other types of traditional paint. Your efforts will be rewarded with a unique look that stands out from other homes. Remember, though, to consult with an expert before you make a final decision about which type to use in your home.


Image Credit: http://realhomes.com

Types of tile paints that can be used

Ceramic – Tile paints made from ceramic are ideal for covering small areas where there is already tile present. If you want to cover up old grout lines or fill holes created by loose tiles, this is a great option. It’s also pretty simple to use and provides professional-looking results.

Porcelain – This is one of the most common types, and it can be used in both bathrooms and kitchens. You should know that this is only recommended for smooth surfaces, such as countertops.

Natural stone – If you’re looking to add some elegance to any area of your house with tile floors or walls, natural stone paint may be the perfect solution. Keep in mind that this type of product is more expensive than regular paint, so if you don’t want to spend too much money on the project, you might want to try something else.

How do I choose which type of tile paint to get?

There are a few factors that come into play when you’re making this decision. One important thing to consider is whether or not you want a product that will clean up easily, since the options available today usually remove more of the grout than regular paint; therefore, it’s harder to clean afterward. 

Another thing to think about is how much work you’ll be able to put into preparing your surface before applying the paint. If there are lots of imperfections and divots, for example, it may be better to go with one of the higher-quality products on the market; but if all you need is a quick fix and don’t mind repainting in about six months, then spending the extra money might not be worth it.

Where do I get tile paint?

Many different stores, including hardware and home improvement stores, sell tile paints and sealants. You can also find them online through specialty retailers like Amazon. If you’re not sure what type to buy or if you want an expert’s opinion before making this decision, check with a local professional; they should be able to help you make the right choice for your home.

When is the best time to paint tiles?

The best time to paint tiles is when they are wet so that the surface can absorb more water and create a stronger bond between the tile’s surface and the paint. For ceramic tiles, they mustn’t have any grout on them because it will inhibit adhesion. Concrete tiles are porous so it is best to seal them before painting.

How do I paint my tiles?

To paint your tiles you will need the following things: tile primer, acrylic or latex paint, and a high-quality natural bristle brush. If you choose to use an oil-based product we recommend cleaning with mineral spirits first because many oil-based paints contain wax and other additives that can be difficult to remove from porous surfaces.

Step 1: Preparation

For ceramic and porcelain tiles, wash with soap and water to ensure all dirt has been removed then allow the tile to dry completely. The surface must be as clean as possible before priming. To clean concrete tiles use a concrete cleaner such as TSP or XIM to remove dirt and grease. Allow the surface to dry completely before priming.

Step 2: Tile Primer

Apply two even coats of tile primer, allowing each coat to dry completely before applying the next one (follow manufacturer’s instructions). We recommend using an acrylic-latex type primer because they offer superior adhesion and can be cleaned up with water which makes for easy clean up later on. When applied properly, tile primer should seal the pores of the tile making it less absorbent and stronger than conventional paint. It also helps prevent mold and mildew growth as well as protects tiles from grout staining.

Step 3: Paint

After your primer has dried you can apply latex or acrylic paint (we recommend using the same type of paint as your primer). You don’t need to use an expensive or high-quality brush since this product will be easy to clean. We recommend applying at least two coats.

Remember: Do not seal tiles with oil-based paints because they can prevent the tile from absorbing the water-based sealant, causing it to peel and wear away much sooner than it should (Only apply acrylic or latex sealers). Tile paint is best suited for tiled walls where tiling is already finished; however, if you’re looking to brighten up a kitchen backsplash then painting the tiles may be a great option for you.

Painting ceramic tiles

If you want to paint ceramic tiles you have a few options. You can either use regular paint and roller or try an oil-based enamel product that will bond to the tile’s glazed surface. The only thing you need to be careful about is that some enamel paints contain wax that may inhibit adhesion, so be sure you know what you’re buying before applying it.

In addition, because ceramic tiles come in various sizes, shapes, and colors selecting a color scheme beforehand is probably your best bet. We suggest using neutral colors such as soft whites or creams with brighter accent colors for an updated look without the expensive remodel. If you want something a little more unique then maybe painting them in metallic silver might work for you… this option allows the true beauty of the tile to shine through.

If, however, you want the natural beauty of tiling but with some added pizzazz then painting is an option for you. The whole point of painting your tiles is that it allows you to color coordinate them to your home décor without having to spend a lot of money on new tiles or remodeling. If you’re not sure what type of paint product you want to use then simply test one out first on a small section and see how things turn out before committing yourself fully. Just because it looks good in the store doesn’t mean it will work well in your home so be sure to give any product a thorough test run if possible before purchasing large quantities.

Painting important rooms including bathrooms and bedrooms

Painting a bathroom or bedroom is not recommended unless you want to make it part of your décor; however, these rooms are certainly a valid application for tile paint. When painting bathrooms and bedrooms, be sure they have been thoroughly cleaned before applying the primer so as not to inhibit adhesion as well as decrease slip resistance. In addition, don’t forget to use a high-quality sealer after the paint has dried completely to protect it from humidity and moisture which can cause mold growth on both wet surfaces as well as walls.

High traffic areas such as hallways or entryways

Tile paints work great in hallways or entryways since tiles that receive a lot of foot traffic tend to wear away more quickly than those that don’t see much action. Furthermore, this product helps keep tiles from grout staining when applied correctly and when tiles are sealed with a quality sealer after the paint has dried.

Shower walls or glass tiles

For glass tiles, you can either paint them using glass paint available at your local hardware store or use enamel paint for ceramic tile which will both adhere to the glazed surface of the tile. To apply, simply put down a sheet of newspaper on the bottom of the tub to catch any spills while painting since there are no stencils for this type of product. Once again do not apply an oil-based enamel stain because it may inhibit adhesion.

How to Choose the Best Tile Paint For Ceramic Tiles?
Image Credit: http://laserlevelhub.net

Final thoughts on recommended tile paints

In conclusion, tile painting is fun and easy. The paints are available at your local home improvement store, so you won’t need to buy them online or go to an art supply shop. You can find paint that’s suitable for almost any surface, including tiles that will look great inside your bathroom or kitchen. So what are you waiting for? Pick up a few paint bottles and get painting.

The post Recommended Tile Paints appeared first on Kitchen Infinity.

Did you miss our previous article…
https://chefbuano.com/?p=224

What Is a Pergola

What Is a Pergola

A pergola is a type of outdoor structure that provides shade for people sitting in the garden.

Pergolas are often seen in formal gardens or on patios, but can also be used as an arbor over a walkway. There are many different types of pergolas including barrel, slatted frame, and post-and-beam structures.

In this article, we’ll look at the most popular types of pergola available, where you can use them, and how to construct your own.

Let’s dive deep into this topic. 

Most common places for a pergola

A pergola can be used in a variety of locations both indoors and outdoors. Outside, they are often most commonly seen on patios or around pools. A pergola can be especially useful as it provides shade for those sitting in the garden and helps to block sunlight from the pool when swimming outside. Not only does this provide comfort, but shade can also help prevent algae growth, which is important for maintaining clear water throughout the summer months.


Image Credit: http://outdoorlivingtoday.com

When designing their backyards, many individuals choose to use pergolas over decks as well as it creates another place to sit and relax while enjoying time outdoors. Pergolas over decks create just enough coverage so that you’re still able to enjoy all of your deck furniture without worrying about being in the sun or having too much outdoor exposure.

A pergola can also be used indoors as well, especially to create shaded areas or breezeways between two rooms inside the house. The best way to use a pergola indoors is to attach it to existing structures such as doors, windows, or walkways to give the appearance of one opening instead of multiple openings.

Materials to build a pergola

Many different materials can be used to build a pergola, and although most people use wood, you could also use metal. Wood is the more popular choice as they make for sturdy structures and it’s easy to find treated wood at most home improvement stores that are both rot and pest resistant. Cedar is an especially popular choice of wood as it’s naturally resistant to insects and rotting.

Pergolas can also be made from cement pavers with metals rods added for reinforcement. When using this type of material, it’s important to check for any puddling before finalizing your structure as moisture will often collect in these types of areas if not properly graded away from the paver surface. At this time, it would also be a good idea to determine how you will attach the beams and posts as there are many different types of fasteners and adhesives available.

When building your pergola, it’s important to check local zoning codes and city ordinances before starting construction as some areas may require permits or limit the height or width of structures that can be built.

How to build a pergola

Building a pergola is not difficult, however, it does require multiple steps and can take several days depending on the size and complexity of your structure. It’s also important to note that most local building codes require you to hire a professional licensed contractor to supervise any construction projects if they’re over a value (usually around $15,000). If you’re looking to build a pergola yourself, here’s how:

Choose the location and size of your structure – Decide where you want your pergola located as well as its size and dimensions. You can choose to have one large or several smaller ones depending on the space limitations of your outdoor area, however, if this is going over an opening such as a deck, be sure to take into consideration any support posts that may be needed to hold up the beams. Determine the base of your structure – Two main types of bases can be used with a pergola: pier blocks and paver stones. Pier block bases will need to be dug down slightly so they sit flush with the ground whereas paver stone bases are already level. Whichever type of base you choose, it should be slightly larger than the area it’s being built on top to allow for proper support. Set your beams – Once your base is complete, you can move on to setting the sheer and tie beams that will hold up your roof structure. There are two different types of beam supports: post-beam rests and tilt booms. A post-beam rest requires either digging down or pouring a concrete pad for each wooden beam while a tilt boom simply rests atop the posts without any need for additional foundation work. When placing your beams, position them according to how they’ll fit together as one side will go against another to create an X-design. Set your rafters – Once the sheer and tie beams are in place, you can start setting the rafters that will hold up the roof panels. These usually need to be a type of lumber such as cedar or pine as they’ll be exposed to more weathering than any other part of your pergola. For each rafter, there should be one beam placed directly on top with another on its side at an angle for support. Add cross-pieces – After all of your rafters have been set into place, you can then add additional cross-pieces just beneath them so no gaps remain between them and become detrimental to your structure’s strength and stability over time. Depending on what material you’re using and its thickness, you may need several cross pieces to ensure the roof panels don’t sag or fall in any spots. Add roofing – Once all of your rafters and cross pieces have been secured into place, you can then start adding your roof panels. Depending on the material these are made from such as metal or aluminum, they’ll either be seamed together at the seams with special clips or simply overlapped so no gaps exist between them. These should be attached directly to the rafters and support beams that were previously set into position before attaching them for a complete seal along their entire length and width. Secure your pergola – Now that your roof is completed, it’s important to make sure your pergola is locked into place and will remain that way for a long time to come. One of the best ways to achieve a permanent hold without using too much hardware is by adding post bases along your beams which you can tighten up with bolts from below.

Flowers that go along well with a pergola

Having a pergola in your garden means that you should think about flowers that complement it. Growing morning glories, wisteria and other flowers that climb up wooden poles is a great way to spruce up your pergola. That way you can enjoy the beauty of nature even more.

What is the purpose of a pergola?
Image Credit: http://arizonapergola.com

Final thoughts on installing a pergola

In conclusion, a pergola is a structure that is open in design and widely used for supporting plants or vines. It can be freestanding or attached to the home. The purpose of a pergola is to enhance one’s property, provide shade from the sun and add privacy. In addition, it also provides a great structure to providers shades as you’re using other items surrounding your pergola. 

The post What Is a Pergola appeared first on Kitchen Infinity.

Did you miss our previous article…
https://chefbuano.com/?p=220

Grow Creeping Fig Indoors

Grow Creeping Fig Indoors

Creeping fig plants are often seen as decorative plants because of their unique and exotic appearance. The creeping fig is the only species in the genus Ficus that grows without any need for climbing or aerial roots. Creeping figs are great houseplants that can grow on soil, rocks, brick walls, or even other plants.

In this article, I will cover the best care practices for your creeping fig houseplant. The goal is to help you take better care of your plant, therefore having it live for as long as possible.

Let’s dive deep into this topic. 


Image Credit: http://balconygardenweb.com

What creeping fig is

Creeping figs are also called “strangler figs” because they wrap themselves around trees to create a living canopy over time. Mature trees will eventually die if they’re covered by creepers long enough. Creepers rely on moist soil and high humidity to thrive indoors so make sure you keep your plant watered regularly. You’ll want to use potting soil filled with organic compost when planting your indoor creeping fig to provide it with the nutrients it needs.

How do I care for my creeping fig plant?

There are a few important things you need to keep in mind when caring for your indoor growing creeper plant. Let’s take a look at some of these.

No direct sunlight is required, however poor lighting can harm the plant, so make sure it gets bright indirect lighting every day.Make sure you water your plant regularly. Remember to use potting soil filled with organic compost when planting your indoor creeping fig plant.The temperature should be kept between 70-75 degrees F (20-23 degrees C) during the day and 10 degrees cooler at night. If needed, you can add a humidity tray under the pot which will add moisture back into the air around the foliage of the plant. Tip: Make sure you avoid spraying leaves directly with water when watering, as this can cause spots on leaves from fungal rot when in contact with water for too long of a period. Fertilize the plant once every month during spring and summer with a houseplant fertilizer. Stop using fertilizers in fall and winter so as not to encourage new growth at the wrong time of year. Tip: You can also find pruning shears specifically designed for plants like the creeping fig which are easier to use than regular scissorsYou can take cuttings from your indoor creeping fig plant if you want to create more plants of your own, just remember that all branches cannot be inserted into the water at once or they’ll sink and rot before any roots will form on some of them. Instead, insert one branch per pot filled with moist soil until it forms roots on its own.

re there any supplies or equipment required?

You can buy a potting soil suited for indoor plants from pretty much any store, as well as fertilizer labeled specifically for houseplant use. If you have some time on your hands, you can mix up your houseplant soil at home with equal parts of peat moss, compost, and perlite. This will provide the plant with all the nutrients it needs to grow strong. 

Don’t forget that creeping figs need lots of humidity when grown indoors, especially in winter during the dry season so be sure to place your plant on a humidity tray filled with at least an inch of water. You can also mist your plant often to help increase humidity levels and keep the leaves free of dust.

One last thing I want to touch on is that many people think creeping figs and other vines like it (i.e. pothos) should be pruned at all times to encourage new growth. If you do this, you’ll only stimulate the roots so prune sparingly or you will lose your beautiful plant.

Grow Creeping Fig Indoors – FAQ

How do I grow other types of plants?

Let’s focus on two plants that are very popular – morning glories and amaryllis. When it comes to these plants in comparison with creeping fig, there are a few differences. One is that they require either a dormant period or light exposure to grow, and the second difference is that you will not be able to use them for cut flowers. You would have a hard time dividing these plants which leads us to creeping fig.

Creeping fig does not have any of these requirements. They only need water from time to time and need less sunlight to survive. 

Can I propagate my plant?

The answer is yes – but it may take a bit longer than compared with other types of plants. Creeping fig is a type of vine that can grow very quickly, and the vines only get thicker each time you use a new cutting. The good news is that it’s not hard to propagate them by using rooting hormones.

What kind of soil do I need for this plant?

Creeping figs like organic matter in its soil. You can easily find commercial potting soils which are ideal for creeping figs. If you want another option try mixing your recipe at home – mix 1/3 compost, 1/3 peat moss, and 1/3 sand or perlite.

If you want to fertilize your plant regularly (it would be best if you could use an all-purpose liquid fertilizer ) I would recommend you to use a fertilizer containing 10-10-10. Please keep in mind that you should only fertilize your plant once every month.

What kind of conditions does it need?

As I have mentioned before, creeping fig doesn’t require much sunlight – so if you are thinking of growing them next to your window or even on it, think again. Creeping fig is not recommended for growing indoors near windows because they may get too much sun while still getting some mild light which can lead to leaf scorches and other problems.

If you have no choice but the place has slits or slates where there is some dim light, that’s fine – but make sure that these areas are not in direct sunlight. Watering your creeping figs is also very important. If you are keeping it in an indoor pot then once or twice a week should be enough. Creeping figs love humidity – so if you want to increase the level of humidity in its surrounding area try placing some pebbles in its pot with water and let the plant take what it needs. You can also mist your plant now and then to keep up with the humidity levels. Last but not least, when you see your vines growing long, give them the kind of support they need so they don’t fall over their pots by climbing on something like sturdy

Growing A Creeping Fig Indoors - Climbing Fig
Image Credit: http://houseplantsexpert.com

Final thoughts on Grow creeping fig indoors

In conclusion, Creeping Fig is a very easy plant to grow indoors and I recommend it for almost any room in the house. By keeping in mind a few rules and guidelines, anyone would be able to grow this plant successfully.  

The post Grow Creeping Fig Indoors appeared first on Kitchen Infinity.