How to Grow Snow in Summer Plants

How to Grow Snow in Summer Plants

Snow in summer plants grow all year long and can be seen blooming during the hottest months of summer. They provide an excellent opportunity for families to bond over gardening while enjoying the lovely flowers that make up these unique winter-themed gardens.

This article will discuss the Snow in Summer plan in more detail, give you tips on growing it, and answer the most frequently asked questions when it comes to caring for a Snow In Summer Plant.

Here’s all you need to know. 

What is a Snow in Summer Plant?

Snow in Summer plants is a hybrid plant that is native to tropical areas. They grow during the summer months, but they resemble snowmen and other winter-related objects. These plants can be seen blooming all year round. Snow In Summer plants can be purchased from many different retailers including home improvement stores like Lowes or Home Depot, garden centers, and nurseries.


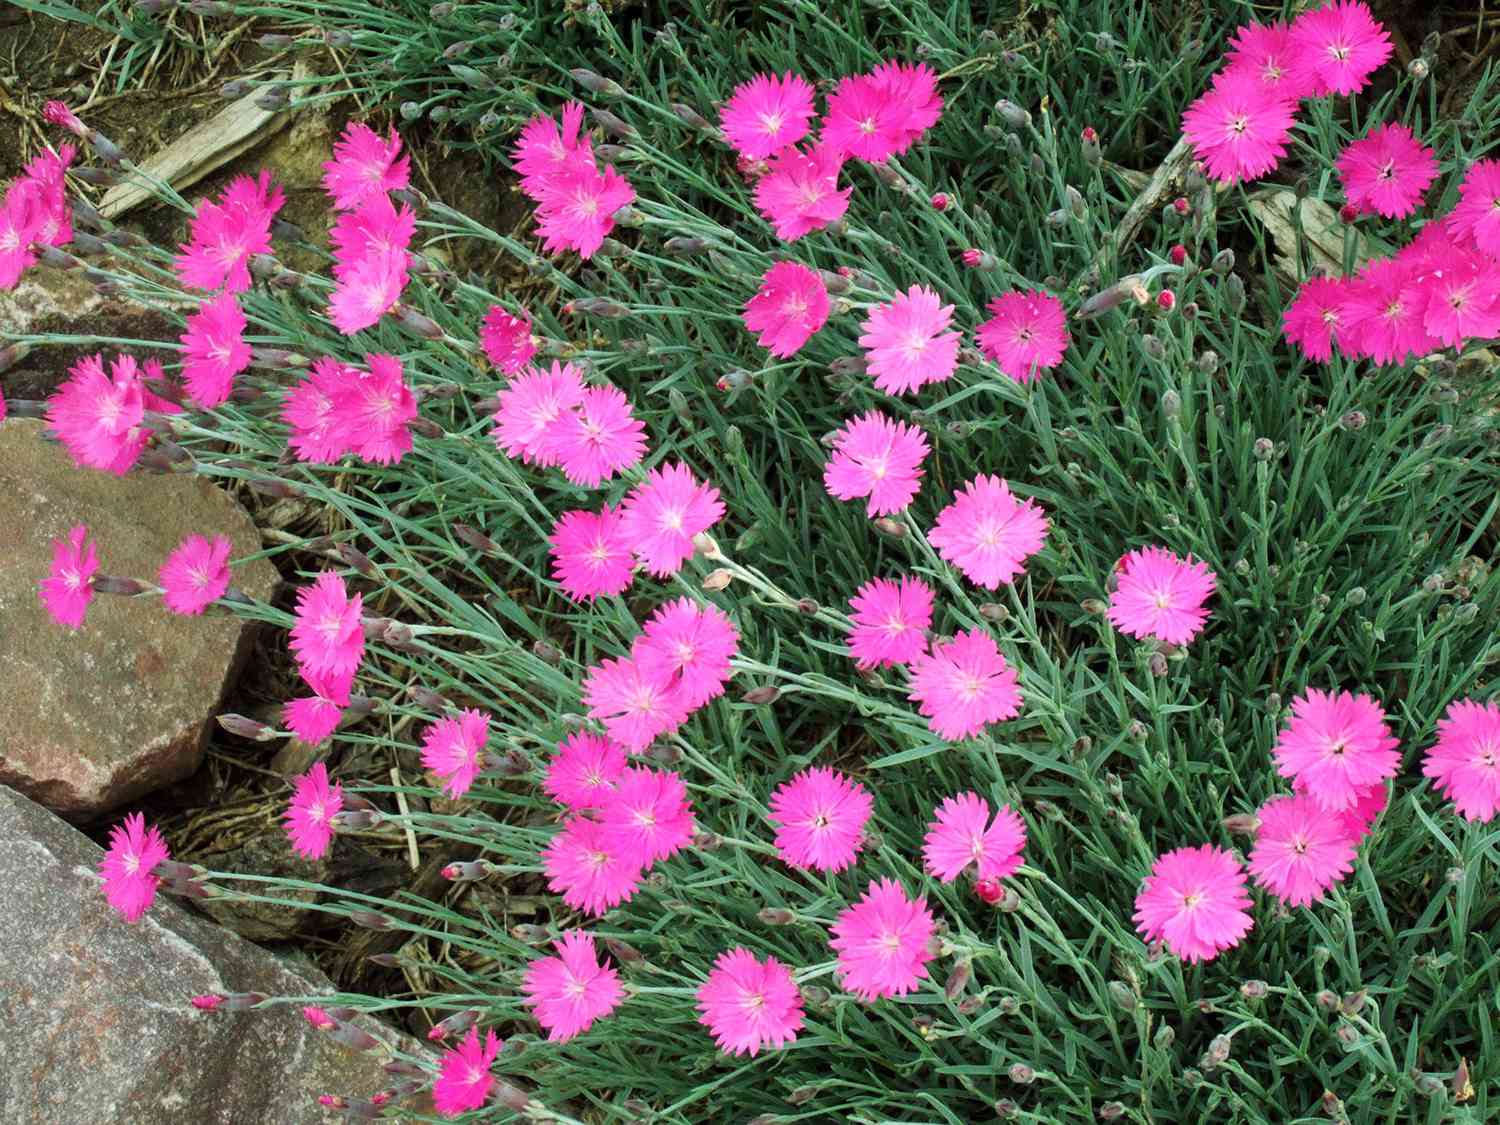
Image Credit: http://plantcaretoday.com

How to care for snow in summer plants

Snow in summer plants is quite low maintenance. All you need to do is to water them every few weeks, preferably with distilled water. However, if your tap water is filtered or purified, you can also use it for this purpose. If you notice that the soil around these plants is dry, then go ahead and add some more.

They should receive at least some direct sunlight; although they can tolerate partial shade, they will produce fewer flowers when placed in the latter location. You must place these plants on flat surfaces like patios or decks rather than planting them on hillsides or rocky areas where the roots may come under attack from erosion by rainwater runoff

If you follow these guidelines, you will be rewarded handsomely with lovely flowers. These plants also make excellent gifts and may be found packaged in decorative containers at supermarkets and garden centers during the summer months

The benefits of growing snow in summer plants

If you would like to spend time together as a family member or friend group planting your own unique “snowman”, then this can be an excellent activity for getting everyone involved. It’s useful too if you want to use these plants as a way of decorating your home or office.

If this sounds like something that suits your taste and interests, then you may want to consider purchasing one or more of these plants for your outdoor space. Once the weather starts to cool, they will return underground and survive until warmer conditions return in the springtime.

Snow In Summer plants also help the environment: They provide habitats for local birds and animals, attract butterflies and bees and produce oxygen that can be used by humans. When you care for them properly, keeping them watered, and using organic fertilizers that won’t pollute waterways or soil, then these plants can be an excellent addition to any garden section.

Snow In Summer Plant – FAQ

Where can I purchase one or more snow in summer plants from?

Snow in summer plants can be purchased from many different retailers including home improvement stores like Lowes or Home Depot, garden centers, and nurseries.

Snow-in-Summer | Better Homes & Gardens

Final thoughts on How to grow snow in summer plants

In conclusion, it is possible to grow snow in summer plants. Some people leave the plant in its pot, while some prefer to transfer it into another container. It is also possible to grow snow in summer plants just by moving the plant outside during wintertime. Whatever way you choose is fine as long as the plant gets enough light for a certain length of time.

Finally, if you’d like to learn more about gardens check out our articles on how to plant roses and how to prune tomato plants for more information.

The post How to Grow Snow in Summer Plants appeared first on Kitchen Infinity.

Kitchen Paint Colors to Copy

Kitchen Paint Colors to Copy

When you’re renovating your kitchen, one of the first things you should consider is how it will visually look. The big questions are: What color should the walls be? What about cabinets and countertops?  To help answer these questions, we’ve written this article with some ideas that will allow you to find the color scheme that is right for your kitchen. Keep reading to find out more. 

Paint your kitchen walls a light color to make the room feel bigger

Light colors tend to make rooms feel bigger, so if you have a small kitchen, then adding light color on your walls will give the impression of a larger room. The pale yellow would be ideal for any kitchen looking for this effect whereas the white would look more clinical.


Image Credit: http://layjao.com

Shutters are usually made ​​of solid wood which withstands wear better than other types of wood and is very easy to care for compared to other types of window treatments. You have many models available with different styles and designs that require less maintenance, but all worth taking into account when choosing which type is best for your home. Those who want to invest in materials that last should know that wooden shutters always stand out as one of the best options.

If you have a larger window, one of the best ideas is to cover it with wooden shutters. By doing so you will not only have more privacy but also your room will look more attractive and cozy. Plus, they are very easy to maintain, which means that if after some time they start to show signs of wear or damage can be easily replaced; another advantage that many people consider is that other types of blinds take up too much space. 

Shutter colors for your kitchen should vary depending on several factors such as its environment or existing furniture. It may look good under any circumstances but what matters is how the individual feels when they look at it. By taking everything into account in this way you can choose between many options if you have decided to opt for wooden shutters.

Paint the cabinets in a different color than the walls to create contrast

Not everyone likes to paint their kitchen cabinets, but when you do that several options will work well for your particular room. These are large pieces of furniture so it’s best not to cover them entirely with paint. Rather, use only one side or just two opposite doors completely painted instead of all four sides.

Allowing part of the base cabinet to remain natural or simply stain might be another option. If you decide to paint the whole piece then make sure you choose a color that complements or contrasts with the walls to create more visual impact. Of course, there are many other options such as painting them in the same color as your cabinets or kitchen counters.

If you prefer painted cabinets, but do not want to paint both sides, you can choose one side of each cabinet and leave the opposite natural wood. It is important however that you match the type of wood used on all pieces so that they look uniform.

The best way to do this is by using veneer panels for doors and drawers made ​​of solid wood. Veneer panels must be treated often because their finish tends to wear quickly, giving rise to stains and watermarks if not properly maintained; in addition, veneer provides little protection against humidity or heat.

If you want to paint the cabinets completely, plan carefully which colors you choose for them and your walls; Buying a color chart can be helpful if you are not familiar with the names of paints because there are thousands of shades within one particular type of paint; You can always go to a local hardware store and ask advice from their professionals.

Use contrasting colors on cabinets and countertops to create visual interest

The contrast between the cabinets and countertops in your kitchen is important to give it a particular color scheme. It also helps highlight different areas of the room while not making it look too small. Depending on the colors you choose for each, the overall visual impact that rooms have will be determined.

For example, if you go with white cabinets and black granite countertops then take care to use light furniture to reduce contrasts within your room; On the other hand, if you opt for dark brown cabinets and light gray marble countertops do so by questioning whether they are natural or artificial lighting. You can even choose medium-toned cabinets with gray stone counters or vice versa: Dark-colored cabinets and lighter countertops such as maple wood or quartz stone.

The important thing is to keep in mind the final result and choose the pieces that best meet your needs and tastes; You might consider installing a few cabinets with double-sided glass doors or some drawers, which give life to the kitchen and give it a more modern look. Some homeowners also recommend using wooden knobs for cabinets painted in different colors as opposed to those of metal faucets.

This way you can use some unusual knob designs such as those that imitate natural materials such as leaves or twigs; Other options include choosing crystal or chrome door handles on all cabinets. This will give your kitchen an elegant appearance but without spending too much money.

Effect of color on your kitchen

The effect of color on your kitchen cannot be underestimated. It can have a remarkable influence on how comfortable it feels. In turn, this has a long-term impact on the mood of those who use it regularly and whether they have a good or bad time in it.

It is therefore essential to consider the effect that color will have on your kitchen when you decide which one to paint with. For example, some colors create an atmosphere of peace and calm giving rise to feelings of relaxation and well-being. Others, however, have just the opposite effect by creating tension and even anxiety because they generate excessive heat or cold through electrifying effects which affect people’s nervous system and other areas such as digestive problems.

Different variations of white for cabinets and walls

If you are thinking of painting the cabinets in your kitchen in white, keep in mind that color is not the only thing to consider when it comes to getting a quality finish. You must also choose if you want to apply semi-gloss or matte paint. The former is perfect for kitchens where there is frequent use because they are resistant to scratches, watermarks, and stains; On the other hand, matte finishes are more delicate because they easily scratch or even chip off if exposed to high humidity or heat by using appliances such as ovens frequently. White is just one among several colors that best match both finishes so it’s important to take into account which one is most suitable for the room where it will be applied.

6 Kitchen Paint Colors You Can Easily Copy
Image Credit: http://rivergateapartment.com

re colors as important when building an outdoor kitchen?

Building an outdoor kitchen means that you have to think about a different set of factors when choosing the color for your cabinets.

In most cases, homeowners prefer to use neutral colors such as gray or beige which are timeless and can withstand adverse weather conditions. In addition, they do not require frequent maintenance which is very important if you want it to last for many years without deterioration or damage from external elements such as moisture and heat.

Moreover, white, gray, and beige outdoor kitchens look more elegant and attractive when combined with bright colors such as red or pink which add a touch of color to the whole environment.

These are just some ideas that can help you choose an exterior kitchen cabinet color that matches well with your preferences and requirements. It is important to remember that just like when painting indoor cabinets, there are no hard rules when it comes to choosing a high-quality finish for your outdoor kitchen’s cabinetry. Some homeowners decide on white while others prefer light brown or beige; There is no single “perfect” exterior kitchen cabinet color because each one depends on each person’s taste and specific situation.

Final thoughts on kitchen paint colors 

Since there are a lot of options out there, we hope that this guide has helped you to choose your favorite option when it comes to kitchen paint colors. In general, colors have been thought of as a tool to change the mood in a room for those who live there or those who visit. You can play with those moods or simply go for a neutral color based on your preferences – which is where the beauty of colors lies.

The post Kitchen Paint Colors to Copy appeared first on Kitchen Infinity.

Did you miss our previous article…
https://chefbuano.com/?p=209

Can You Install Tile Directly on Concrete?

Can You Install Tile Directly on Concrete?

Tile is one of the most popular flooring materials in North America.

There are many different types of tile installation methods, but it’s important to know that you can install tile directly on concrete floors with some preparation steps.

In this article, we’re going to go over seven steps that will lead you towards a successful tile installation. Let’s get right into it.

Step 1 – Remove any existing finishes or coatings

The first step towards tile installation is to remove any existing finishes or coatings that may prevent adhesion.


Image Credit: http://thespruce.com

This includes the removal of old, cracked thin-set mortar; which you can check by lightly tapping on your floor with a hammer.

If the surface sounds hollow, then it’s time for you to move on to step two.

You may be able to remove any coatings yourself using a paint scraper or clay removal tool – just make sure that these tools are new and sharp.

A floor scraper or smooth wire brush is also a safe option if you’re removing paint, which you’ll likely see if your former coating was glossy.

Whatever method you use to remove any existing coatings, just make sure that it’s thorough and complete.

If the surface of your concrete has any oil stains then consider using an alkaline cleaner before proceeding with step two.

Once these are removed, be sure to rinse well with water after cleaning to prevent any dirt from re-sticking to the surface.

Step 2 – Use a diamond grinder to create a roughened surface for thin-set adhesion

After removing any previous coatings, the next thing that you’ll want to do is use a diamond grinder to create a roughened surface for thin-set adhesion.

This step is important because it will allow your adhesive product to hold firmly onto the surface of your concrete.

You can rent a diamond grinder from your local home improvement store, but it’s important to note that you’ll need to wear safety glasses and a dust mask – just in case you come across any sharp edges that may have been missed.

Once the surface of your concrete is roughened, then you’re ready for step three.

Step 3 – Remove any residual debris using a vacuum or leaf blower 

Once your floor has been prepared for tile installation by roughening the surface and removing all previous coatings and debris, it’s time to remove any residual debris using a vacuum or leaf blower.

Using a vacuum cleaner is recommended because it will reduce the likelihood of creating excess dust, which may become airborne and affect the quality of your work.

To prevent any residual debris from re-sticking to the surface, just make sure that you thoroughly clean and rinse with water after cleaning.

If rinsing isn’t possible then we recommend using compressed air instead of a leaf blower or vacuum to remove any dust or dirt.

Step 4 – Use thin-set mortar as an adhesive product and follow manufacturer instructions

When it comes time to choosing an adhesive product for tile installation, it’s important to note that many adhesives are manufactured for specific applications.

Because of this, we recommend following the manufacturer’s instructions for tile installation.

Most adhesive products contain similar ingredients, but it’s important to learn which ones may or may not be compatible with your specific product depending on the type of installation that you’re doing.

For example, some thin-set manufacturers recommend the use of latex additives for concrete floors if installing over radiant heating systems because it will prevent cracking.

Once everything is measured out and ready to go, then you can mix your adhesive product following manufacturer instructions. If this isn’t possible due to time restraints, then at least try to prepare it in advance so that nothing slows down your installation process.

Step 5 – Apply adhesive using a 1/4″ x 3/16″ V-notched trowel

After preparing your adhesive product, then it’s time to apply the thin-set mortar.

The best way to do this is by using a 1/4″ x 3/16″ V-notched trowel and following the “scratching” method.

Remember: when applying adhesive, it’s important to be mindful of your surface temperature because higher temperature substrates will require more heat for the adhesive to cure properly.

While this step is usually done with a special tool known as a notching trowel, you can also use an ordinary steel straight edge like that of a level if one is available on site.

Step 6 – Use hardboard panels and install them around the perimeter of the room

If you need to install hardboard panels around the perimeter of your room, then we recommend using a circular saw and cutting them to size.

Just make sure that you measure twice and cut once because it’s important to have everything fit properly for tiles to lay flat with no visible seams.

Once they are cut to size, simply screw them in place using screws designed for use with drywall – making sure that they don’t go all the way through the hardboard.

You’ll also want to use plastic panel anchors when securing these boards into place. Be very careful when doing this because both types of fasteners are sharp. 

How to lay ceramic tiles
Image Credit: http://marazzigroup.com

Can You Install Tile Directly On Concrete – FAQ

Do I need to level my floor?

A level floor is always suggested. If you want to level a floor, you must use a leveling compound, trowel it out and let it dry. You can’t put tiles on top of a wet leveling compound. After the floor is level, you need to make sure all the dust has been cleaned up. Also, check out this guide on how to remove a tile in case something goes wrong in the process.

How do I install tile on a floor with no subfloor?

Installing tile without a subfloor isn’t too difficult. If seams are showing in the concrete, tape them off, then place construction adhesive or mortar across the entire floor area where you plan to lay tile. Go buy some thin-set mortar for about $5 per bag at your local hardware store. Mix according to package directions, being careful not to create too much at once because it begins setting quickly. Pour it on the floor and spread it out evenly to create a flat surface.

The key is to make sure the thin-set mortar spreads over the entire floor so there are no bumps. Also, be careful not to get any on your shoe, as you will carry it into your house and all over the carpet and furniture.

If this happens, simply scrape or wipe up with a damp towel or rag as soon as possible before too much of it dries. Once the thin-set mortar has been smoothed out evenly on top of the concrete, let it dry for about an hour before putting more on layers until you achieve smoothness (no lumps).

Final thoughts on installing tile directly on concrete

In conclusion, yes you can install tile directly on concrete. It is possible to do so without any underlayment if the substrate is flat and even; however, if the substrate has imperfections (i.e. it’s not perfectly level) an underlayment is required for the tile installation to be successful and long-lasting.

The post Can You Install Tile Directly on Concrete? appeared first on Kitchen Infinity.

Did you miss our previous article…
https://chefbuano.com/?p=205

Why Do Ants Have Wings?

Why Do Ants Have Wings?

Ants develop wings as adults to help with mating and flying. Male ants use their wings to fight over territory, food, and females. Female ants don’t use their wings for the same reasons males do, but they do for laying eggs.

In this article, we will be discussing ants and why they have wings.  Here’s all you need to know. 

nts and their wings

Ants don’t hatch with wings; they develop them as adults. The muscles that make flight possible are only fully developed after pupation has occurred, which is when the adult ants go through their metamorphosis process and life stages to become an adult.


Image Credit: http://insectcop.net

This means that most of the ants you see flying around now were once pupae, but these ant pupae weren’t able to fly because they hadn’t yet developed their wing muscles.

Females also use their wings for laying eggs – there’s a lot more energy involved in egg-laying than there is fighting, so female ants have bigger and more developed wing muscles than male ants do.

Ants can’t fly without their wing muscles fully developed – this is why there are no baby or adolescent ants that have wings. Some species of ant don’t even have developed wing muscles at all. These types of ants live in trees or on low-lying plants where they never need to leave the ground. 

What is the purpose of ants?

The purpose of ants is to sustain the ecosystem of the Earth. Ants contribute by supporting other insects and contributing to plant life. They also clean up animal remains and help dispose of them.

There are more than 12,000 species of ant and their colonies average 50-100 members at a time. They can range from as few as 10 up to half a million. Ants live in tropical or semi-tropical regions that have warm weather year-round. Their nests can be found anywhere from deserts to rain forests; they’re truly amazing creatures that we still know very little about.

How do ants reproduce?

Ants cannot sexually reproduce because they don’t have male genitalia. Instead, they reproduce by laying eggs. These eggs are called “clutches.” Ant colonies have one queen who creates all these clutches throughout her life. She changes positions in the colony to let another and take over when she becomes weak or dies.

Some species of ants can reproduce asexually. These types of ants are born with wings on the imago stage of their development so they can fly off and establish their new colony once they’ve mated with a male and from another nest. This is how most new colonies are established in nature.

Do baby ants have wings?

No, baby ants do not have wings because they haven’t developed them yet. Ants develop through four life stages. They hatch as larvae and go through pupation, metamorphosis, and adulthood before they reproduce or die. Each life stage has its distinguishing features but none of the pre-imago stages have wings. During pre-imaginal development, at the larvae and pupae stage, ants grow and change to become their adult forms, and only after that do they develop wings.

The first stage of ant development is how we get queen ants that lay eggs for the colony. The second stage is how we get worker ants that are sterile females who work in the colony. Sterile females are not able to reproduce because they haven’t developed ovaries yet – this happens during metamorphosis. 

The third stage of ant development is when we get male ants. They’re able to fertilize the eggs that the queen lays and only later in life do they develop their wings. Male ants use their wings for finding a mate and then fighting over territory, food, and females. 

The fourth stage of ant development is when we get alates; these are female worker ants in the imago/winged stage who haven’t yet found a suitable nest to move into. This is why most winged ants you see outdoors aren’t actual late queens or males – these creatures tend to stay in nests until it’s time for them to establish their colonies by founding a new nest together.

So, there you have it: ants don’t fly without their wings. They don’t even have them until they’ve reached the imago stage of development. More than anything, this is why baby ants can’t fly.

Why Do Ants Have Wings – FAQ

How do I get rid of ants?

If you want to get rid of ants, the solutions should be both effective and environmentally friendly.

Keep your house as clean as possible if you want to keep the ants away. The fewer food crumbs and other sources of nutrients they can find around your house, the better. This is one of the best ways to get rid of ants on your kitchen counter

Also, you can use some natural ingredients to get rid of ants. For example, lemon juice and chili powder will help you get rid of ants quickly and easily. Simply mix one part of chili powder with two parts of sugar and add it on the ant trail or near the anthills outside your house. The ants will carry this mixture back to their nest and will die in no time at all.

What do winged ants look like?

Winged ants usually have darker brown color than their worker counterparts and they possess wings while workers don’t. However, some species have both winged and non-winged queens.

Do ants bite?

No, they don’t. Ants can only pinch (usually worker ants) or sting if they are provoked, but they usually will not attack unless you disturb them.

Identifying a Flying Carpenter Ant in Your Home
Image Credit: http://modernpest.com

How do ants reproduce?

Ants lay eggs that develop into male and female offspring, while the males will eventually die off, females will become queens that start new colonies. Worker ants have no reproductive organs, so the queen ant is the one who reproduces using her spermatheca organ where she stores sperm after mating with drones in springtime. Some species also have winged alates which fly away from their colonies to start new ones elsewhere.

Final thoughts on why ants have wings

In conclusion, the reason why ants have wings is to reproduce and spread their species. The queen ant doesn’t need the wings because she can already fly or crawl everywhere, but male ants use their wings to disperse and find a mate for reproduction to take place.

The post Why Do Ants Have Wings? appeared first on Kitchen Infinity.

Did you miss our previous article…
https://chefbuano.com/?p=201