How to Clean a Microfiber Couch

One of the most common household items is a microfiber couch. These are often touted as being stain-resistant, but this isn’t always true. The fabric can still get dirty and accumulate dust over time, even if it was originally clean when you bought the couch.

In this article, we’ll go over some tips on how to clean your microfiber couch so that it stays clean and fresh-smelling. Let’s get started. 

How to clean the microfiber couch? 

Follow these steps below to clean a microfiber couch

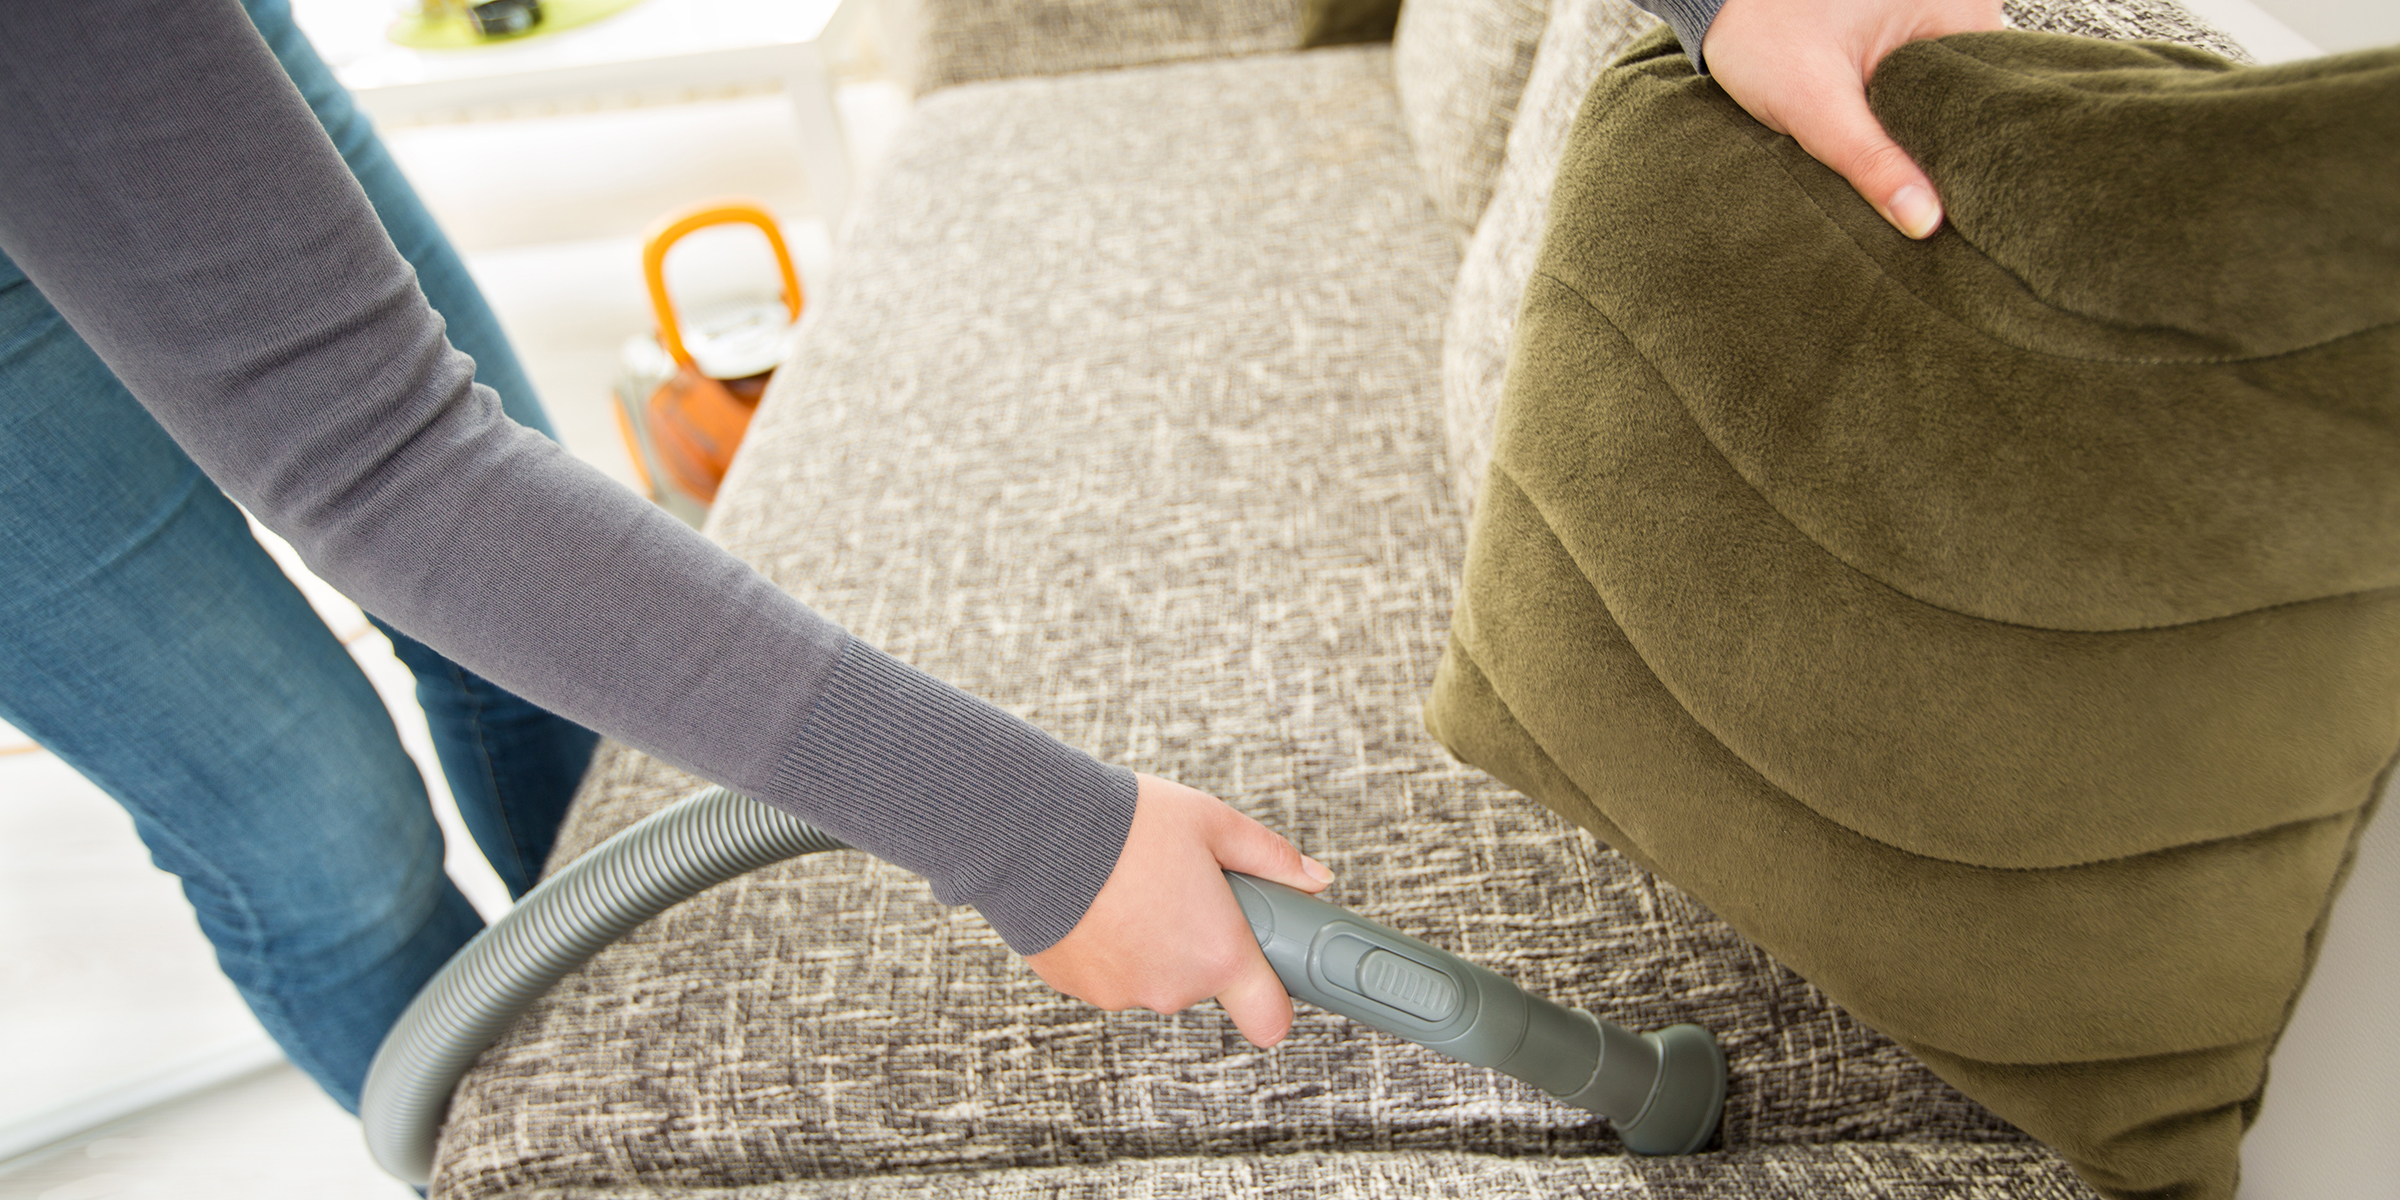
1. Vacuum your microfiber couch

First things first, it is always best to vacuum your couch before you do any kind of cleaning on it because this will make the job much easier in the long run. This prevents you from getting too deep into the fibers and accidentally causing damage through excessive scrubbing or brushing.


Image Credit: http://pinterest.com

2. Use a damp cloth to wipe down the surface of the couch

If you have pets, then chances are that there are hairballs trapped inside of your couches right now, so start by removing them with your damp cloth. Microfiber is great at trapping dirt and debris, but it isn’t so great at getting rid of them on its own.

3. Mix one part vinegar with two parts water in a spray bottle and use it to clean any stains on the fabric 

If you have stains that won’t come out through just vacuuming or wiping then try using some white distilled vinegar mixed with distilled water in a spray bottle. Spray down your couch, wait ten minutes for the solution to settle into the fibers of your couch, and then wipe it away with your damp cloth to get rid of any residual dirt or grime. 

4. Let it dry completely before sitting on it again.

You don’t want to jump on your couch as soon as you spray it down with the vinegar solution because this can cause puddles to form. Instead, let it dry off completely before sitting on it again.

How do I prevent my microfiber couch from getting dirty?

Limit food or drink in the living room 

One of the easiest ways to protect your microfiber couch from becoming dirty is by limiting what kinds of things are allowed to be kept in that area. Try not to eat there and refrain from putting drinks on surfaces other than coasters if possible. This has two benefits: one of which is that you won’t have crumbs or spills all over your couches, and the other is that since no one will be eating there, you won’t have crumbs or spills all over your couches. If you want to keep a drink close to where you sit, opt for decaf coffee instead of caffeinated beverages because caffeine is known to stain certain fabrics.

Vacuum as often as possible 

In addition to cleaning up as much as possible if someone does spill something, it’s also important that you vacuum your couch regularly. For best results, use a brush attachment and make sure that it has been cleaned off first before going onto the fabric. Even without stains, using a brush helps to release any trapped particles of dirt deep within the fibers so they don’t build back up again later. Some people even go so far as to use dry shampoo on their carpets to absorb any grease or oil that might be trapped deep within the fabric.

Treat stains as soon as they happen 

Sometimes accidents will happen and your couch will get a stain on it, so when this happens it is best to treat them immediately before they have too much time to set. Apply some distilled white vinegar straight onto the stain using a paper towel (make sure to use distilled vinegar because it has a much less intense smell than other kinds). Allow the vinegar to sit on the stain for about five minutes before removing it.

Use an upholstery cleaner

I know it might seem like an extra expense, but find a good spot cleaner and use it as often as possible. This is great for not only getting rid of odors but also for preventing them from occurring in the first place because you’ll maintain your microfiber more thoroughly. It’s also best to choose something that doesn’t have any harsh chemicals because this can lead to staining and discoloration over time.

Remove pet hair with a lint roller or ice cubes 

One last way to help prevent messes from forming on your couch is by removing the excess pet hair before it has a chance to get stuck onto the fabric. This works especially well if you use synthetic furniture and a pet shed (for those without pets, this works well for removing lint from clothes too). To do this, just run a lint roller over your couch or grab a handful of ice cubes and rub them all over the surface. The cold temperature will help to solidify the fur so that you can then easily pick it up with a paper towel.

How do I clean a suede couch?

Suede is one of the most delicate fabrics you can own. It needs to be handled with care and it doesn’t respond well to different cleaning agents. The following are some tips for cleaning your suede couch

Take off the cushions before attempting any form of steam cleaning; this will ensure that the couch does not sustain any kind of damages as a result of this process. Be sure to test out the specific steamer before applying it to your couch. Only apply dry cleaners on stains that have already dried up.

Wipe away excess liquid using paper towels or another similar blotting material, do not rub as doing so might cause further damage to the surface of the fine fabric couch. Allow enough time to pass before you put the cushions back into place.

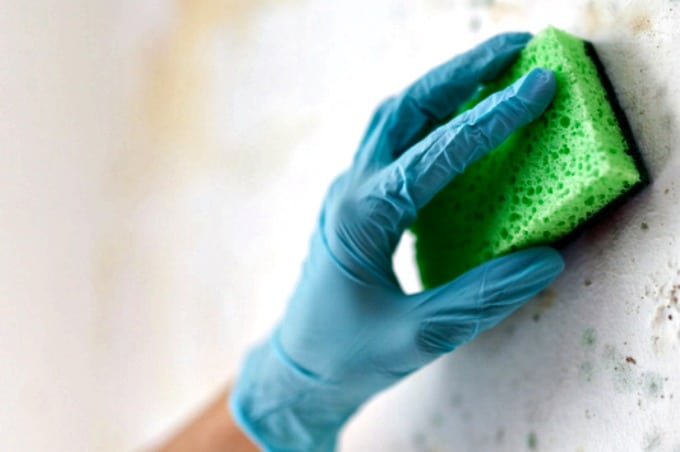
How do I clean kitchen countertops to keep them looking as good as new?

Speaking of cleaning, cleaning a microfiber couch or cleaning kitchen countertops are both not easy tasks. You have to be patient when it comes to this, but the good news is that there are some easy ways in which you can achieve this without too much of a problem.

Cleaning kitchen countertops, in general, will involve cleaning different types of ingredients on your countertop. For example, if you have spilled milk or juice on them then you’ll need to clean these spills with water and soap before rinsing them with clear water. If they are greasy stains then it’s best to use oil before wiping them off with a moist cloth. Allowing any food oils to dry up on the surface will only encourage further staining down the line.

How to Clean Microfiber Couch?
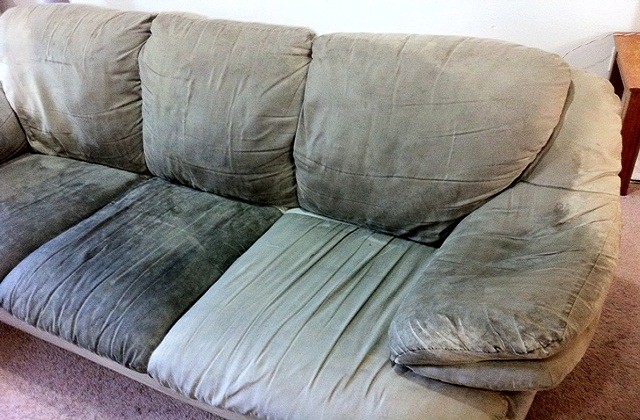
Image Credit: http://askmeclean.com

Final thoughts on how to clean a microfiber couch

In conclusion, it all boils down to the surface of your microfiber couch. If you have a slight spill on a non-shedding fabric, then it is easy to clean as long as you know what material your couch is made of.

The main trick in how to clean microfiber couches is simply cleaning them regularly with a good fabric cleaner that won’t damage the fibers of the microfiber fabric. On top of this, make sure you know what type of material has been used on your furniture before getting started with any cleaning solution.

The post How to Clean a Microfiber Couch appeared first on Kitchen Infinity.

Did you miss our previous article…
https://chefbuano.com/?p=137

How to Do Laundry

No one likes to do laundry. It’s just not fun. But then again, no one enjoys doing anything that has to be done when it comes to house chores. However, this is where you can make it simple to accomplish.

In this article, I will be teaching you how to do laundry. So, without further ado, let’s get right down to it.


Image Credit: http://wikihow.life

Step 1. Sort your clothes

You should sort your clothes before you start any process. The reasons for this are simple: 1) You can make sure that you don’t put anything in the dryer that shouldn’t be there and 2) It will cut back on the amount of time and energy required. As for sorting, you should take your clothes and divide them into three different groups: lights, darks, and whites.

And, when I say ‘light’, I don’t mean light in weight (well, not only). Your lighter colors can be faded easily by the dryer, so make sure that these are kept separate from the dark-colored clothes. Dark colors tend to bleed out in the wash and will also fade easily if they’re kept with any other color. And finally, your whites should always be separated from everything else because they will lose their brightness if they come into contact with anything dirty.

You should remember this rule whenever you do laundry. Even if you have a small load just for at home or an apartment- just divide your clothes into the three groups and you’re good to go.

Step 2. Load the washer

Different washers require different things, so I will just give you a basic rundown of how to load a top loader:

Put in darker, heavier items first and lighter ones towards the center. This way all the weight is not concentrated on one side and will help keep everything balanced as it spins.You can always use those mesh bags for delicates or undergarments. These are great because they protect these items from snagging on something else during the cycle.Once you have decided what goes where, put them in according to weight (heavier articles closer to the agitator and lighter ones towards the outside)Close the lid and you’re good to go.

As for front loaders, they have a separate compartment for dark and light clothes. You can either use this or just divide your clothes as usual.

Step 3. Add detergent and fabric softener, if desired

It is really up to you which products you decide to use. Fabric softener will make your clothes softer but if you want naturally soft fabrics without any additional chemicals, vinegar works wonders. Detergent is just as important- it helps get rid of all that dirt and grime.

Now, it should be mentioned that if you have really hard water (lots of minerals) your clothes may not come out very clean. This can occur because the minerals build up in your detergent drawer and make it harder for the soap to lather so if this happens, try using a little more detergent or vinegar during your next wash cycle to help cut down on these minerals.

Also, the type of detergent used is very important. In fact, when it comes to this, Tide vs Gain is a common debate. I would say it’s really up to you which one you buy. The top detergents all get the job done and are affordable.

Just try to avoid the super cheap stuff as it doesn’t make your clothes as soft and, in some cases, can damage them.

Step 4. Add any other items you may need (bleach, etc)

The next step is to add other things you might need including a color-safe bleach for those really dirty loads, or a fabric softener sheet if that’s what floats your boat. The other option is OxiClean which is a great stain remover- just be careful because this stuff will go straight through light colors so it’s best to use a mesh bag for anything going into the washer that needs to be treated separately.

In terms of how much you should use, the general rule is the more you put in, the cleaner your clothes will come out. But this can make things a little too stiff and scratchy so I would start with a tablespoon and work your way up from there.

Step 5. Turn on the washer and wait

At this point, all you have to do is press ‘start’ and walk away. The only thing left to decide now is what cycle to use- just hit ‘normal’ if you’re not sure.

Step 6. Drying time.

Once your clothes are done in the washer, they need to be spun out before you dry them. If you want your clothes to come out properly dried (no longer soaking wet) make sure you don’t skip this step.

After they reach this point, it’s time to move them to the dryer.

Now that they are in the dryer, it’s time to think about adding any fabric softener. The best way to do this is by putting it into one of those mesh bags meant for delicates that you used in the washer.

If you don’t want to purchase these special mesh bags (and most people probably don’t) then I would recommend putting your wet clothes into a separate bucket or bin before throwing them in the dryer so you can add your fabric softener along with them when you take them out of the dryer.

As for how much you want to add, this is really up to you- it will depend on your preferences and what kind of fabric softener you’ve bought. But I would recommend starting with a tablespoon so you can see how it turns out before adding more if needed.

Step 7. Start drying cycle

Once everything from the washer is finished being spun out, put them in the dryer and hit ‘start’. Now sit back and relax while they get nice and fluffy.

How much water does a washing machine use?

When it comes to understanding how much water a washing machine uses, most washing machines use between 8 and 13 liters of water per cycle (and an average of 10).

What is the best soap for my laundry?

Washing powder or liquid is usually more effective than bar soap, but if that’s what you prefer to use, go ahead. 

What is the difference between a front-loading and a top-loading washing machine?

Front-loaders are larger, but they use less water during the cycle. Top loaders are usually cheaper, but they use more water during the cycle. Front-loading washers are gentler on fabric, so if your clothes are prone to wrinkling, this may be better for you.

How To Do Laundry - Laundry Tips
Image Credit: http://downy.com

Final thoughts on how to do laundry

In conclusion, it is very important to remember that everyone’s standard of cleanliness is different. This means that the amount of effort you put into your laundry routine could be either more or less when compared to what another person puts in.

By following the steps outlined in this document, you can get your clothes clean and ensure that they are fresh for their next use.

The post How to Do Laundry appeared first on Kitchen Infinity.

Did you miss our previous article…
https://chefbuano.com/?p=135

How to Get Rid of Mold

Mold is a fungus that grows in damp, dark places. It can grow on virtually any surface and it thrives in warm, humid environments. Although mold doesn’t usually cause health problems for people with healthy immune systems, it can be very dangerous to anyone who already has impaired immunity or allergies because of the toxins they produce.

In this article, you will find out what the symptoms are if you have mold in your house, how to clean it up, and what you can do to prevent it so that your home remains mold-free. Let’s dive deep into this topic. 


Image Credit: http://thespruce.com

How to get rid of mold

 To remove mold from your house there are several steps you must take.

1. Clean up any moldy surfaces with a mixture of water and bleach

By mixing water and bleach you can kill mold on contact. If your symptoms of mold exposure are minor then this will probably be adequate to clean the affected areas. However, if symptoms persist or become more severe then consider contacting a professional service for help cleaning up all of the affected surfaces.

2. Remove all porous materials, including drywall, insulation, carpeting, vinyl flooring

To prevent further occurrence it’s important not only to remove the surface mold but also any moldy porous materials that were near the area where mold occurred. This ensures that no spores have been left behind growing undetected causing problems later down the road. Carpeting is particularly vulnerable to hidden pockets of moisture which cause mold to grow behind it. If you have carpeting in your house, particularly under furniture, then this should be removed and replaced as part of thorough cleaning after a mold outbreak has occurred.

3. Open windows to improve air circulation in the room for at least 24 hours before replacing anything that was removed

In addition to removing all porous materials from an area where there is mold caused by water damage, opening windows will allow new, dry air into the space which helps reduce spores from spreading further. Fresh outdoor air can be exchanged for indoor stale air with a window or door left open overnight. This process will also help remove any harmful gases that may have developed on surfaces where mold occurred.

4. Replace any missing or damaged sealant around doors and windows

To prevent moisture from entering your home or building where mold is being removed it’s important to replace any broken or missing sealant around doors, windows, vents, etc. This helps keep out moisture which can cause future mold growth.

5. Seal off the area from future moisture by installing new drywall or other appropriate material over affected areas

Once surfaces have been cleaned and all porous materials have been replaced then it’s time to seal the space off against any future water damage. To do this you will need help from a professional because if done incorrectly there could be negative consequences for occupants’ health as well as further problems with dampness in the environment caused by condensation buildup on cold surfaces because they are still damp from cleaning.

How to Recognize Mold

There are more than 100,000 species of mold that have been identified. If you see or smell mold in your home, don’t panic. It could be a common household type that isn’t dangerous to humans. However, some types of mold can cause health problems for everyone involved.

It’s not always easy to recognize the difference between harmless types of mold and dangerous molds, but there are tell-tale signs:

1. Visible Mold Growth

Common household molds may cover large areas, especially if they’re growing on wet materials like wood or drywall. They will often appear as spots spread across floors, walls, and ceilings; they tend to grow along the floorboards or in the corners of a room.

2. Visible Mold Spores

Mold spores are microscopic and come in many different colors, including black, red, green, and brown. Although most will be harmless molds, some types—such as Aspergillus—are carcinogenic. One way they can be identified is with a special microscope called a spore trap that can distinguish between common household mold and toxic varieties. If you see powdery black or green deposits on your surfaces with visible mold growth, it’s important to have an expert examine the material to determine if it contains dangerous spores from things like Aspergillus or Stachybotrys chartarum (sometimes referred to as ‘black mold’). Inhaling even a few of these spores can cause serious respiratory problems.

3. Musty Smell

If you have a mold problem in your home, there’s probably an underlying moisture issue. Signs of excess moisture include damp walls, peeling wallpaper, and discolored grout or carpeting. As the mold grows, it produces a musty smell that gets stronger as more spores are released into the air to be inhaled by people in the house.  

4. Respiratory Symptoms

Common symptoms include persistent coughing, congestion, eye irritation, and wheezing especially among those with nasal allergies or asthma. If you notice any respiratory symptoms but don’t know their cause, call your doctor immediately—you may need to get checked for other infections or viruses.

5. Behavioral Changes

A growing body of research indicates that mold can adversely affect people’s behavior and ability to focus and learn. One such study found that children exposed to high levels of toxic mold at home or in daycare centers displayed symptoms like frequent colds, short attention spans, and behavioral problems at school. If any member of your family is experiencing these types of symptoms, ask your doctor if it could be related to a mold problem in the house. 

6. Allergic Reactions

Every year thousands of mold allergies are diagnosed by doctors, many caused by indoor exposure via inhalation or skin contact with spores outside the home. Mold allergy symptoms include an itchy, persistent cough; wheezing; watery, red, or swollen eyes; shortness of breath; and difficulty breathing. If an allergy test shows that you’re allergic to mold, it’s important to take steps to remove it from your home.

7. Allergic Asthma

Mold can cause asthma symptoms in people who are already prone to respiratory allergies, but there is no concrete evidence showing that exposure worsens existing asthma symptoms. However, even if you don’t have asthma now, exposing yourself to toxic molds can lead to irritant-induced asthma, which requires more serious treatment than common cases do.  

The difference between mold and moss

The easiest way to tell the difference between mold and moss is that mold grows above ground and tends to be darker in color. Moss, on the other hand, loves damp areas like rocks or wood and forms patches close to the ground. If you see dark green spots growing along your home’s foundation, it could be a moss infestation.

If you want to get rid of moss, choose a moss killer with ferrous sulfate or copper sulfate as its active ingredient (you can find it at garden supply centers). To apply the chemical, first, use a liquid detergent to remove dirt on the surface of your house. Dig up any stubborn patches using a trowel before spraying with the chemical solution or painting it onto rocks and green growths. 

Be sure to wear protective clothing and goggles for this part.

After applying the moss killer, cover the area with bark mulch or stones to keep weeds from growing and re-infesting your house. You may need to apply a second treatment in about two months if moss is particularly persistent.  

Here are some things to look out for when determining if you’re dealing with moss or mold:

1) Mold is typically dark in color (blue-green, black, brown), has a fuzzy appearance, and smells musty.  Moss is typically light green (sometimes yellowish), does not have a fuzzy texture, and smells like grass when it’s wet. 

2) Moss grows only on the ground while mold can grow both above or below ground level on just about any surface indoors or outdoors.  

3) Mold tends to spread more quickly than moss does since the mold has roots while moss does not.

4) Moss requires dampness to thrive whereas mold can grow without any moisture, although some types cannot even survive if their environment loses its water content.  

How can I get rid of mold in the shower caulk?

If you want to get rid of mold in the shower caulk, you will need to remove the caulk around your shower. Once you have removed all of the old caulk, mix equal parts bleach and water. Apply the solution to the caulking with a sponge and allow it to dry overnight. The next day, reapply a new layer of caulk along the base of your shower and let that dry for about 48 hours before using your shower again.

How do you get rid of mold on the bathroom ceiling?

If you want to remove mold from your bathroom ceiling, use an alkaline product such as ammonia or vinegar mixed with warm water. You can also use Lysol or bleach diluted in water if neither of those options works. Once you have applied the solution to the mold, cover it with a cloth and let it sit overnight. In the morning, wipe away all of the molds from your ceiling with a sponge or dishcloth soaked in water.

What is the best way to get rid of black mold?

Before you can remove black mold, you will need to eliminate its food source and kill any live spores that may be present in your home. Remove any wet carpeting and dry out carpets and furniture affected by black mold over two weeks using fans and dehumidifiers. Once you have removed all of the excess moisture from your home, clean areas where black mold is growing with soap and water followed quickly by an application of bleach to kill any mold spores that may have returned.

How to Remove Mold from Walls for Good
Image Credit: http://housewifehowtos.com

Final thoughts on how to get rid of mold

In conclusion, mold can be a serious problem for many reasons. It stains, spreads, and is often difficult to remove once established. The best defense against mold is a good offense. If you remove the moisture source and clean up any mold that has already formed, you can prevent a recurring problem from forming in your home.

The post How to Get Rid of Mold appeared first on Kitchen Infinity.

How to Clean Upholstery

It’s always nice to have clean upholstery. It looks good, smells great, and feels even better. Unfortunately, it can be hard to keep it that way with all the dirt and stains that come into contact with your furniture every day.

But you needn’t worry about dirty carpets or sofas anymore because this article will show you how to do a deep cleaning of your upholstery in just four steps.  Keep reading to find out more. 


Image Credit: http://rescuemytimecleaningservice.com

Steps to cleaning your upholstery

These are the steps to follow if you want to achieve a brilliant effect on your upholstery:

Step 1. Vacuum the furniture thoroughly.

You need to start with a clean slate, so give your sofa a thorough vacuuming to remove any dirt or debris that might be on it. Then go over it again with a crevice tool or upholstery attachment if you have one for that extra deep clean. This will help get into nooks and crannies where dust and other visible dirt like hair can accumulate.

Step 2. Spray the upholstery with a professional-strength cleaner and let it sit

Now that the furniture is clean, it’s time to spray on some of your favorite upholstery cleaning solutions. Just be sure to carefully read any instructions on your chosen product so you use it safely and to its full potential. Then cover any open areas with plastic or an old towel so as not to stain those parts while waiting for the solution to have enough time to break down the dirt.

If your couch doesn’t have removable cushions, no problem. Simply flip them over and repeat Step 2 on the underside as well before vacuuming again. Then just leave everything alone until it’s dried completely – usually, 1-3 hours should do the trick.

Step 3. Scrub any stains or tough spots with a soft brush, then wipe clean with a damp cloth

Now it’s time for some elbow grease to get rid of those stains and make your couch look better than ever. Just be sure to scrub carefully in small circles, don’t rub too hard, and follow the grain of the fabric wherever possible to avoid damage.

If you’re not happy with how things are going, repeat Step 2 with another solution if need be since some require an extra boost to break down grime. Once that’s done, go over everything once more with a damp cloth before drying completely again – this time no longer than 2 minutes is necessary.

Step 4. Let dry for at least an hour before using again to prevent staining

Once the upholstery is completely dry, you can sit back and enjoy your newly cleaned furniture. But make sure to let it air out for at least an hour or two first elsewhere in your home so there’s no smell of any cleaning products left. Then just revel in all that freshness and comfort knowing how easy it was to accomplish.

Cleaning upholstery with ease doesn’t have to be an impossible task when you know what you’re doing. Just be sure to always start with a clean surface and keep at it until the stains go away, and it’ll look like new again in no time.

Things to never do when cleaning upholstery

There are certain things you should never do when cleaning upholstery, such as:

1) Do not use chemicals that could damage the fabric

If you don’t use the right type of chemicals to help remove stains and grime, the solution could do more harm than good. Therefore, always be sure to choose cleaning products that weren’t made for other purposes such as paint thinners or gasoline since they contain harsh chemicals which could ruin your upholstery. Also, avoid using bleach since it can damage colors and fade fabrics over time.

2) Do not clean when sunlight is hitting the furniture 

Sunlight contains UV rays which can cause fading in fabric and color in leather so steer clear when you’re in direct sunlight and wait until another day to get started with your cleaning. If possible, try to keep your upholstery out of direct light altogether because it can speed up the aging process and damage color even more.

3) Do not use harsh chemicals with ammonia or acetone

Though they can be helpful when cleaning stains, they can also be dangerous to the health of your family and pets by irritating if inhaled. This is made worse when combined with other chemicals such as bleach which isn’t good for anyone. And it’s best to avoid using them on leather upholstery at all since they can dry out and crack the material over time.

4) Do not leave wet upholstery sitting in one spot

Leaving your furniture sitting in the same spot while it’s still wet can cause staining problems due to excess moisture that doesn’t dry quickly. That means you should always wipe up moisture within 15 minutes of spotting it, then lay something over the area until everything is completely dry. That way you won’t run into any trouble later on down the line when trying to clean upholstery in the future.

Having beautiful and well-cared-for home furniture isn’t necessarily hard if you know what you’re doing with your cleaning supplies. Just make sure they match your current needs and also follow all safety precautions listed on their labels before using them so everyone stays safe. 

How do I clean a suede couch?

Generally, it is recommended that you clean a suede couch with a dry brush with soft bristles to release surface dirt or dust. You can opt for vacuuming too if the couch has a removable cushion.

I have a microfiber couch, how do I clean stains from it?

To remove stains from microfiber furniture use a damp cloth and mild soap – don’t apply it directly on the stain because this will make it worse by pushing the stained area deeper into the fabric’s fibers. Apply a small amount of water with a sponge and gently wipe off the surface soil. To keep your textile fresh longer try not to spill greasy food or drinks onto them, prevent direct sunlight and be gentle while moving around the furniture.

I have a leather couch that needs cleaning, how often should I do this?

Generally, you should clean leather every 6 months. It is important because over time dirt and dust get accumulated in the upholstery which can lead to permanent discoloration or even damage to your furniture. As mentioned earlier it is a good idea to use a dry brush to remove surface soil before deep cleaning.

Also, applying a leather conditioner after a thorough cleaning will help keep your leather healthy and supple for a longer period.

How do I clean microsuede furniture?

Microsuede fabrics are highly susceptible to water damages so if there’s a spill, immediately blot excess liquid with a paper towel – don’t rub. You can also gently clean stains with mild soap and damp cloth in the same way as you would do it with suede.

For regular maintenance, you can use a steam cleaner or vacuum to remove surface dust.

How do I clean velvet furniture?

Velvet is even more delicate than suede because it has no protective top layer, always test your upholstery for bleeding dyes before cleaning – if the fabric is dry-cleaned only apply this service from a professional cleaner for a reasonable price. For daily maintenance use a soft brush or vacuum with a soft brush attachment. Never rub velvet as this will damage fibers and make your couch look worse.

What is machine-washable upholstery?

Machine washable is a term that describes fabric that you can wash in a domestic machine. The good news is that there are lots of great fabrics on the market today which are machine washable even though many people don’t know about it. But make sure to read the care label before washing for the first time (preferably follow the manufacturer’s advice). If this option fails, try dry cleaning your upholstery which shouldn’t take long if you choose an experienced cleaner.

Can I use bleach when cleaning my chairs?

Only use bleach on white upholstery. The best way to remove stain from any colored fabric is with a special detergent and damp cloth. Moreover, always test the bleaching agent on a hidden area of your upholstery to see if it damages color or texture. If you don’t want to risk that then opt for professional cleaning by an upholstery cleaner.

How to clean upholstery: Clean couches, cars and more
Image Credit: http://today.com

Final thoughts on how to clean upholstery

In conclusion, it’s good to know how to clean upholstery. Not only will it help keep your home looking nice, but you can also even use the same techniques on other items, such as car seats if they need cleaning. 

The main thing to remember is that there are plenty of products available for any type of fabric so always read labels and test in an inconspicuous area first before applying the product on the rest of your possessions.

The post How to Clean Upholstery appeared first on Kitchen Infinity.

Did you miss our previous article…
https://chefbuano.com/?p=131