Pouring Concrete in Cold Weather

Pouring Concrete in Cold Weather

Temperature fluctuations are one of the worst nightmares of constructors. Pouring concrete in cold weather can be a disaster. You know exactly what this is about if you have ever tried to pour concrete in winter.

In winter, the frost comes and insults the construction site with its presence and makes almost all projects impossible or at least very difficult. Pouring concrete is not an exception. 

It’s important to monitor conditions closely during the process, especially if you’re pouring a big load of concrete. This is because; the temperature changes can greatly affect how it sets up and how strong it will be ultimately.

This article gives you a comprehensive guide you need to follow to pour concrete in cold weather successfully. Let’s get started!

Effects of Cold Weather on Concrete

In cold temperature conditions, your hand truck crane needs to work harder since the load it’s carrying is more taxing on a crane in cold weather than a lighter one in warm weather. This is because the colder air temperature outside will make the hand truck crane engine work harder.


Image caption: https://www.knightscompanies.com

Cold weather also affects straddle carriers. For example, if you’re pouring on a slab that’s slightly below the temperature at which concrete cures properly, you have to be very careful when handling the material with a straddle carrier.

In the first place, it may be pretty difficult to get a straddle carrier to pick up your load. Even if you manage that, if left for a long period, the middle of the load will start cooling and hardening much faster than its edges/ends, which are still warm from the straddle carrier engine. This means your load will not be balanced anymore, and it can fall apart in mid-air, causing a dangerous situation for the workers.

Concrete Temperature When Pouring Concrete

The appropriate concrete temperature is between 65°F and 75°F. At this temperature, the concrete is in a reasonable range for placement and finishing.

If the exterior temperature drops below 50°F, it will become increasingly difficult to handle. Not even mentioning how this can be dangerous if the straddle carrier gets out of control and you’re in its way.

If the concrete temperature drops below 40°F, it will start freezing and setting up too rapidly. It would be good to stop pouring until the temperature rises again. The time required for proper hydration varies with mix design, equipment mixing procedure, and environmental conditions. In cold, the process takes longer because everything is slower, and the chemical reaction is slowed down.

Concrete Temperature When Setting Up

While the hand truck crane is mixing concrete, the temperature of the batch should be checked frequently. If it’s dropping quickly, you should stir well or, if possible, increase the amount of water used in your mix.

According to ACI (American Concrete Institute), the maximum air temperature for concrete placement should be 50°F. If you’re pouring a higher load than that, it’s advisable to mist or spray water on exposed surfaces. This will slow down the evaporation of heat from fresh concrete, and thus also the initial curing process time will increase, which is not a bad thing.

Precautions and Tips When Pouring Concrete in Winter

When you pour concrete in cold weather, you should take proper precautions. Pouring concrete in very cold conditions is not advisable since it increases the risks of form damage, cold joints, and changes to bleed water. 

Precautions and Tips When Pouring Concrete in Winter
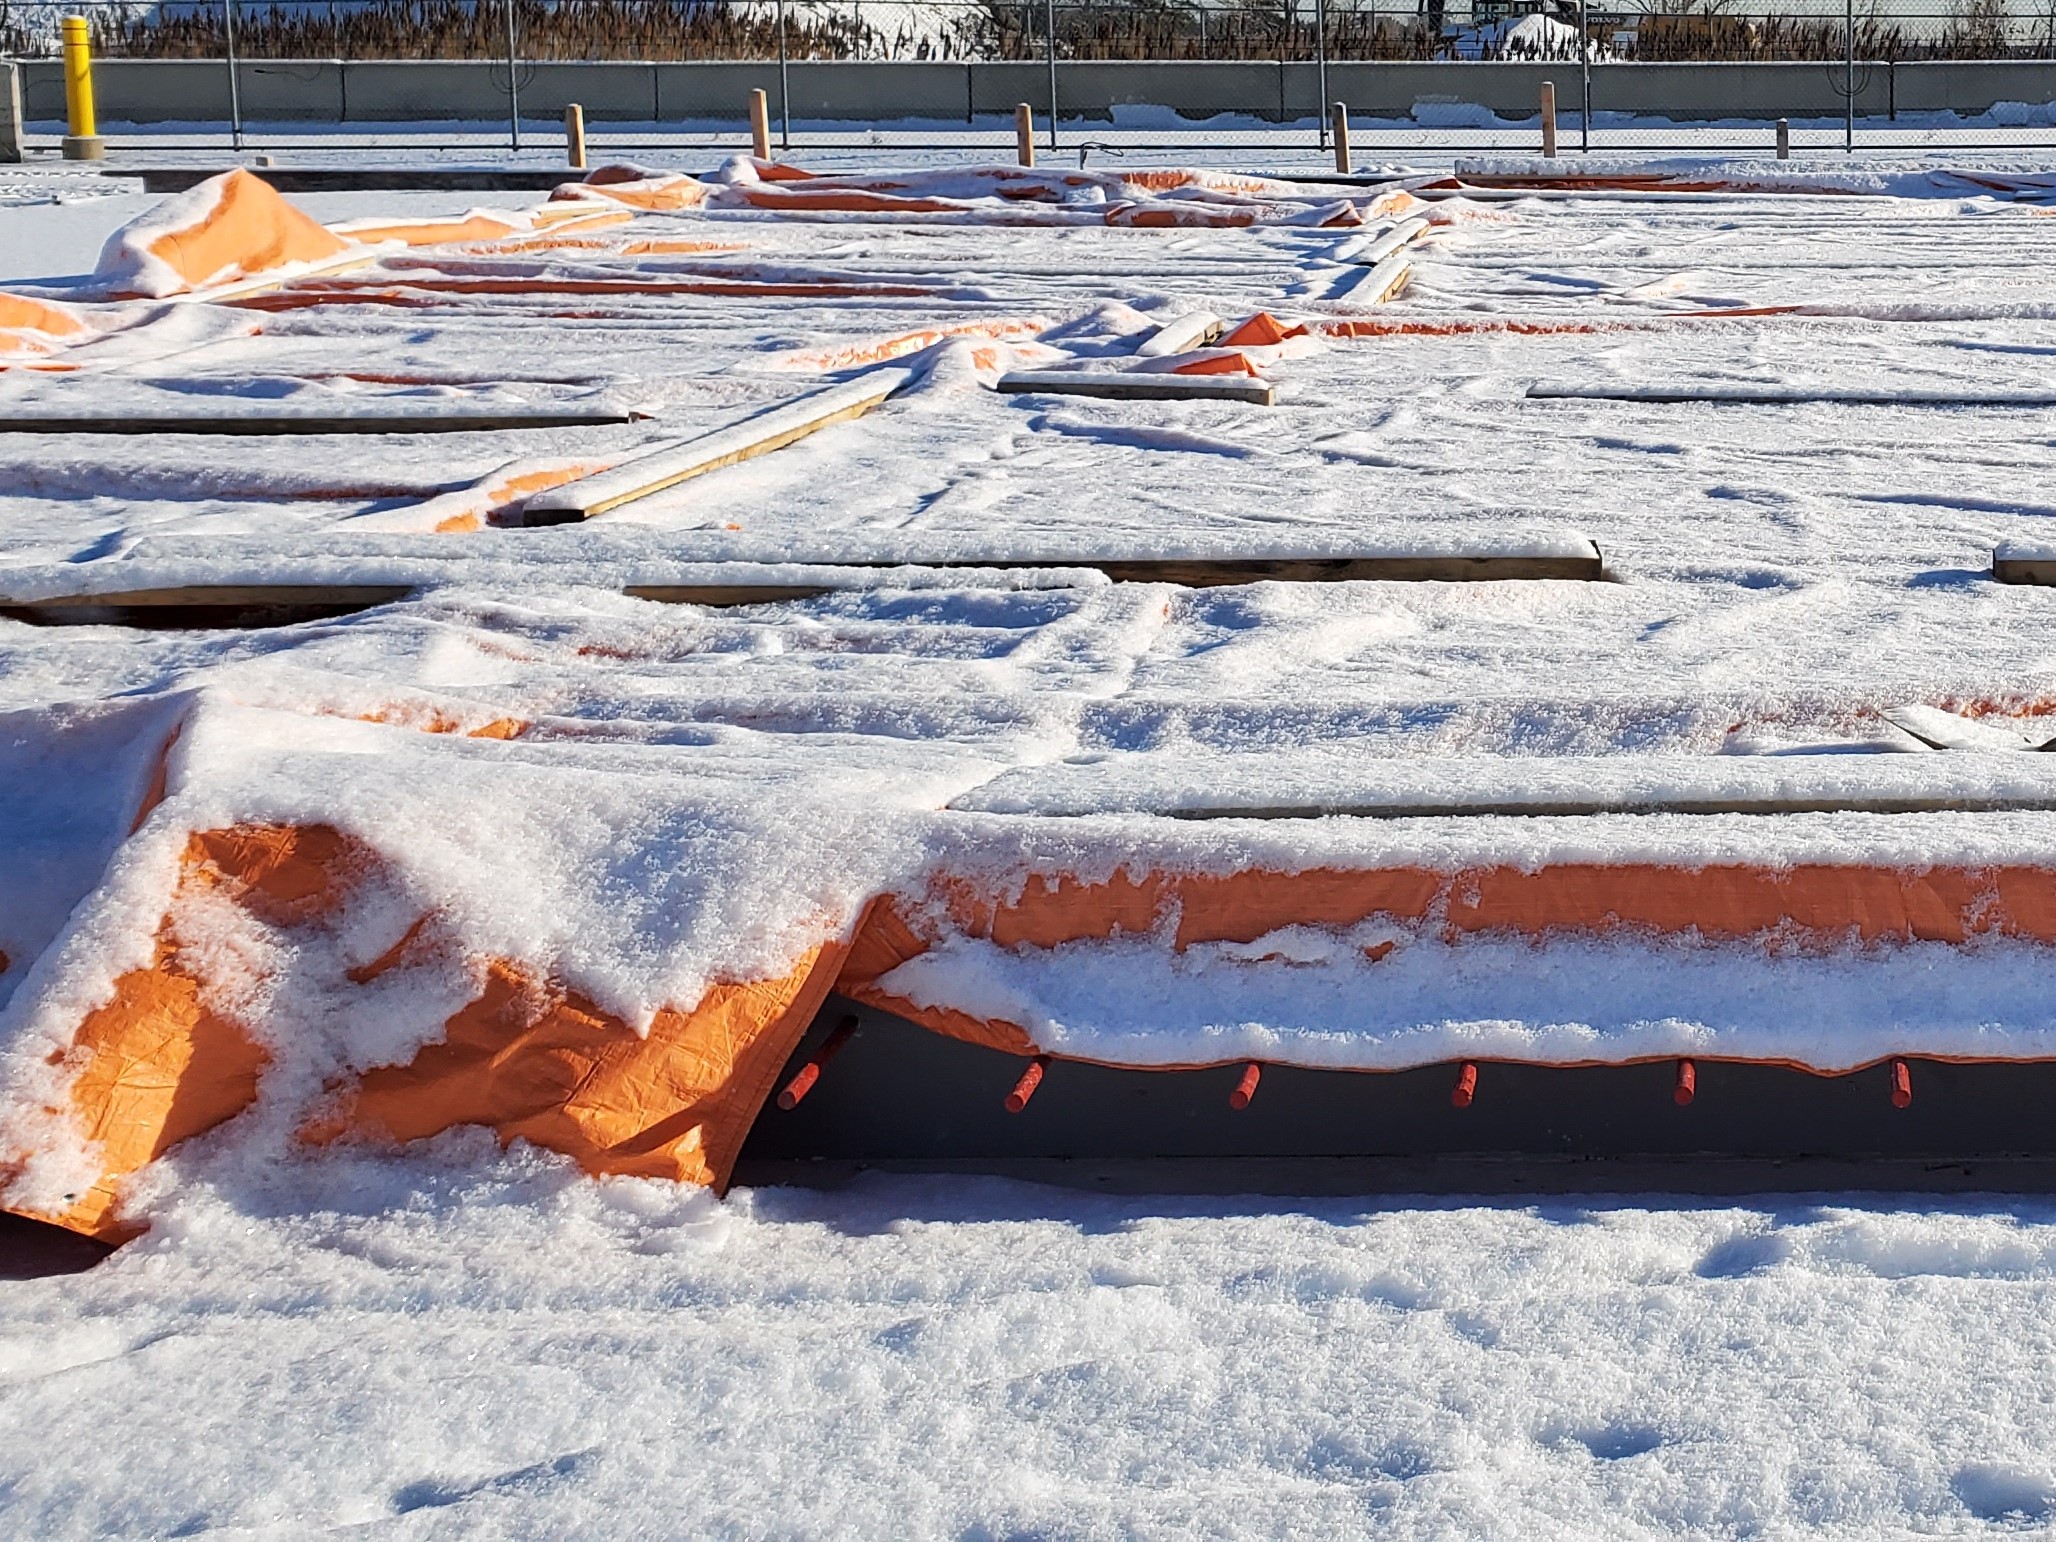
Image caption: https://www.fprimec.com

Here are some tips and precautions to consider when you pour concrete on a cold day:

You should account for higher water content when mixing concrete in freezing conditions since the evapotranspiration process is much slower when it’s cold outdoorsLet your concrete mix rest for a few minutes before pouring it to avoid the initial curing process time being longer than necessary.Don’t place concrete on frozen ground or ice because this will increase the risks of form damage.Use construction heaters to thaw frozen ground before pouring the concrete. This will minimize the risks of form damage and shorten the time needed to pour concrete.Warm-up anything that will get in contact with the concreteBe aware of the chemical reactions in cold weather, especially when dealing with certain admixtures.Keep your spray nozzles clean at all times by using warm water instead of cold water for flushing them. This will ensure that there is no chance of freezing within the spray nozzles.Keep a watchful eye on the concrete being poured to ensure that it does not have any unwanted admixtures or foreign materials in it.Avoid placing concrete when the ambient temperature is close to or below the dew point. This can make your concrete mix lose strength and make it more plastic.If you need to pour concrete during cold weather, it will be better to use normal-strength concrete instead of high-strength. This is because high-strength concrete can freeze before curing concrete.Try to ensure that the ambient temperature is higher than the temperature of the concrete being poured to avoid dealing with frozen forms.Ensure that your equipment is properly heated before getting started to be operated without problems when dealing with freezing temperatures.To reduce the risks of form damage, keep your concrete mix lean so that it can stay workable for longer periods.To avoid having cold joints, don’t place more than 36 inches of concrete between joints. This is because these spaces can become prime locations for freezing action.When you’re dealing with cold weather conditions, you should consider using low-heat cement. This type of cement can achieve its desired strength even with concrete poured in freezing weather conditions.Use insulating blankets or concrete curing blankets to maintain concrete temperatures

FAQs on Pouring Concrete in Cold Weather

What is cold weather concreting?

Cold weather concreting is a practice that involves pouring concrete slab when the ambient temperature is between 40°F and 60°F. This type of cold weather concrete can be easily poured in cold conditions because its required strength won’t be affected, leading to a stronger final structure.

How cold is too cold for pouring concrete?

The average daily air temperature should be between 40°F and 60°F. If the temperatures are below 40°F, then it will be advisable for you to wait until they rise again before concreting. If they are above 60°F, you should not pour concrete in these conditions because this can affect the quality of your mix design.

Final Thoughts on Pouring Concrete in Cold Weather

Cold weather should never be reason enough to stop building your house because you still pour concrete in cold weather. All you need to do is to ensure that you know the steps involved in the process to deal with any challenges that come your way. Also, ensure you get perfect cold weather concrete.


The post Pouring Concrete in Cold Weather appeared first on Kitchen Infinity.

Did you miss our previous article…
https://chefbuano.com/?p=127

How To Level A Floor

How To Level A Floor

Most homeowners are not aware that their floors can be out of level, and it has a major impact on the aesthetic appeal of your home. It is important to know how to level a floor whether you’re building a new house or remodeling so you can keep your house safe and looking great for years to come. 

There are also a number of reasons why your floor can fall out of level with the rest of your home. Such reasons include non-leveled subflooring, shifting foundation, or a poorly engineered floor joist system. Knowing the required techniques will help you understand the problem before getting the floor checked and repaired by a professional.

Whether you’re installing ceramic tile, hardwood, or laminate, make sure your subfloor foundation is level. Here are the steps to help diagnose unevenly floor:

Remove the Existing Flooring

If you are installing a new floor in your old house, you need to remove the old floor. This step is important because it determines whether your subfloor will be level or not. Pull up one section at a time of that squeaky hardwood floor by using a pry bar. If there’s a gap between the floor and the wall, you have to fill up that gap with wood filler. Once your old floors are removed, get rid of any debris or nails remaining on the subfloor by brushing them away.

Check the Level and Structure of Your Floor

Check why your floor is unlevel. You can do this by stripping out a thin layer of wood around the perimeter of the room. This way, all floor materials, including the subfloor, will be level. There are many reasons why your floor is not level, and each of these reasons requires a specific approach in terms of repairs.

Not every floor situation will require these steps. But the first step you must never forget with your flooring level is to use a level, straight edge, and a hammer to knock down any and all high spots. The level will also help you determine which direction your floor needs to slope in order to form a level plane.

Inspect and Diagnose Your Floor

Make sure you get to the root cause of your flooring problem. Is it a high spot that needs to be leveled, or is it a low spot that needs to be sloped? Sometimes the problem isn’t with your floor level at all,  it’s actually in your subfloor. The subfloor may not have been installed correctly. Or there could be decay, dry rot, or mold damage beneath the floor. Leveling the floor without correcting the underlying can result in a fix that only turns out to be temporary.

Therefore, it’s a good idea to call in a contractor to look for trouble spots such as rotten wood, cracking, or moldy plywood. You don’t want to tear up a perfectly good floor only to find that moisture has damaged the subfloor. The contractor should be able to test the subfloor for areas of weakness. They should also inspect the floor, drywall, and subfloor layers to find out if the floor slants, such as in a house with a hill.

Replace the Framing

Once you’ve thoroughly inspected the floor and have all the problems diagnosed, now you should start repairing. If there’s moisture damage or insect infestation, you’ll need to replace the affected boards. Make sure that all bad wood is removed and replaced; otherwise, you’ll get problems later on down the road.

Make sure you replace the rotten girders, band joists, and floor joists if they’re rotted or deteriorated. If you can’t replace this affected insulation yourself, you may need to hire a professional to do the job. Once you’ve installed new joists and girders, now it’s time to get rid of floor squeaks. There are several different ways to solve this common problem, depending on what flooring material is currently being used.

Raise the Floor and Fix the Sags

If you have an uneven floor that is sagging in some areas, the best way to fix this problem is by raising the entire floor. First, use a Sawzall to cut away any nails or screws holding down the existing subflooring and remove it. Next, you’ll need to apply construction adhesive onto several beams across all joists.

Toenail these beams into place and use a leveler to make sure they are completely even before the adhesive dries. It is important that you use wood beams instead of steel ones in order to avoid any additional weight on the flooring material. Once all joists are leveled, apply construction adhesive onto them as well as across your new laminate floorboards. Lay the flooring and nail it into place.

Once all boards have been laid, let construction adhesive dry overnight before you caulk around them with a waterproof caulking compound to create an airtight seal. Leave this for at least 24 hours, and then reapply the compound to be doubly sure that your walls are protected.

Plan Your Layout

Plan the layout of your plywood sheets to enable you to utilize the least number of boards in your pack. Using a tape measure, mark out the length and width of each room onto the back of each board so that you can work more efficiently. Make sure that you leave a 1/4″ gap all around between each sheet.

Ensure the plywood’s short sides are centered over joists, and the long sides are flush against the walls and ceiling. The bottom edge should be fitted so that it’s flush with your subfloor. Make sure there is self-leveling underlayment from the joints of your plywood sheets and secure sheets to the floor joists with 2 1/2″ or 3″ nails. Nail from the center of each stud outwards.

Sand Down High Spots

While sagging and slanted flooring materials are the main cause of unlevel floors, humps can also cause tripping hazards. If you place a level on top of the hump, it will read the level or be higher than the lines marked alongside. A simple solution to this problem is to sand down high spots with an electric sander. It can take a while, but in the end, you’ll have a smooth floor that’s easy to level. 

You can also use a motorized angle grinder to remove high spots, but this is a more dangerous option. Be careful when using power tools to sand down your flooring for leveling purposes, as they can cause gouges or other hazards. Wear eye protection and a face mask or ventilator to prevent inhalation of dust or fumes.

You can also fill in low spots with epoxy adhesive mixed with sand to give it more body. If the floor has a large amount of slant, you may install level boards underneath to even out the floor. Make sure that these boards are secure and won’t shift under your weight when you walk on them.

Clean and Repair Old Subflooring

Before laying your new flooring, clean up the subfloor and scrape off any old adhesive. Smoothing with a putty knife is usually enough to remove most of the residue. Unfortunately, this process can be time-consuming for large areas. A faster way is to use an adhesive remover meant specifically for removing adhesives from concrete.

Make sure you vacuum the entire room, especially around the corners of the room. There you’ll have to dig out dirt and grime that may be trapped in corners or under the floor where it can’t escape. When mopping concrete subfloors, use muriatic acid to clear any traces of oil or grease, then a disinfectant to kill any microbes. 

Fill cracks in the concrete subfloor and ensure the filled areas are dry before starting the floor leveling process. Do thorough cleaning to get your subflooring ready for floor leveling.

Check for Minor Irregularities

Lay a long straightedge along the floor, and check for any minor cracks or slight depressions. It’s important to get these out of the way before applying floor leveling compounds. They’ll only inhibit the final result. Use a chisel and hammer to chip away at them, then clean with a damp cloth.

As you move your straightedge across the floor, you’ll notice some low spots where it doesn’t sit flush. Use a block of wood and your hammer to tap down into those spots until you get the right height.

Cover Your Subfloor with Bonding Agent

Start with the edges of your room, along with molding and baseboards. Scrape a little bit of thin-set adhesive out onto your straightedge, and spread it about two inches along with the flooring you’ll be bonding it to. Press down firmly in order to form a seal between both surfaces. If you find any seams or gaps, cover them too with this thin layer of bonding agent.


Image caption: https://darkroom.ribaj.com/

Mix the Leveling Compound to a Creamy Consistency

Follow the manufacturer’s directions with regards to how to mix your leveler. You want the mixture to have a paste-like consistency that will easily flow out onto your subfloor when you start applying it using a notched trowel. Spread it evenly at a rate of four or five square feet per gallon of dry material, and use the 8-inch side of the trowel for the initial spreading.

Your mixture should have the same texture as pancake batter. It should flow out easily but not be too runny. After that, stir the mixture vigorously to break up lumps and get rid of air bubbles and voids.

dd Subfloor Sleepers

Once your floor frame and walls are aligned and laid out, it’s time to add the sleepers that will serve as a subfloor. The terms subfloor and sleepers are interchangeable. Any flat boards or dimensional lumber that is suitable for use as flooring can be used as sleepers. 

Add Subfloor Sleepers
Image caption: https://imagesvc.meredithcorp.io/

This will give your new leveled subfloor a new height. The gap that will be created between the sleepers and the current floor height can be filled with a filler material made up of sawdust, pea gravel, and a floor leveling compound. The manufacturer recommends 3 lbs. per square foot. The subfloor sleepers will help to prevent cracking of the leveling compound.

The floor leveling system is then installed over the sleepers and the filler material per the manufacturer’s instructions. The flooring material can now be laid over the leveler, ensuring that it will have a perfectly smooth surface. Follow your local building code to determine if you need a finished floor or whether an unfinished subfloor will suffice.

Install the New Subfloor

At this point, you may apply a bead of flooring adhesive to the subfloor, but this is optional. It won’t hurt to apply it, though, making it easier to install the flooring material later. Then lay the new subfloor on top of the sleepers. Once your new subfloor is locked into place, you will want to use either a nailer or dato blades to cut around any obstacles in the way of the new subfloor.

Install the New Subfloor
Image caption: https://diy.sndimg.com/

Install Your New Floor

Now that your subfloor is level and locked in place, you can install your new flooring material. You can put hardwood or laminate flooring, tile or carpet, or any other material you prefer. You won’t have to worry about having a flat subfloor to support it.

FAQs on How Level a House Floor

How do I level my floor?

It’s a lot easier to remove the old subflooring than to adjust the existing subfloor, so go with that if you have an option. If not, you’ll need a sledgehammer and pry bar to remove the nails from your old flooring.

How do you level the uneven floor?

If uneven floor is due to floor joists that have warped or were not installed correctly, then the only way to level it is to remove the subflooring and shim the joists.

Conclusion

Once you have leveled your floor, you will be ready to install your new flooring material like hardwood, tile, or carpet. No bumps or dips will affect the new flooring material as long as the sleepers are in place and secure.  


The post How To Level A Floor appeared first on Kitchen Infinity.

How to Remove Dark Water Stains from Wood

How to Remove Dark Water Stains from Wood

Water stains are one of the hardest types of marks to remove from wood surfaces. It’s very important that you treat water stains immediately before they have a chance to become permanent on your wood. If you wait too long, removing the dark stain from your wood surface can be almost impossible.

Luckily, there is an easy and effective way to treat most water stains on your wood furniture or flooring. By following these simple steps and with just a few common items around your house, you can easily get rid of ugly black or brown watermarks on any wooden surface in no time at all. Let’s get started!

Remove Fresh Water Stains by Buffing and Cleaning

If you just spilled a glass of water on your wood surface and it left a dark, freshwater ring, the first step that you’ll want to take is to immediately blot up. Blot as much of the excess liquid as possible using a clean cloth or paper towel. Clean your wood kitchen cabinets immediately so you don’t have to deal with moisture damages in the future.


Image caption: https://thearchitecturedesigns.com/

Once the excess water has been removed, dust off any dirt particles with a dry cloth. Buff the wood surface to ensure you get rid of water stains with a dry cloth or paper towel. Let the wood dry completely before moving onto step two.

Remove Old Water Stains by Sanding

If your water rings are old and have been stained dark brown, you can try sanding them off with medium-grit sandpaper. First, make sure that the surface of the wood is free from any dirt or debris. Sanding will help remove the finish and stain from the wood. 

Make sure you go with the grain, as failing to sand off the finish will leave you with strange patterns on your wood floor. While sanding, exert more pressure in high-traffic areas and less in low traffic areas. 

After removing the finish, take out your grit sandpaper and remove any stain and sealer’s final edges and surface. When you’re done, use a vacuum or clean cloth to remove all the sawdust that you have created.

Use Watermark Remover Cloth

A watermark remover cloth is very good at removing old water stains from wood. Wipe the area with a cloth soaked in alcohol to remove stains and dark marks on your wood. Make sure you clean the entire surface of your floor well by rotating the cloth around as you wipe away.

Use that piece of clean cloth to gently rub away the water stains. This will not only remove your dark water stains but will also save you from costly repairs. This is the best way to remove water stains from wood floors. It also covers scratches, giving your wood furniture a new and fresh look.

Remove Dark Water Stains by Toothbrush and Toothpaste

Toothpaste is another good way to remove dark water stains from wood. Apply a small amount of white toothpaste and not gel on the affected area, and use a soft-bristle toothbrush to gently scrub away all marks. Rinse thoroughly with clean water and wipe dry. Use a clean cloth to apply a coat of furniture polish for extra shine and protection.

Remove Dark Water Stains by Toothbrush and Toothpaste
Image caption: https://www.cnet.com/

After applying toothpaste, buff gently with wood grain. Be careful not to scrub too hard, or you might wear the finish off. After removing the stain, use a damp cloth to wipe gently and allow it to dry.

Remove Water Stain from Wood with Hydrogen Peroxide

Hydrogen peroxide is another affordable way to remove water stains from wood. Apply a small amount of hydrogen peroxide on the stained area and wipe clean with a soft cloth. You can also mix equal hydrogen peroxide and water parts to clean the wood if you do not want to use it full strength.

Remove Dark Water Stains with Vinegar and Lemon oil

Mix white vinegar and lemon juice in equal parts. Apply to the affected area with a soft cloth or cotton swab. Allow the solution to sit for five minutes before wiping it off. Vinegar is acidic, which helps restore the wood’s original color by removing the discoloration caused by watermarks.

If you do not want to use bleach, try using lemon juice instead. Lemon juice is an acidic agent that can restore the color of your wood just like vinegar does. You can also dip your steel wool in lemon juice or vinegar and rub the affected area. This usually does the trick.

Remove Black Stains with a Bleach Solution

Another way to remove the dark water stains from your wood is to use a mixture of 1/2 cup Clorox and 1 gallon of warm water. Make sure that you wear gloves while using this solution on your wood because Clorox has bleach, which can make skin dry and cause skin irritation.

Remove Black Stains with a Bleach Solution
Image caption; https://prudentreviews.com/

Make sure you dilute your commercial wood bleach solution with water in a 1:1 ratio. Apply the solution to your dark-stained wood and let it soak for 30 minutes. Then, rinse off the bleach solution with clear water. Make sure you don’t use this bleach solution on painted or finished wood because it may damage it. Bleach is an excellent solution for getting rid of pet urine from your wood surface.

Get Rid of Dark Water Stains by Using Baking Soda

Mix one tablespoon baking soda with one cup of water. Using a sponge, apply the baking soda and water solution to your dark-stained wood. Let it sit for about 10 minutes, and then rinse off with clear water.

If the stain is resilient, add more paste, but this time add a few drops of clove oil to the paste. Let it sit for 30 minutes, and then rinse off with clear water again. And when the stain is gone, wipe it clean with a damp cloth and let it dry. You can proceed and reapply the finish if it’s lightened.

Get Rid of Stubborn Black Water Stains with Oxalic Acid Cream

If your stubborn black water stains are more than just unsightly, try using oxalic acid cream. Make sure you wear protective gloves and goggles to protect yourself from any contact with the solution. 

Mix one tablespoon of cream with one cup of hot water for every half square meter of wood stain you want to treat. Apply the solution and scrub the surface with a stiff-bristled brush. Let it sit for 10 minutes and rinse with clean water and let it dry.

Use Hardwood Floor Cleaner for Stubborn Water Stains

Mixed with water, hardwood floor cleaner makes an effective stain remover. You can find some at your local home improvement store or order them from a hardware store online. Make sure the solution is safe for your flooring material before applying it to remove black water stains. Always test first on a small inconspicuous area

However, hardwood cleaners are not appropriate for removing dark and ugly water stains. But they’re specialized in cleaning wood floors daily. After removing the finish, use cleaners such as commercial wood bleach, daily wood cleaner, or a specialized hardwood floor cleaning solution.

pply Mayonnaise on the Stained Surface

Make sure you apply mayonnaise on the stained surface thoroughly, leave it for 15 minutes and wipe it off. Repeat this procedure two or three times a day to remove dark water stains from wood. With its oil and egg yolk feature, mayonnaise will moisturize the surface of the wood and even break down the water rings.

After applying the mayo, you can keep it moist by adding more mayo or placing a cloth on top of the wood. Let it work for an hour and after that, wipe clean it with a damp cloth, then reapply the finish.

Use Petroleum Jelly as a Moisturizer

Petroleum jelly acts as a moisturizer on the surface of the wood. It is an antioxidant that can be used as a substitute for mayonnaise in removing dark water stains from wood.  Make sure you apply a coat of petroleum jelly and leave it to absorb for about 10 minutes before wiping clean.

For this method to be effective, rub petroleum jelly over the watermark.  After that, leave it for an hour or more to soak into the wood. You can then remove it with a dry cloth, rinse the area with clean water and let it dry.

Remove Dark Stains from Wood by Using Salt and Olive Oil

Salt and olive oil can be used in removing dark stains on wood.  Mix a tablespoon of salt and approximately two tablespoons of olive oil to create a paste. Work the mixture into the stain and leave it for about an hour before wiping clean with a dry cloth.

Use a Magic Eraser

This is another product that is produced commercially to remove dark stains on wooden floors.  A magic eraser is safe for use on wood and can remove all kinds of tough stains.  Buff a damp eraser with the grain of your wood.  A magic eraser can be found in most grocery stores. This stain remover method will leave your wood floor to freshen up and looking new.

Use Butter and Ashes

This dark stain removal may sound strange but mixing a paste of equal portions of butter and cigarette ashes is one of the best home remedies for removing dark stains from wood floors.  

Mix a few tablespoons of ashes and a little butter in a small bowl. Then use a cloth to rub this mixture on your hardwood flooring to remove the stain.  This may need to be repeated once or twice to completely get rid of the dark water stains.

FAQs on How to Remove Dark Water Stains from Wood

What causes dark stains on wood?

A number of things can cause water stains on wood. It could be caused by rust, dirt build-up, or somebody spilling something dark like cola or coffee. But since you’ve already identified it as water stains, the cause is most likely improper cleaning.

What is the best way to remove dark water stains from the wood floor?

The most effective solution to removing dark water stains from hardwood flooring is a mixture of vinegar and lemon juice. Mix equal amounts of each in a small bowl. Then use a cloth to rub this mixture on the wood surface. This may need to be repeated once or twice to completely get rid of the stain.

Final Thought on How to Remove Dark Water Stains from Wood

Removing dark stains from wood surfaces can be challenging if you’re not careful. However, with a little bit of elbow grease and some creativity, you can get rid of these stains in no time. Follow the advice given above, and then enjoy your beautiful wood floor without worrying about unsightly stains. You can also consider waterproofing your wood cabinets and other surfaces you don’t panic whenever water spills.


The post How to Remove Dark Water Stains from Wood appeared first on Kitchen Infinity.

Did you miss our previous article…
https://chefbuano.com/?p=119